The Evolutionary Development of Man (Max)

max1
max1

Guest Post by William Jones.

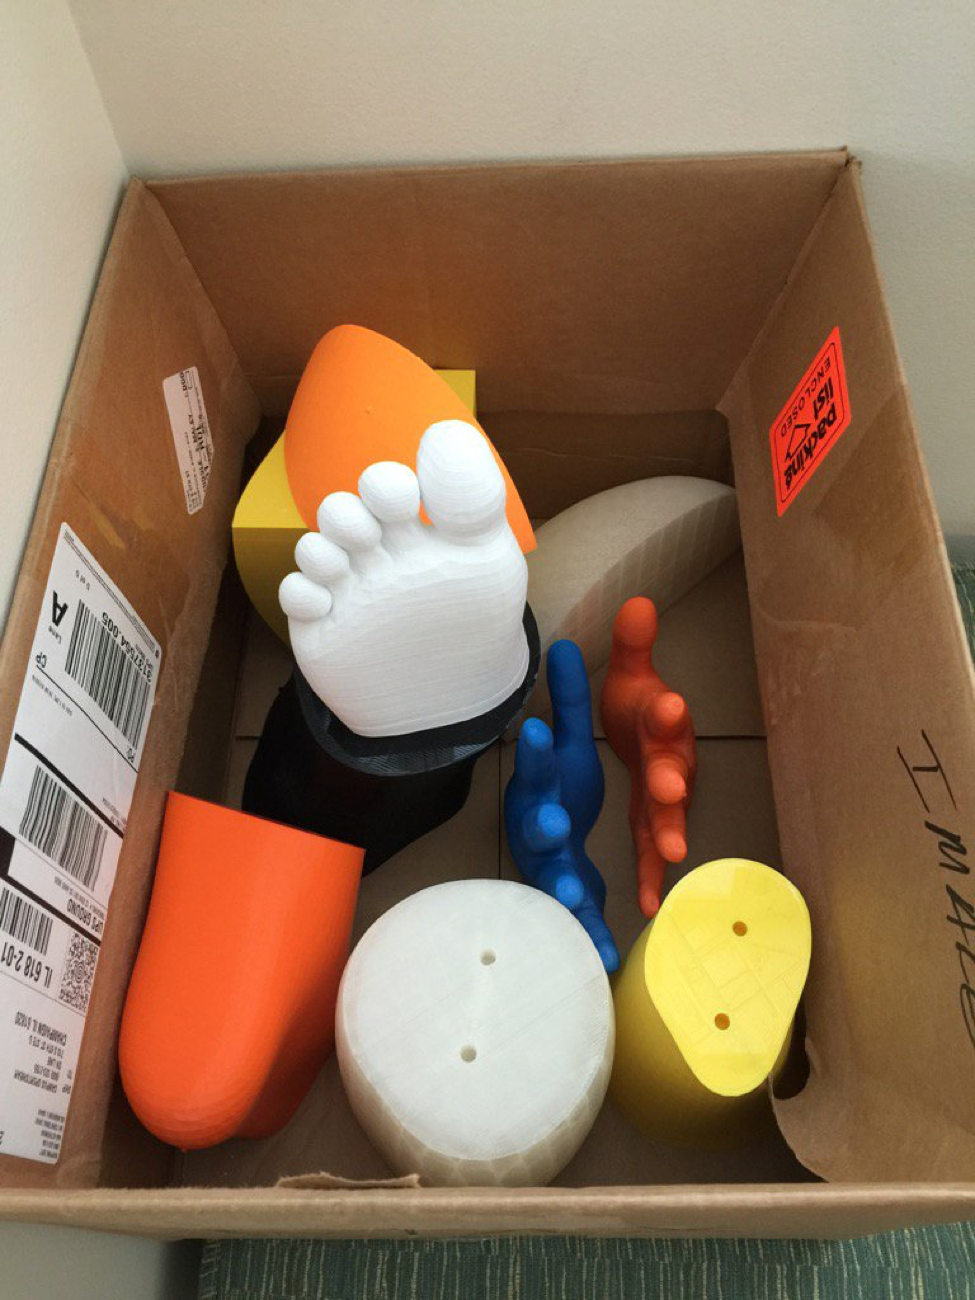
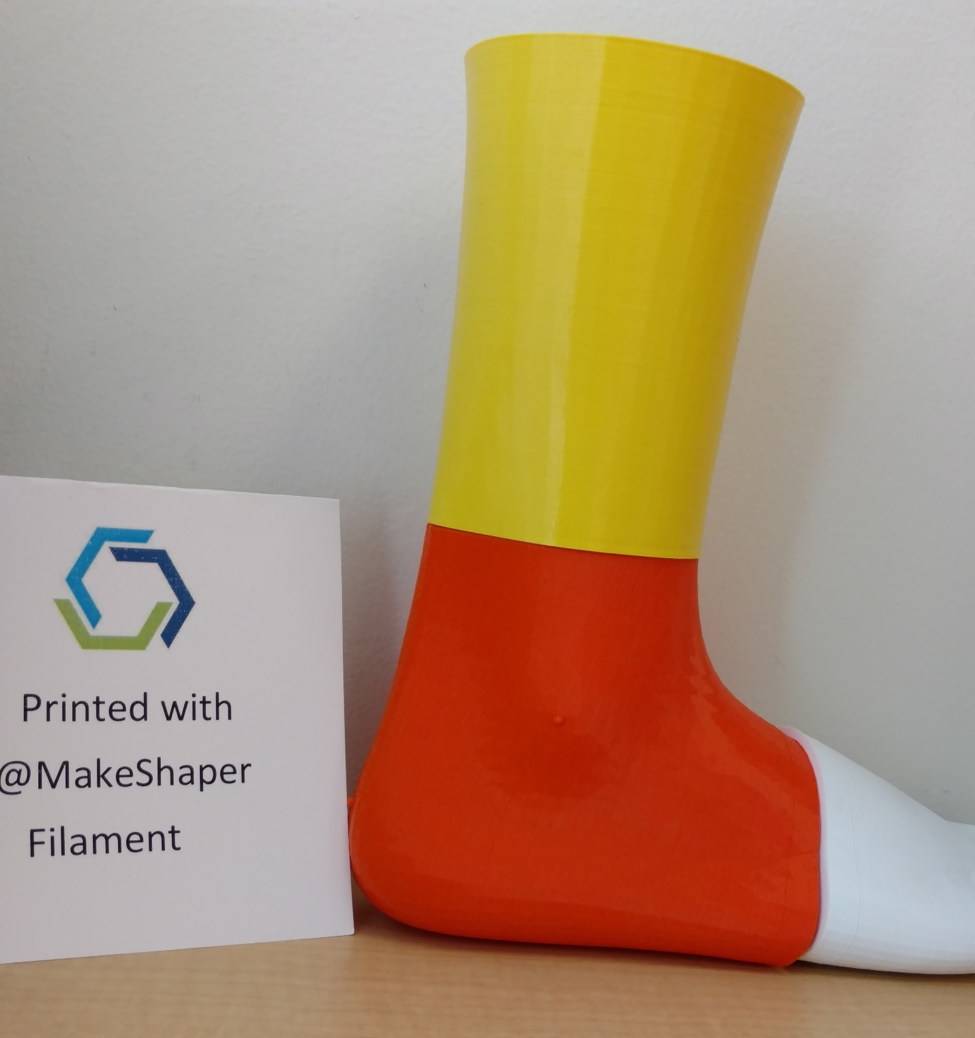
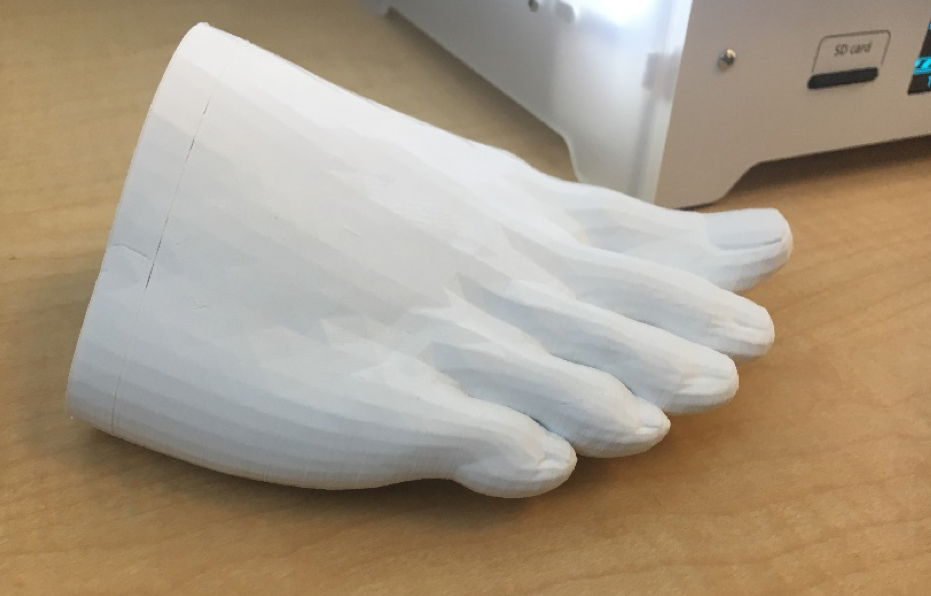
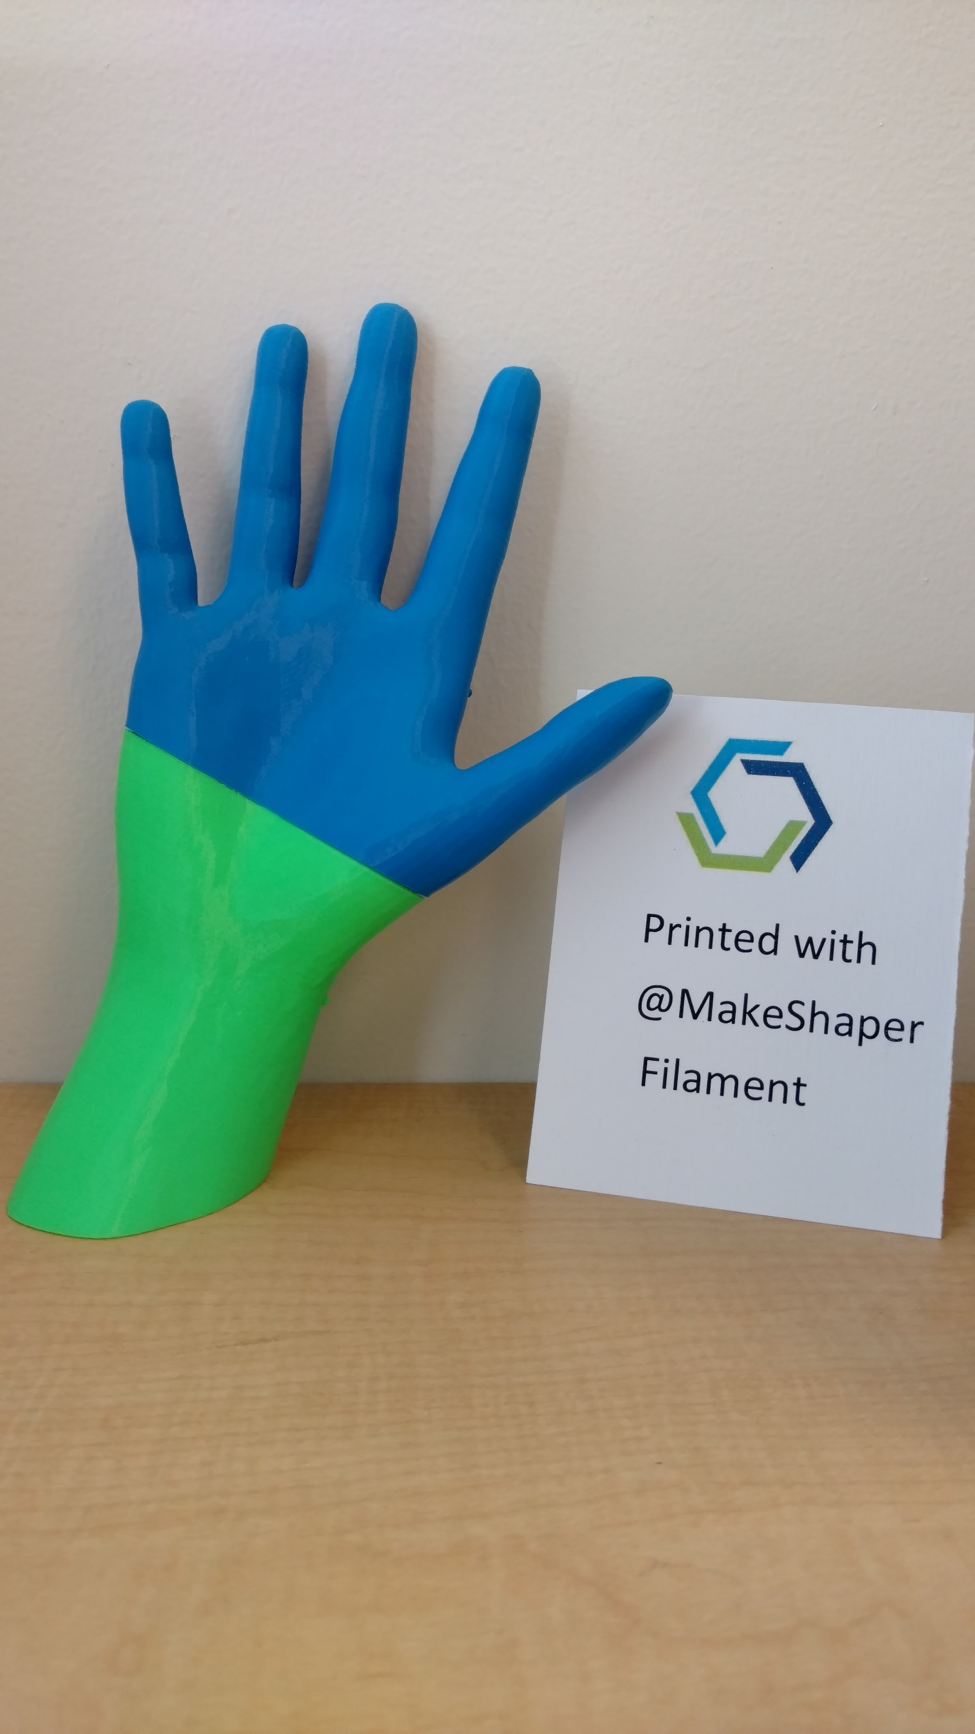
Come watch as our team of volunteers attempt to 3D print a life sized man, “Max”! Max is the result of a full body scan created by Voodoo Manufacturing. Voodoo originally scanned and printed this 88-piece 3D model in under 24 hours, printing a piece at a time on their 88 3D printers.  The University of Illinois MakerLab will be the first (other than Voodoo) to attempt to create this colossal 3D model. @MakeShaper is sponsoring the filament, to make this ambitious project possible.

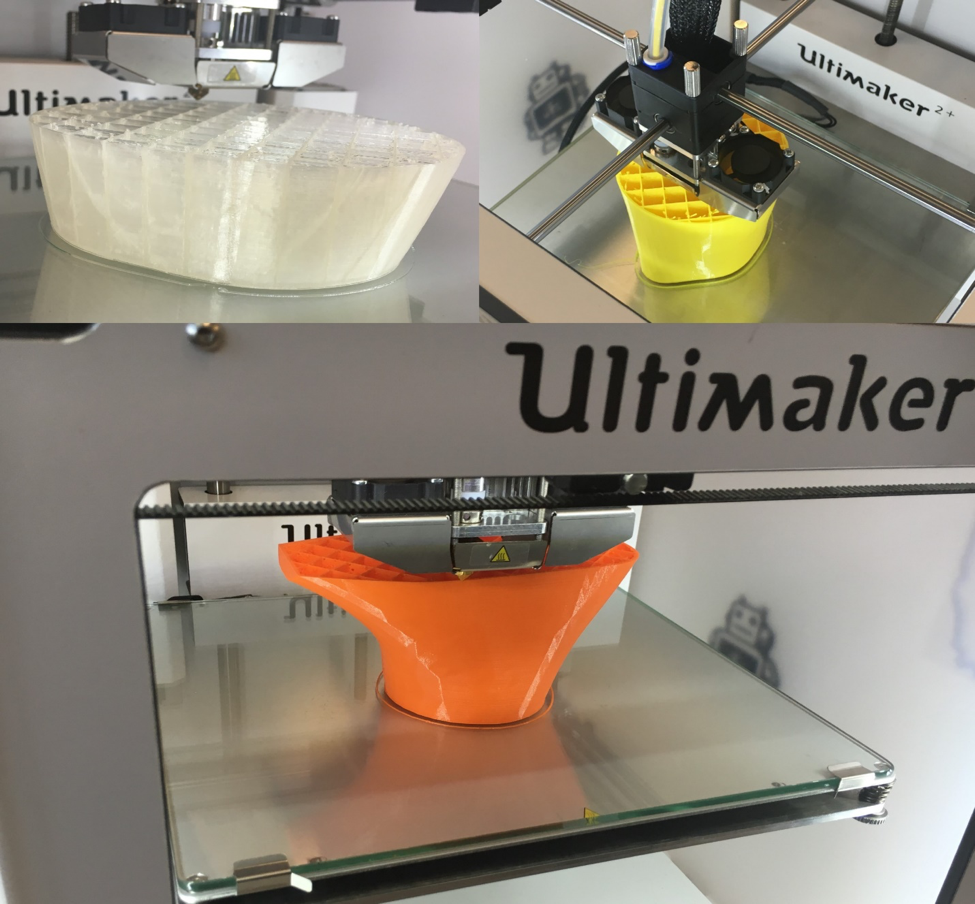
All of the Maker Lab's volunteers will be helping with #PrintAPerson over the course of the Fall 2016 semester (Want to volunteer?). We will be printing Max part-by-part on our 17 Ultimaker 2+'s until he is completely assembled (but don't worry! There will be plenty of printers open for you to use if you come to the Lab).

Join us in this special project, and watch as we build Max! Check back on the University of Illinois Maker Lab website and on our Twitter, Instagram, and Facebook accounts to see progress on Max, as well as to see what else is happening in the Lab. We also encourage you to stop by the Maker Lab (in room 3030 of the University of Illinois Business Instructional Facility at 515 East Gregory Drive in Champaign, IL) and see our facility in person. Check out all the cool things we're making and even make something of your own!


Follow us on  Twitter: https://twitter.com/uimakerlab , Instagram: https://www.instagram.com/uimakerlab/ or Facebook: https://www.facebook.com/IllinoisMakerLab as we 3d print Max!


About the Author:

Will possesses skills in CAD and 3D design software such as Blender, Inventor, Autodesk 3DS Max, and SolidWorks. He is very familiar with 3D printers and the many different types of additive/subtractive CNC machines, along with Windos and OSx operating systems.

X-Y Positioning Table for Institute of Genomic Biology

xy-table-e1435339569519.jpg

Berkley Walker at the Institute for Genomic Biology, needed a low fidelity solution for elemental analysis,  instead of a high fidelity and high cost off the shelf model. Our Guru, Brian, customized the tolerances on some parts on thingiverse and helped build a custom DIY solution, which saved them a lot of money.

"With help from the Illinois makerlab we were able to print the necessary parts for an X-Y positioning table to help prepare samples for elemental analysis. These printed parts are being combined with a pulley system and stepper motors to ultimately create an Arduino-controlled positioning system. There are similar systems available commercially, but they cost upwards of $7K and are much more accurate then we need for our application. This system has cost us close to $500 dollars, and that includes the fantastic design services of the guru, Brian Busch. Ryan was also tremendously helpful"

Find out more about our services, our previous projects and let us know if you need any custom design solutions at UIMakerLab AT Illinois DOT edu

Ideas to products in 24 hours - #imaginationU summer Camp

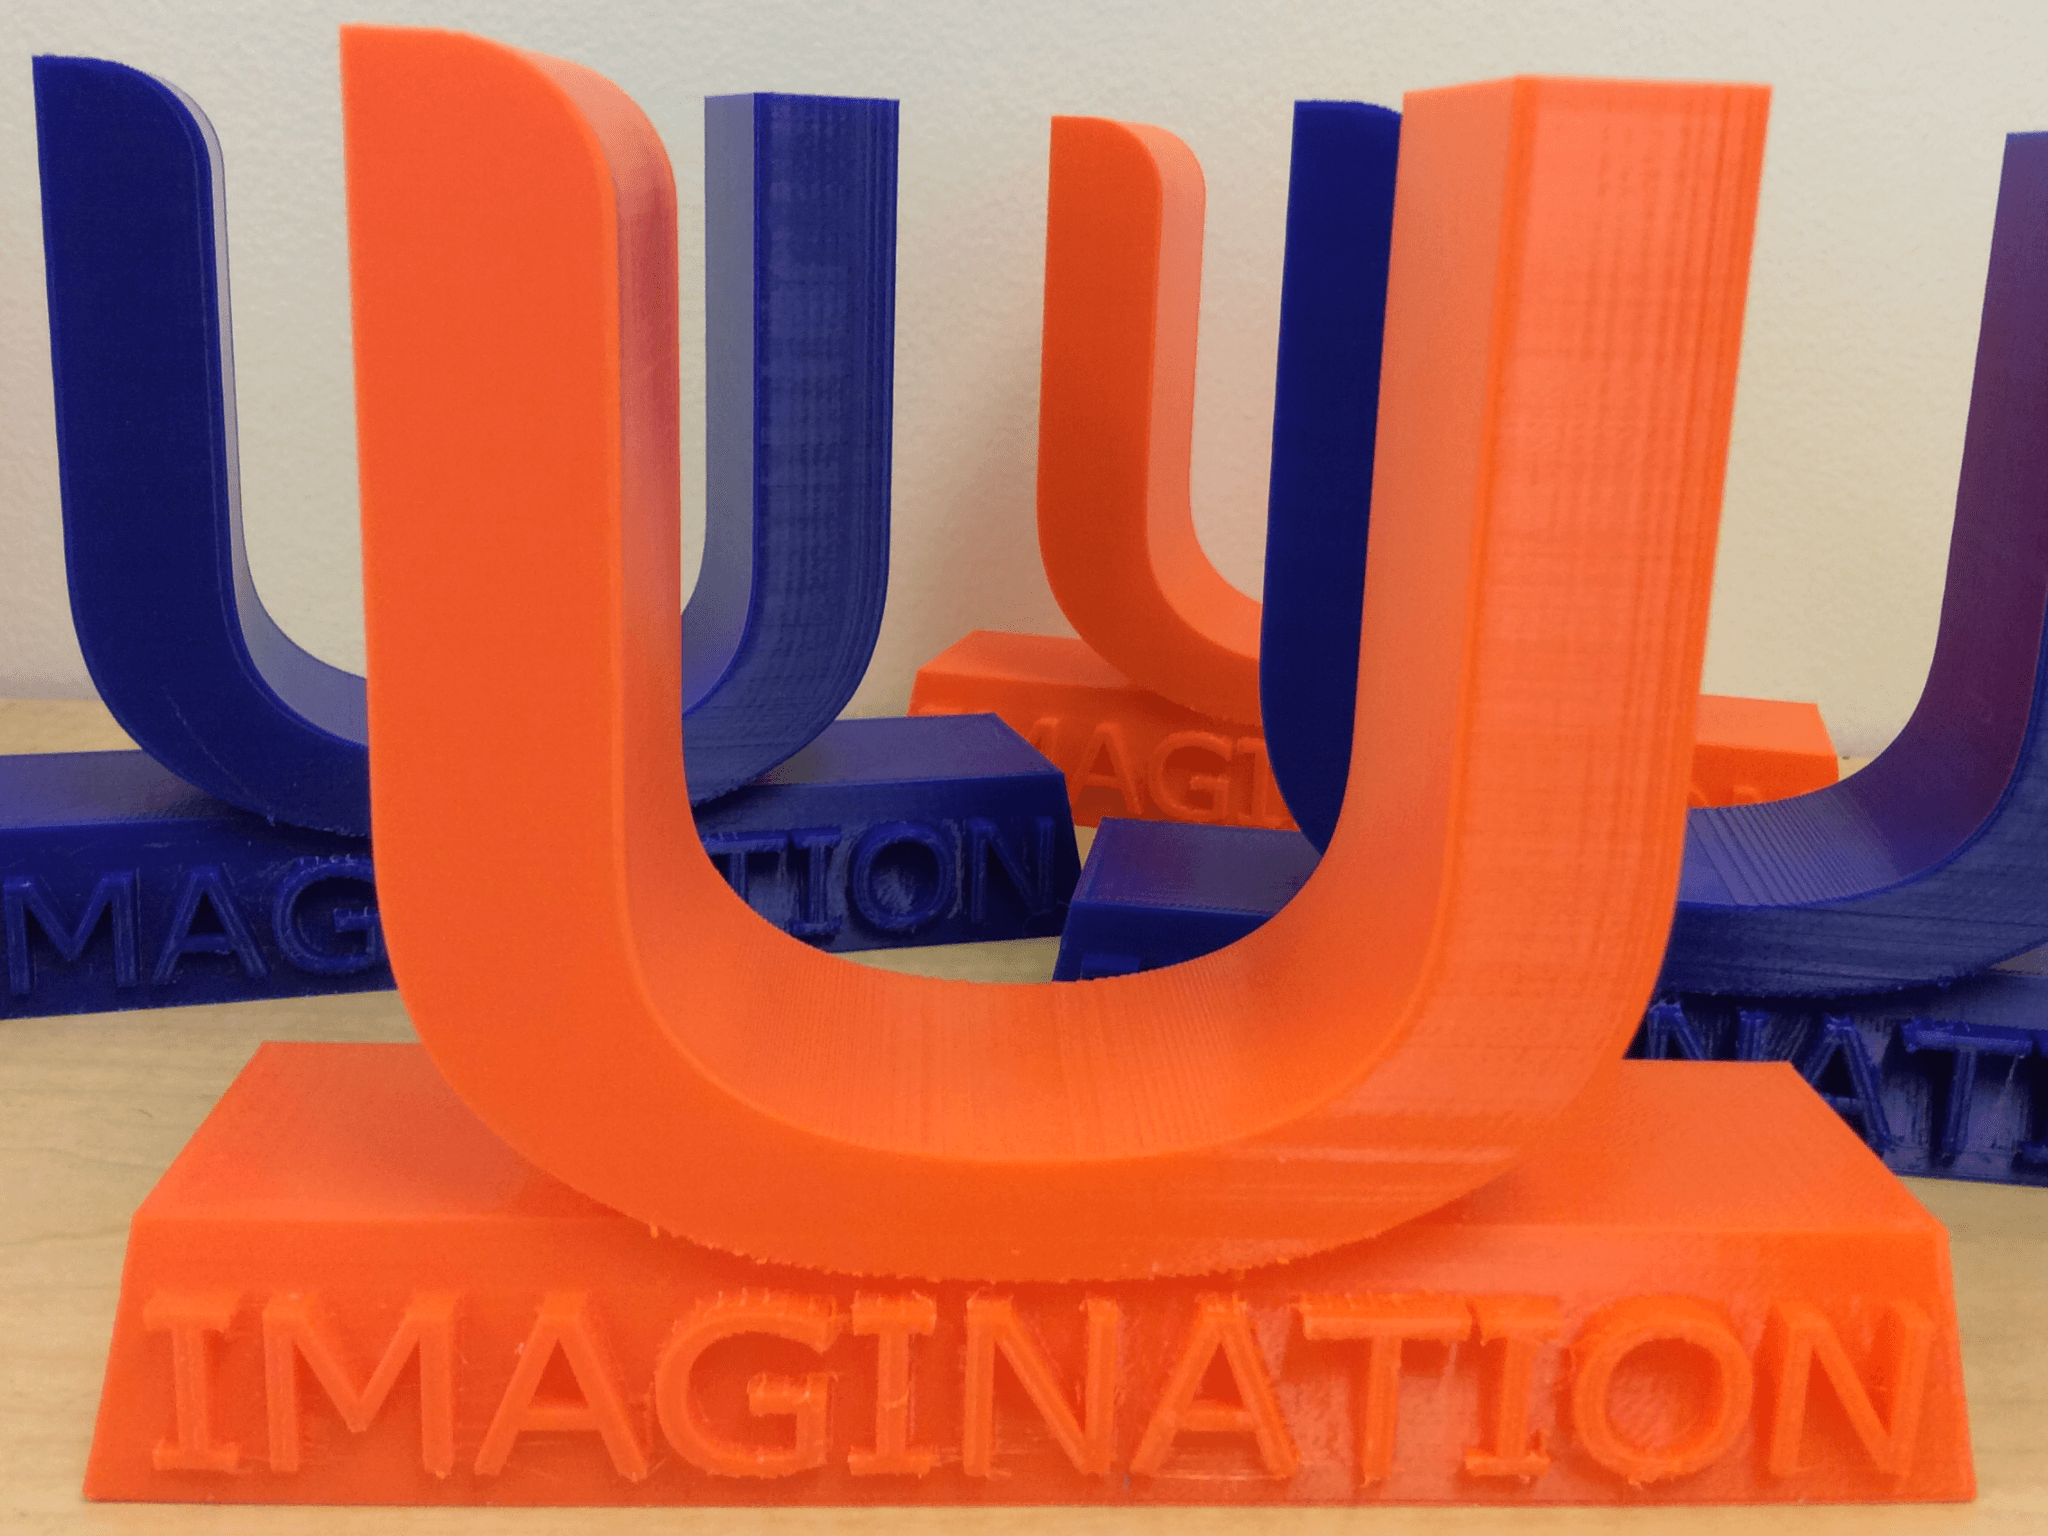
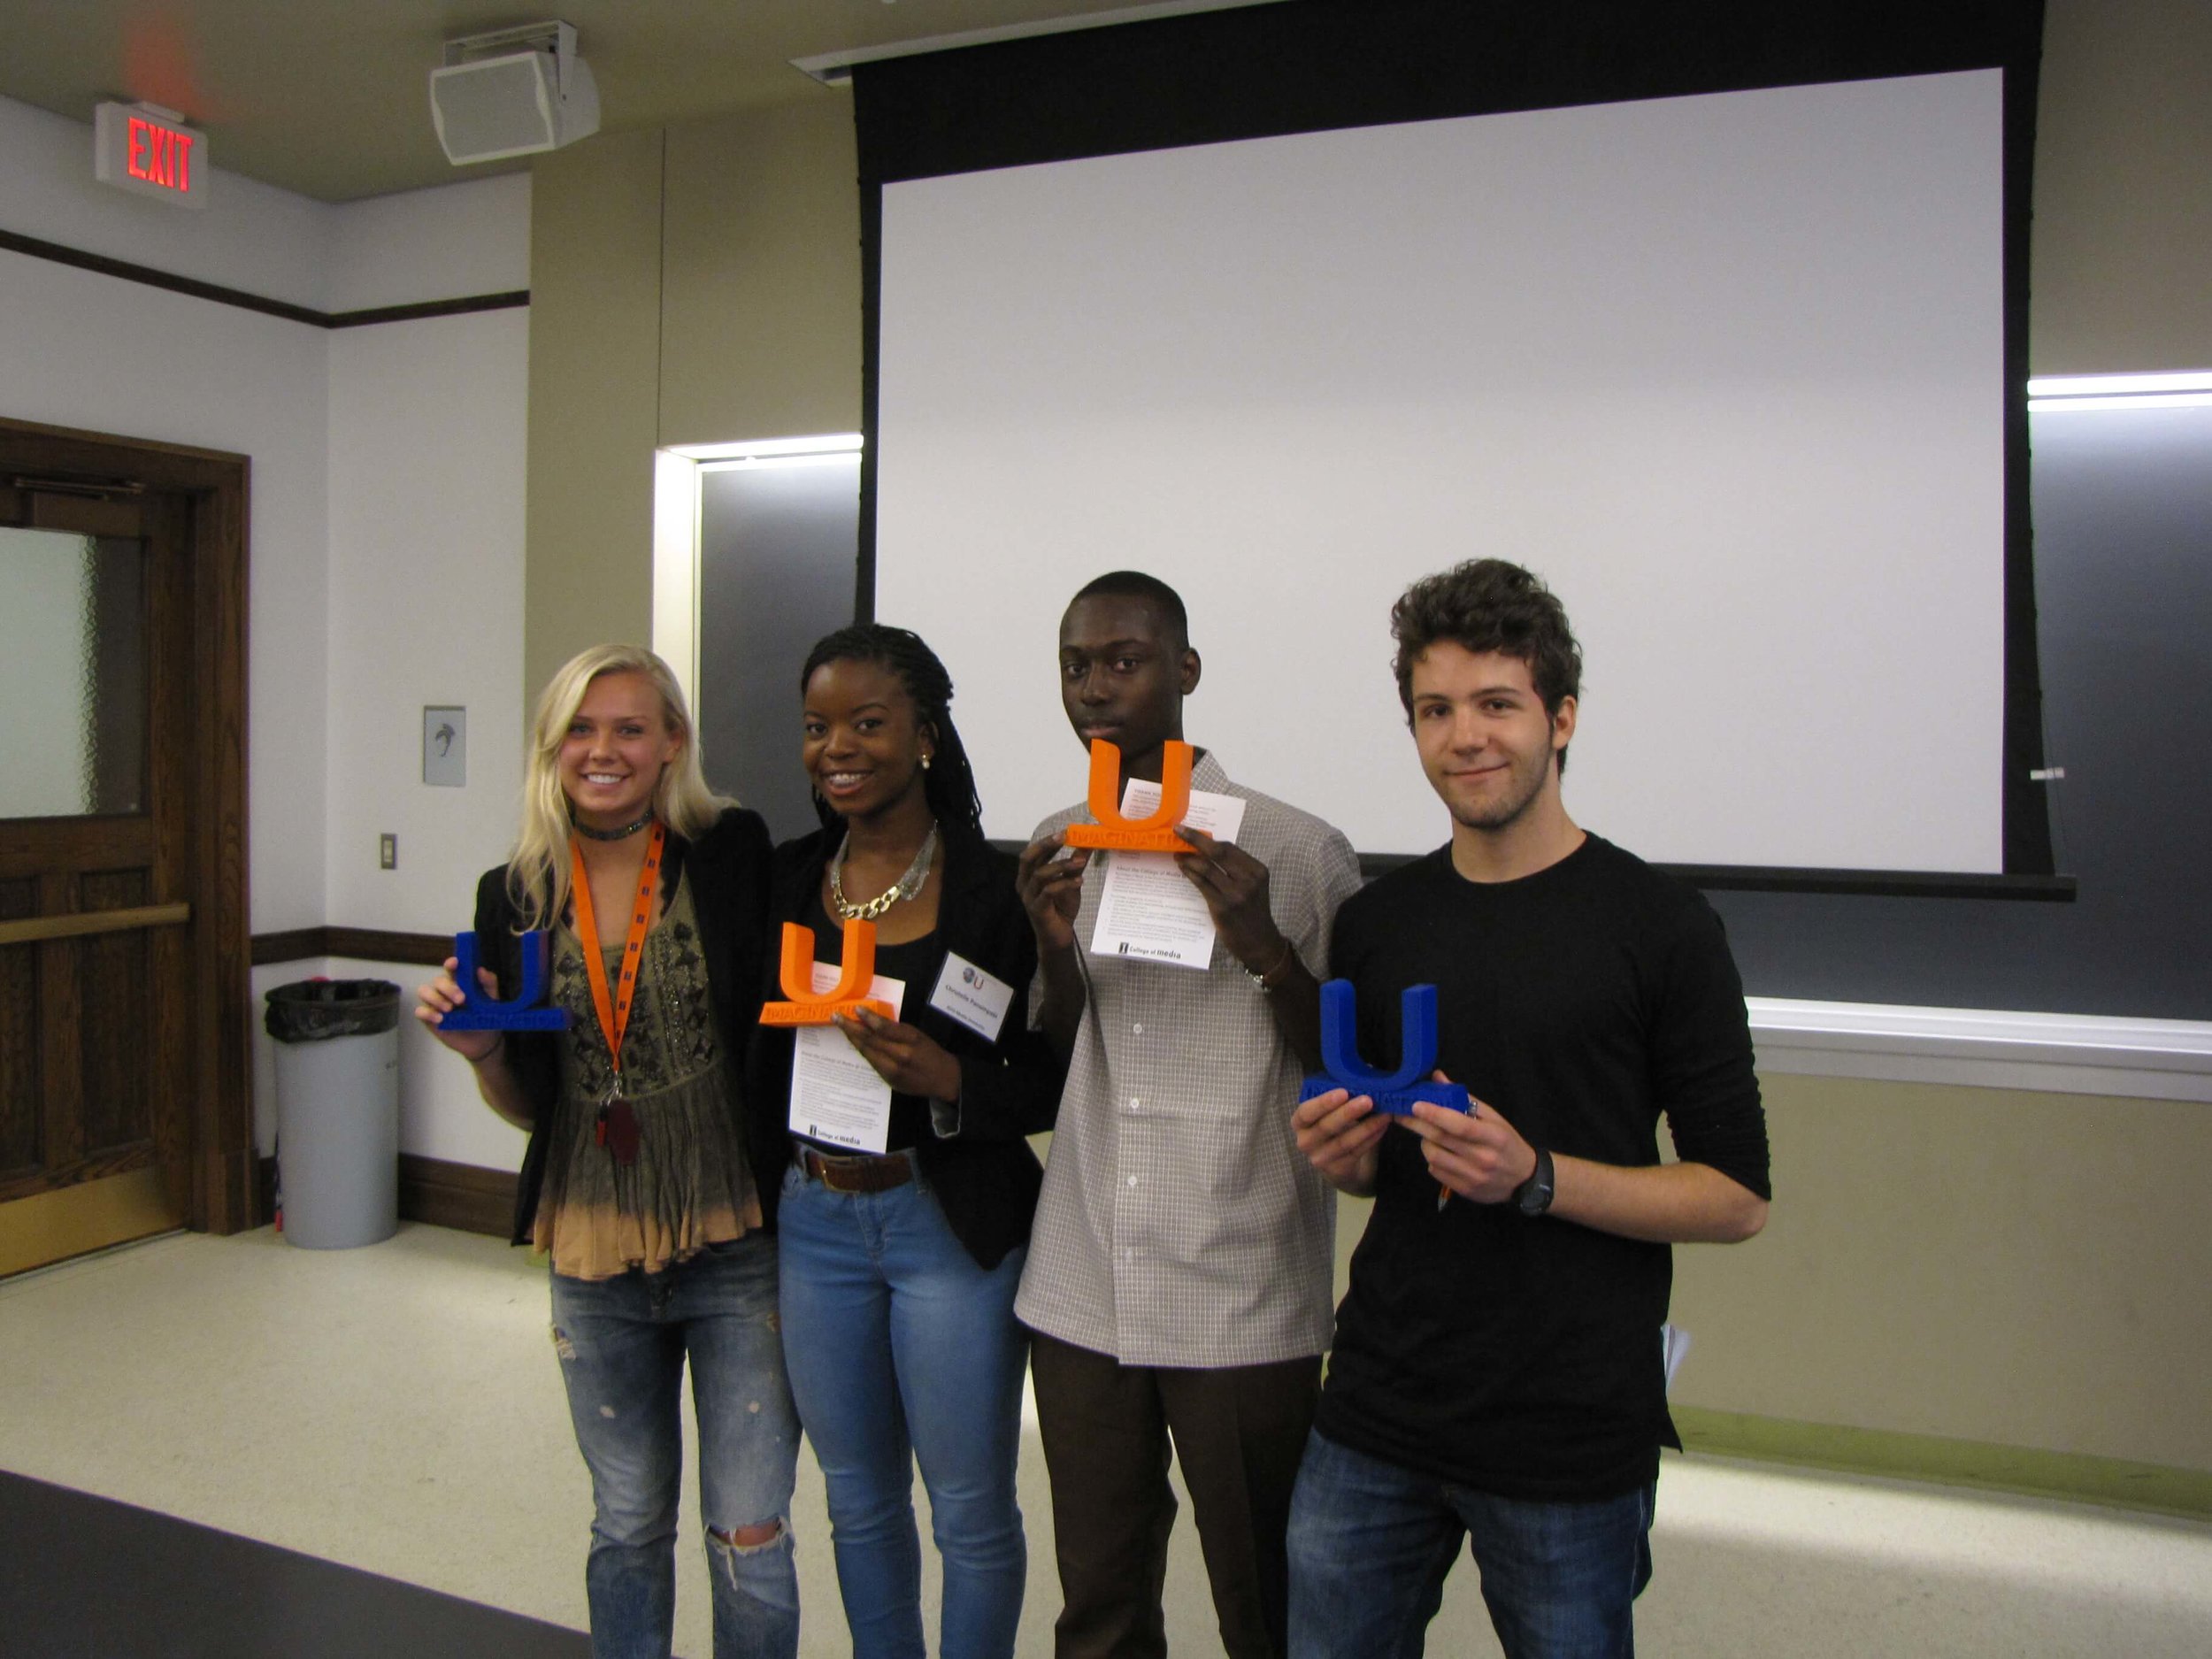
We had the pleasure of hosting high school students attending the ImaginationU Summer Camp organized by the College of Media. They visited the MakerLab to learn about 3d printing, and how physical things are becoming digital, and then back to physical.


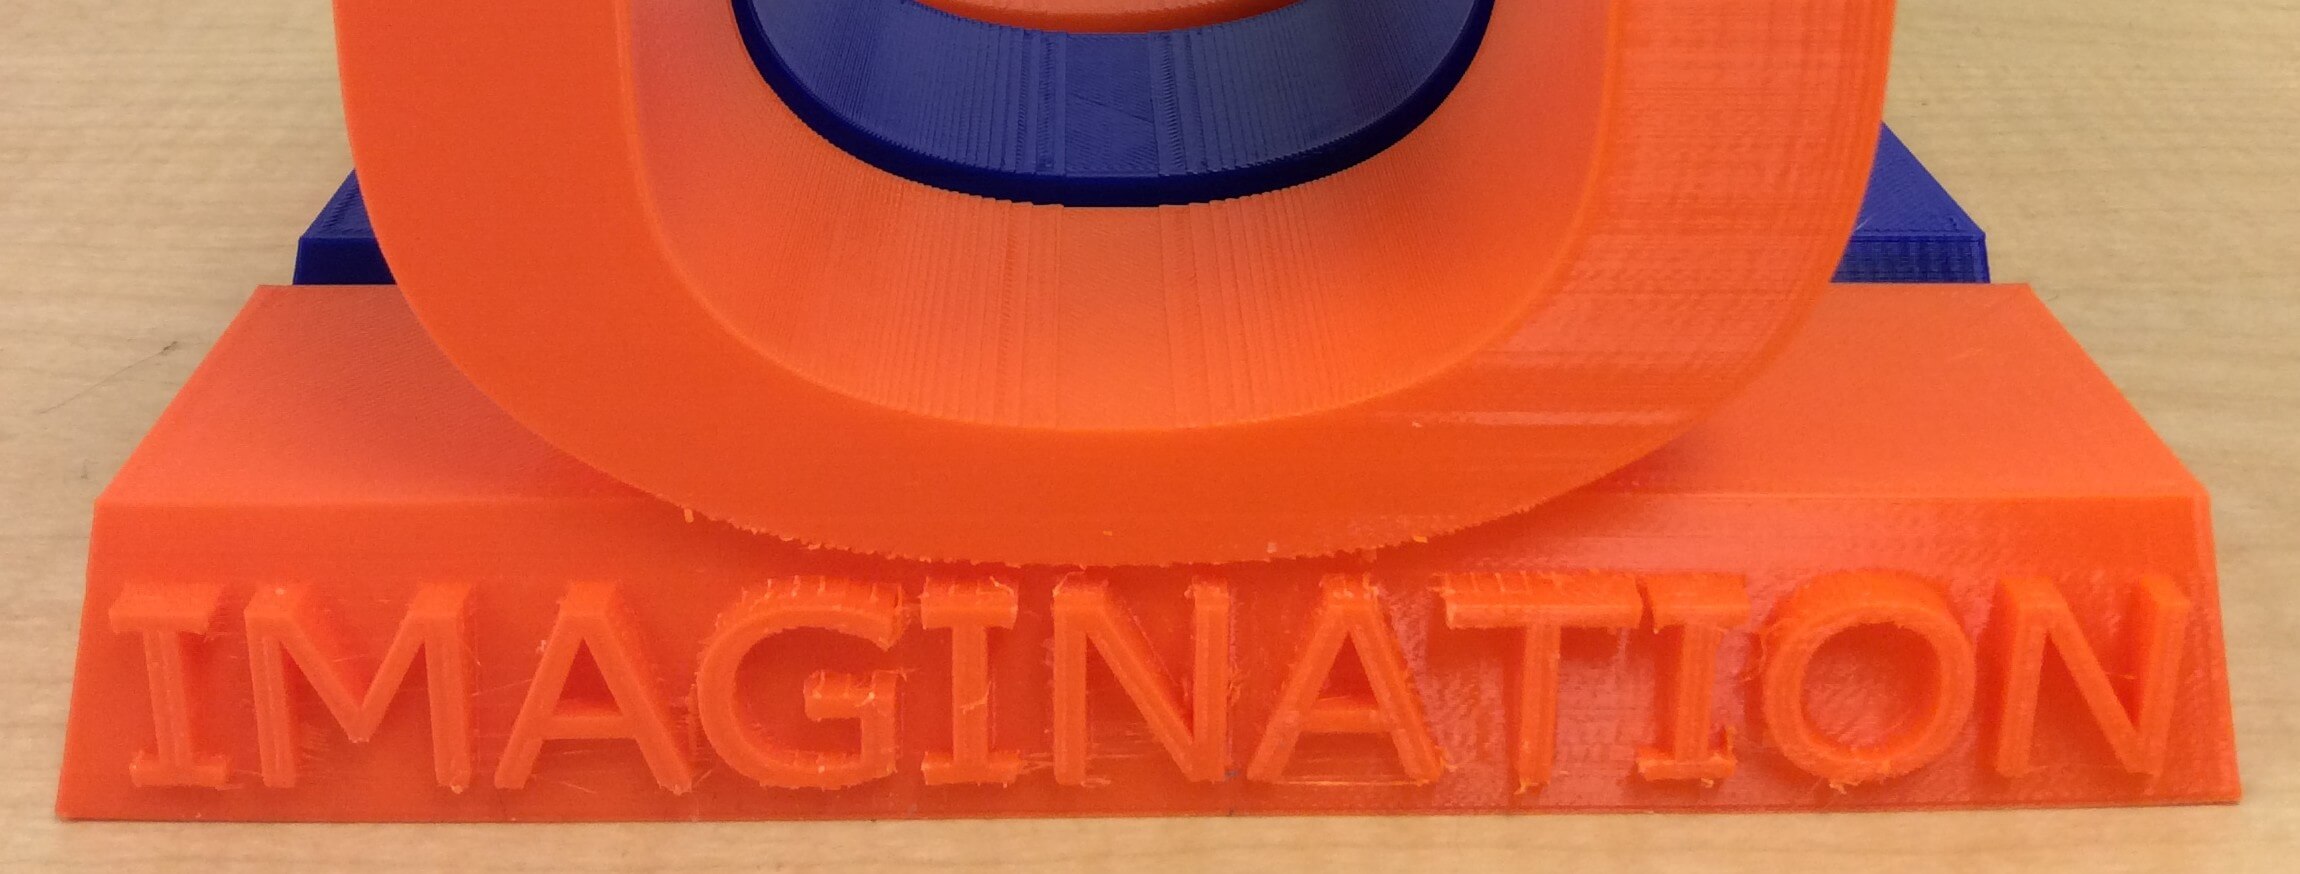
While chaperoning the students at the lab, Kyle Potthast, the program specialist had an idea to create a souvenir to give as a gift to the top performing teams at the end of the camp. He needed this for the final presentations, about 36 hours after his visit to the lab. He discussed the idea with our New Guru, Scott, and he had custom, souvenirs printed within 24 hours. https://youtu.be/ToFToSFDryA


If you need ideas converted to products, come by the lab for workshops, design help, or turn key design to print services.

Enabling the Future, one #3dprinted hand at a time

enable.jpg

A selection of the hands available on e-NABLING the Future's website

Guest Post by Nora and Sam, students in the first Digital Making class at the MakerLab.

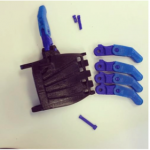
This semester Nora and I worked with Enabling the Future on designing and printing 3D prosthetics. Nora found the company and Vishal helped with getting in touch with the e-NABLE team at SXSW. From there we had our first assignment. In order to be certified by e-NABLE to make prosthetic devices for real people, we had to first print and assemble a prototype hand. The designs are premade so they just need to be printed. In some cases, the hands or fingers need to be resized to fit the end user. Our first hand was called the Raptor Reloaded, printed in black and blue filament. Printing the materials was quite easy compared to assembling the hand. The instructions were available online with detailed pictures and descriptions. The assembling process taught us a lot about how best to make the hand and what were some obstacles that we faced. For example, a lot of the parts needed to be filed down so that it would fit easily together. We also worked with the tension in the fingers so the hand would move properly and learned how to tie some pretty complicated sailor knots that the site suggested we use for the hand.


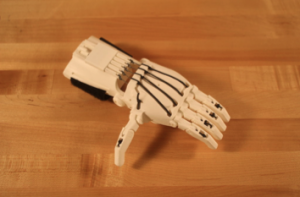
After the first hand was sent in, we decided to print another Raptor Reloaded to be used as a sample in the Maker Lab for future students that are interested in the project. The process was very similar to the first one except we didn’t have all of the assembling materials needed for the hand such as the strings, screws, and Velcro. Enabling the Future sells packages that cost around $25 for materials for the Raptor Reloaded. Instead of buying another package, we improvised with some of our own materials. Feel free to check out the hand in the Maker Lab during open hours!

Screen Shot 2015-05-11 at 7.19.20 PM

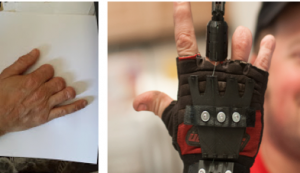
Towards the end of the semester, the e-NABLE team got back to us about a real recipient, his name is Bruce and he is a 53 year old male from North Carolina. He is missing three of his fingers on the right hand, so instead of making a prosthetic hand we were tasked with making replacement fingers. Some sizing needed to be done in the fingers, but other than that the prints were ready. The instructions for the Owen Replacement Finger were also available online; however, they were not as detailed as the Raptor hand. We also had to improvise on getting the necessary materials such as a glove, needle and thread, and elastic, which were not available in a pre-made kit for this type of hand.

Screen Shot 2015-05-11 at 7.19.34 PM

The MakerLab will keep working with the e-Nable organization, and enable students to create an impact and learn digital fabrication at the same time.

Souvenirs for Women In Engineering - 3D Printed!

B-kLLFeIMAA-hbE.jpg

The University of Illinois is undoubtedly one of the best schools for Engineering. Women in Engineering (WIE) is a community of women in Engineering at the University of Illinois that aims to encourage and support women interested in Science, Technology, Engineering and Math (STEM). They provide hands-on learning experiences and peer engagement opportunities resulting in a more successful STEM academic career. Our very own Guru, Winnie Yang, is a part of this community. Recently she designed some souvenirs for a WIE event. Amanda Wolters, Associate Director was impressed with the designs  and said,

"Thank you so much for creating the perfect University of Illinois souvenirs for our admitted Women in Engineering (WIE) students. The students love them and are excited to know about the opportunities to use such resources once they are students here on campus. WIE love that Winnie Yang, a senior in Materials Science and Engineering, helped design and print these for the visiting students. Our current students sharing time and talent with our future students is what Women in Engineering is all about!"


B-kLLXVIIAAxE_a B-kLLFeIMAA-hbE

Come by the lab to create your own souvenirs or just email us uimakerlab@illinois.edu. Find out more about whats happening at the Lab by subscribing to our blog feed, or just get our posts via email(subscribe option on the right navigation). You can also Like us on Facebook or follow us on twitter to stay updated.

MakerLab + Weddings = Happiness

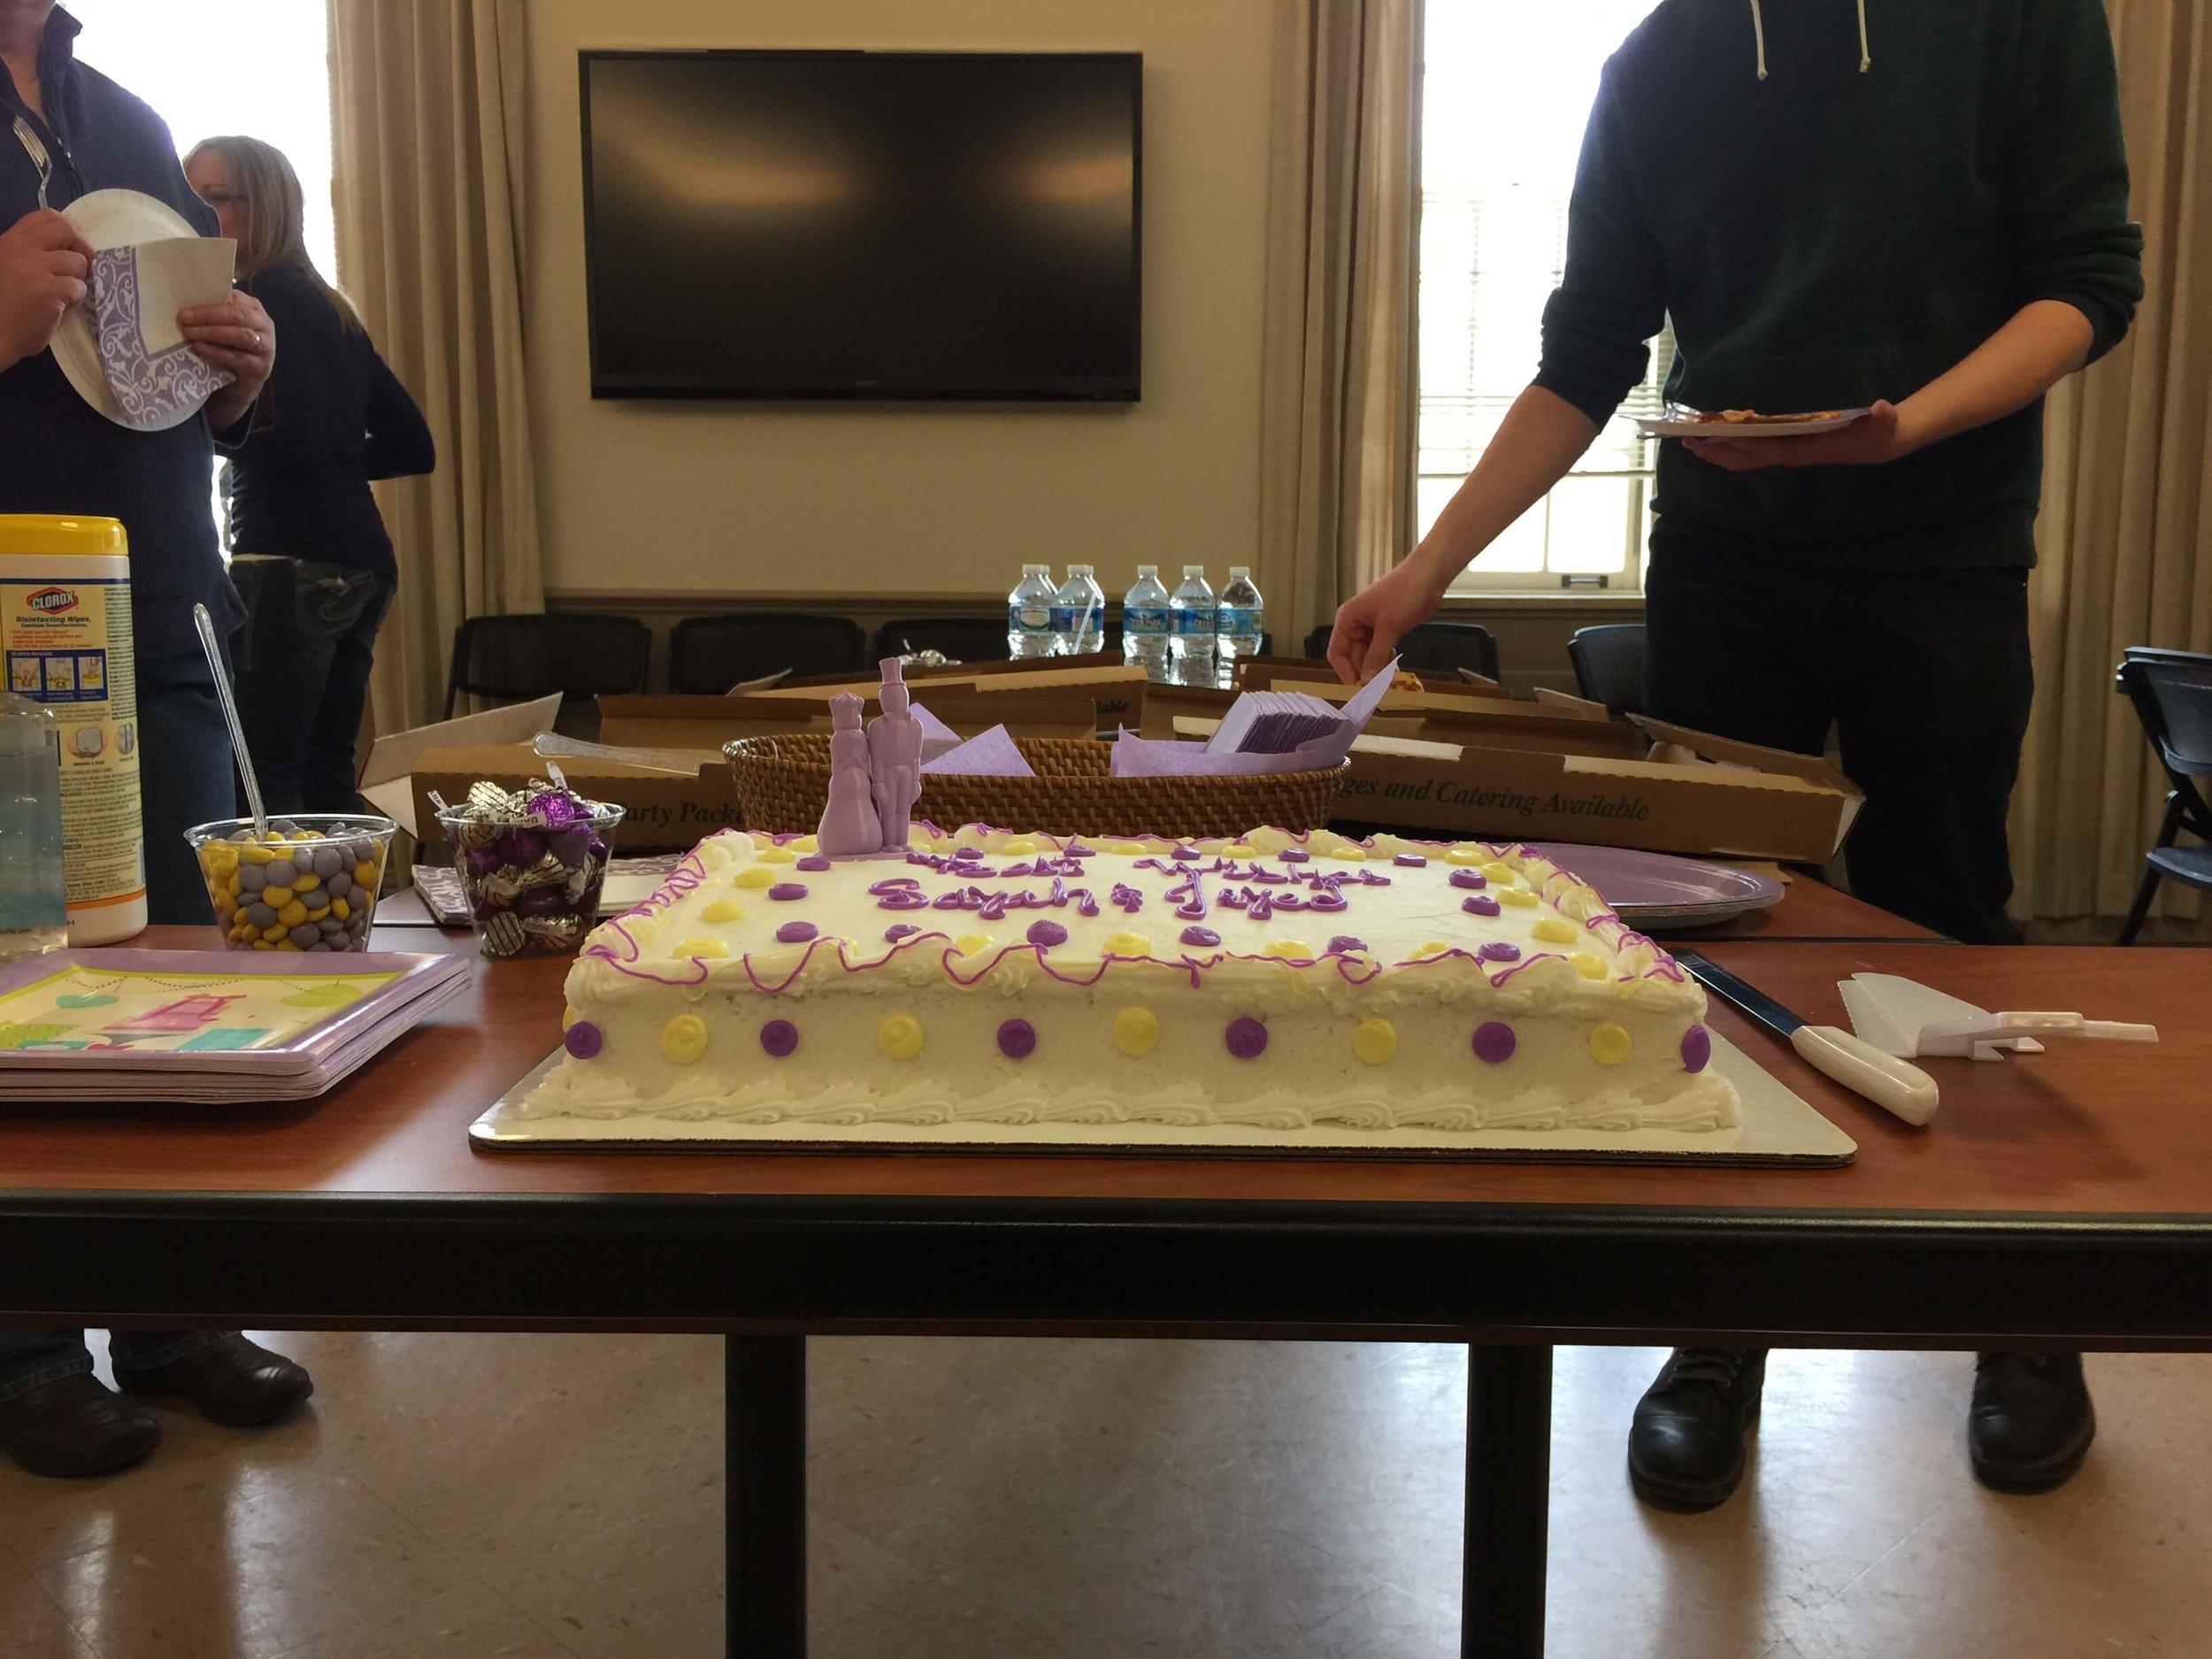
One of our departmental office administrators (Sarah) is getting married next month. To celebration this wonderful event, we recently held a wedding shower for her and her fiancee (Jared). Their primary wedding color is lilac and are trying to use this color in all of their wedding-related materials. Unfortunately, they had difficulty finding a lilac colored cake topper. So the MakerLab came to their rescue. Our intrepid Gurus simply downloaded a wedding cake topper (designed by cerberus333) from Thingiverse, loaded some lilac filament in one of our 3D printers and, viola, a lilac cake topper appeared in less than two hours. A little bit of custom design work by our Guru, Winnie, helped round out the offering, with a 3d rendering of a note card. Sarah was delighted. Makerlab + Wedding = Happiness!

If you are celebrating a wedding, anniversary, birthday or other special occasion, please stop by our Lab to learn how we can help make this event even more special or just drop us a line at UIMakerLab AT Illinois DOT edu.