National Medal of Science : Designed and Printed at the Lab

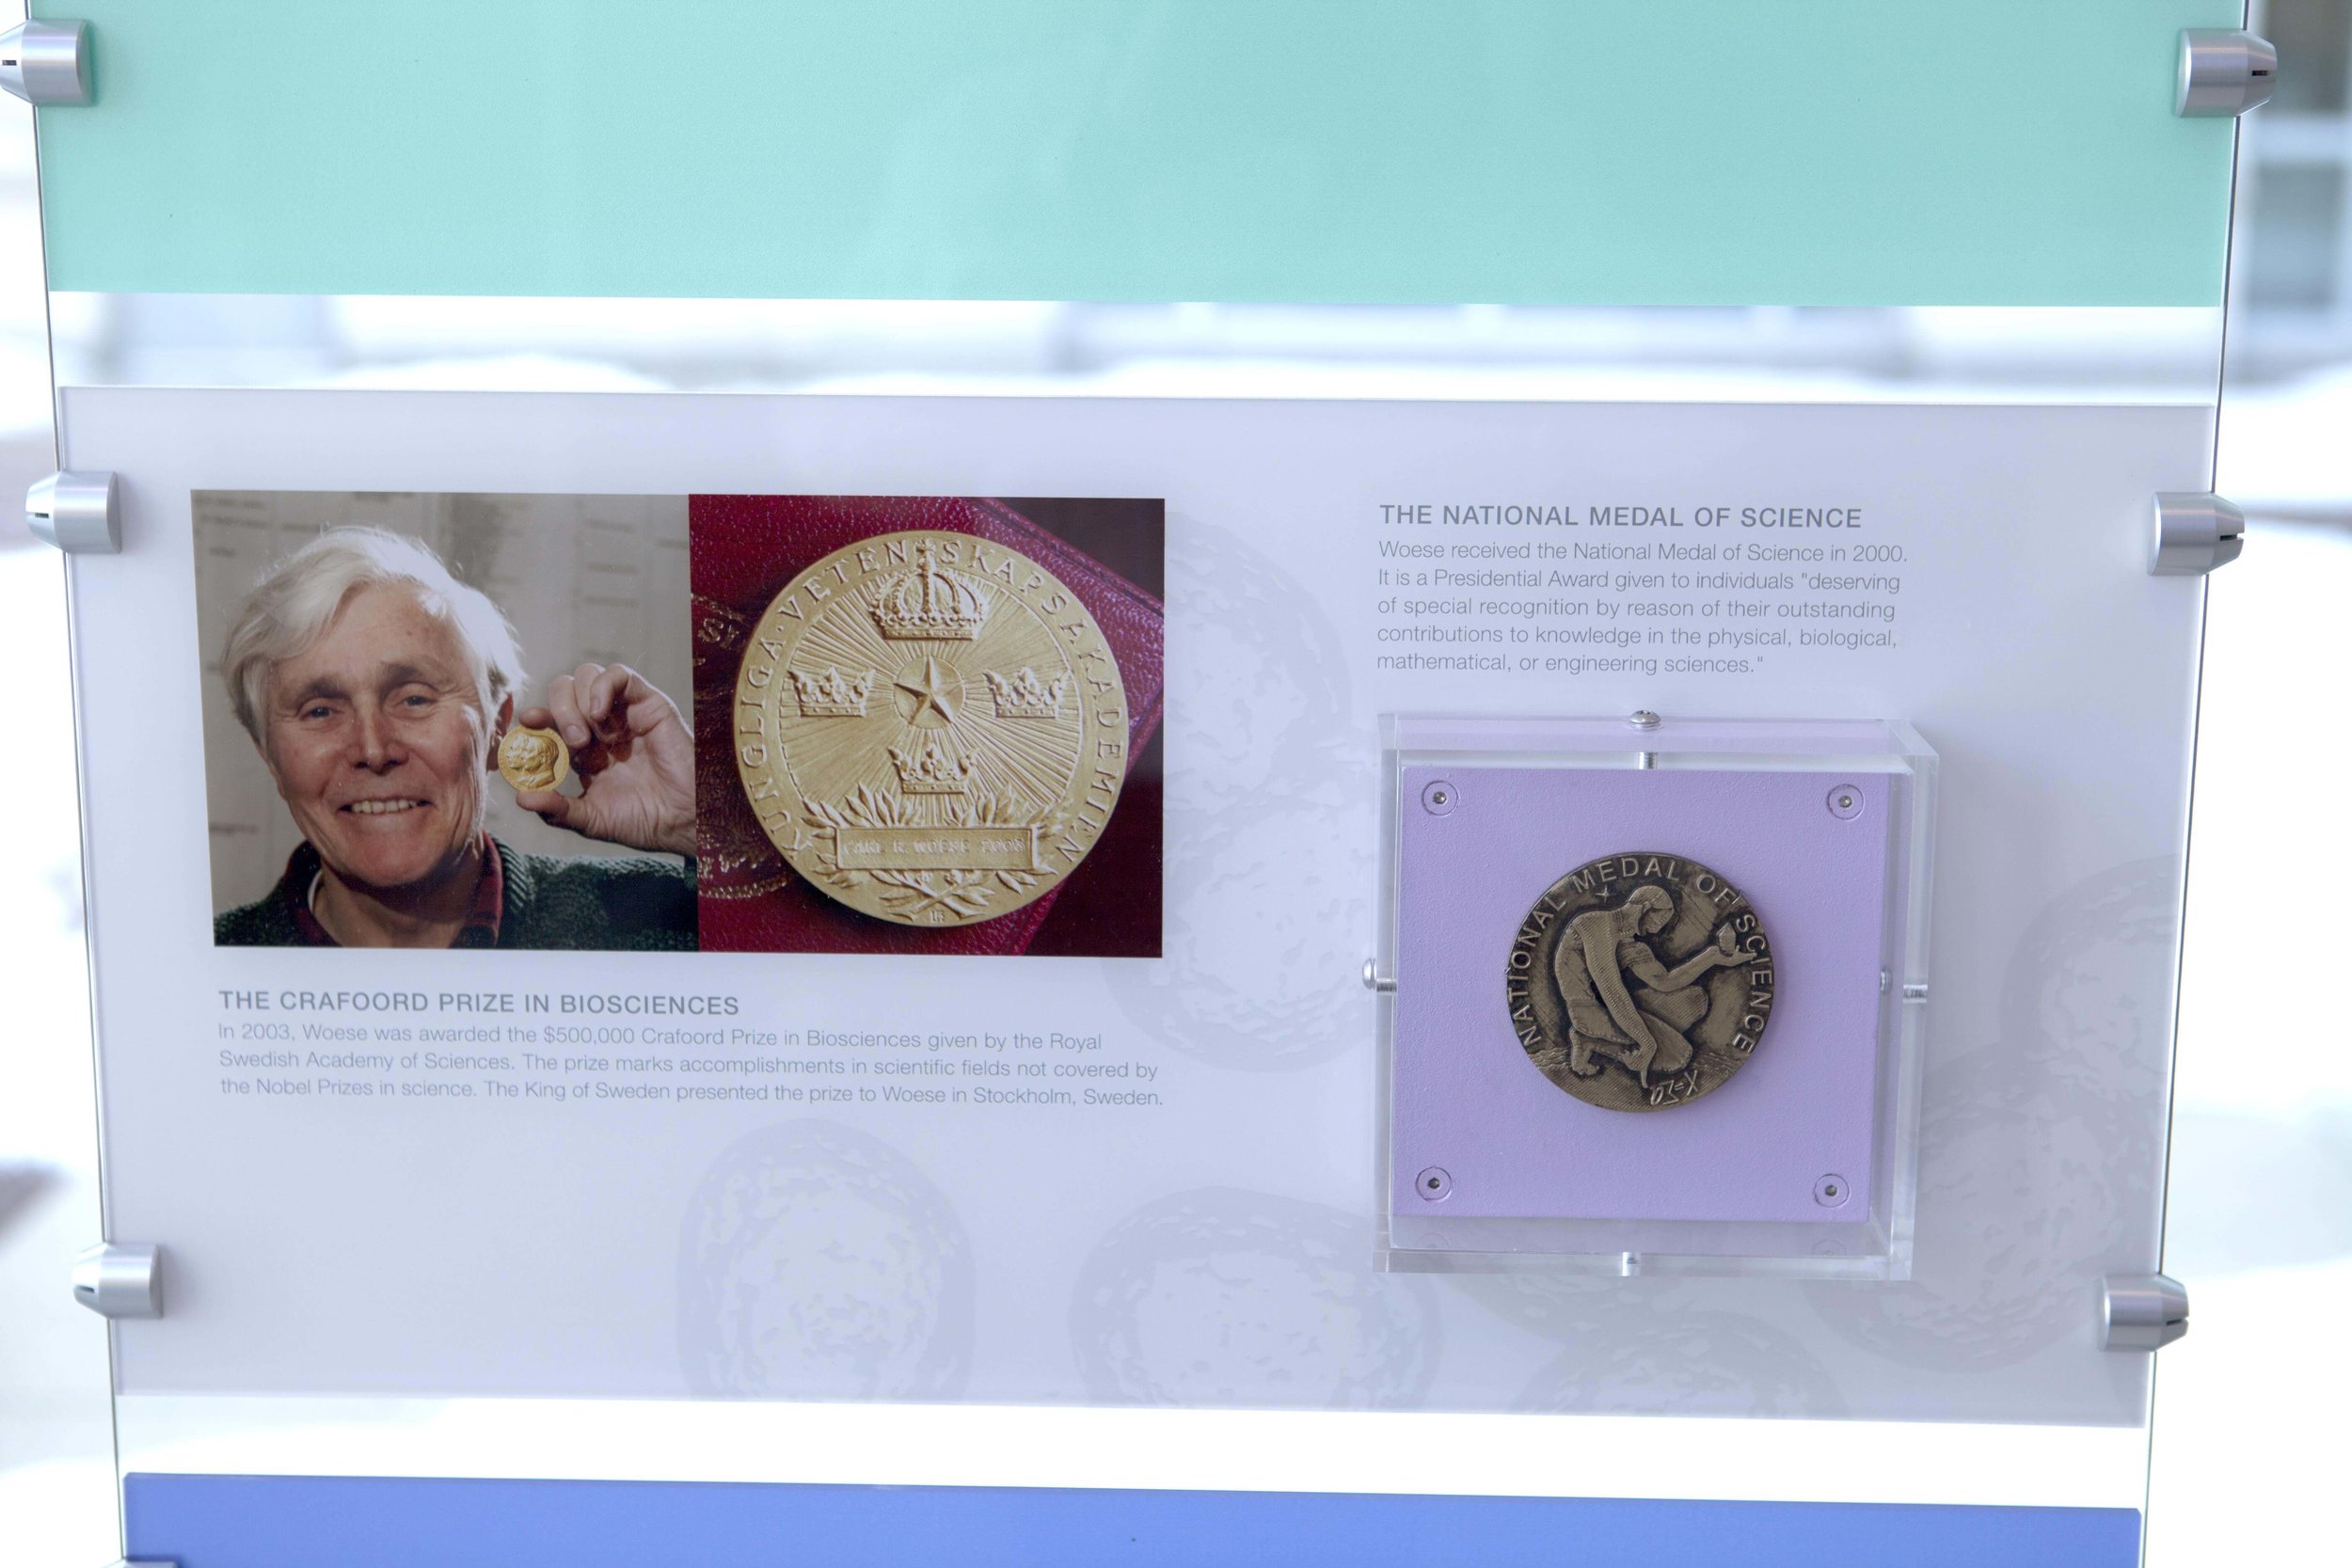
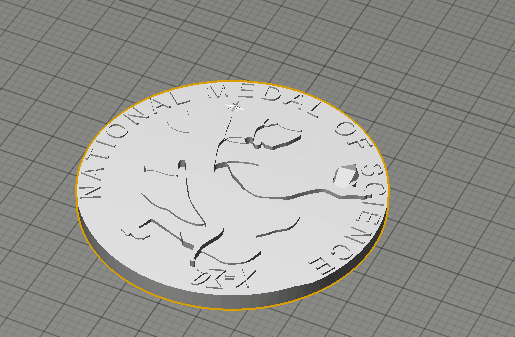
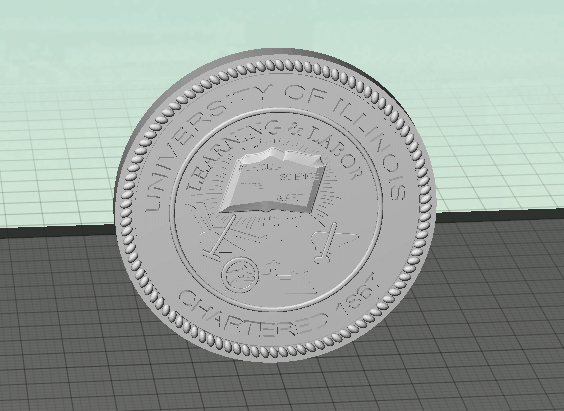
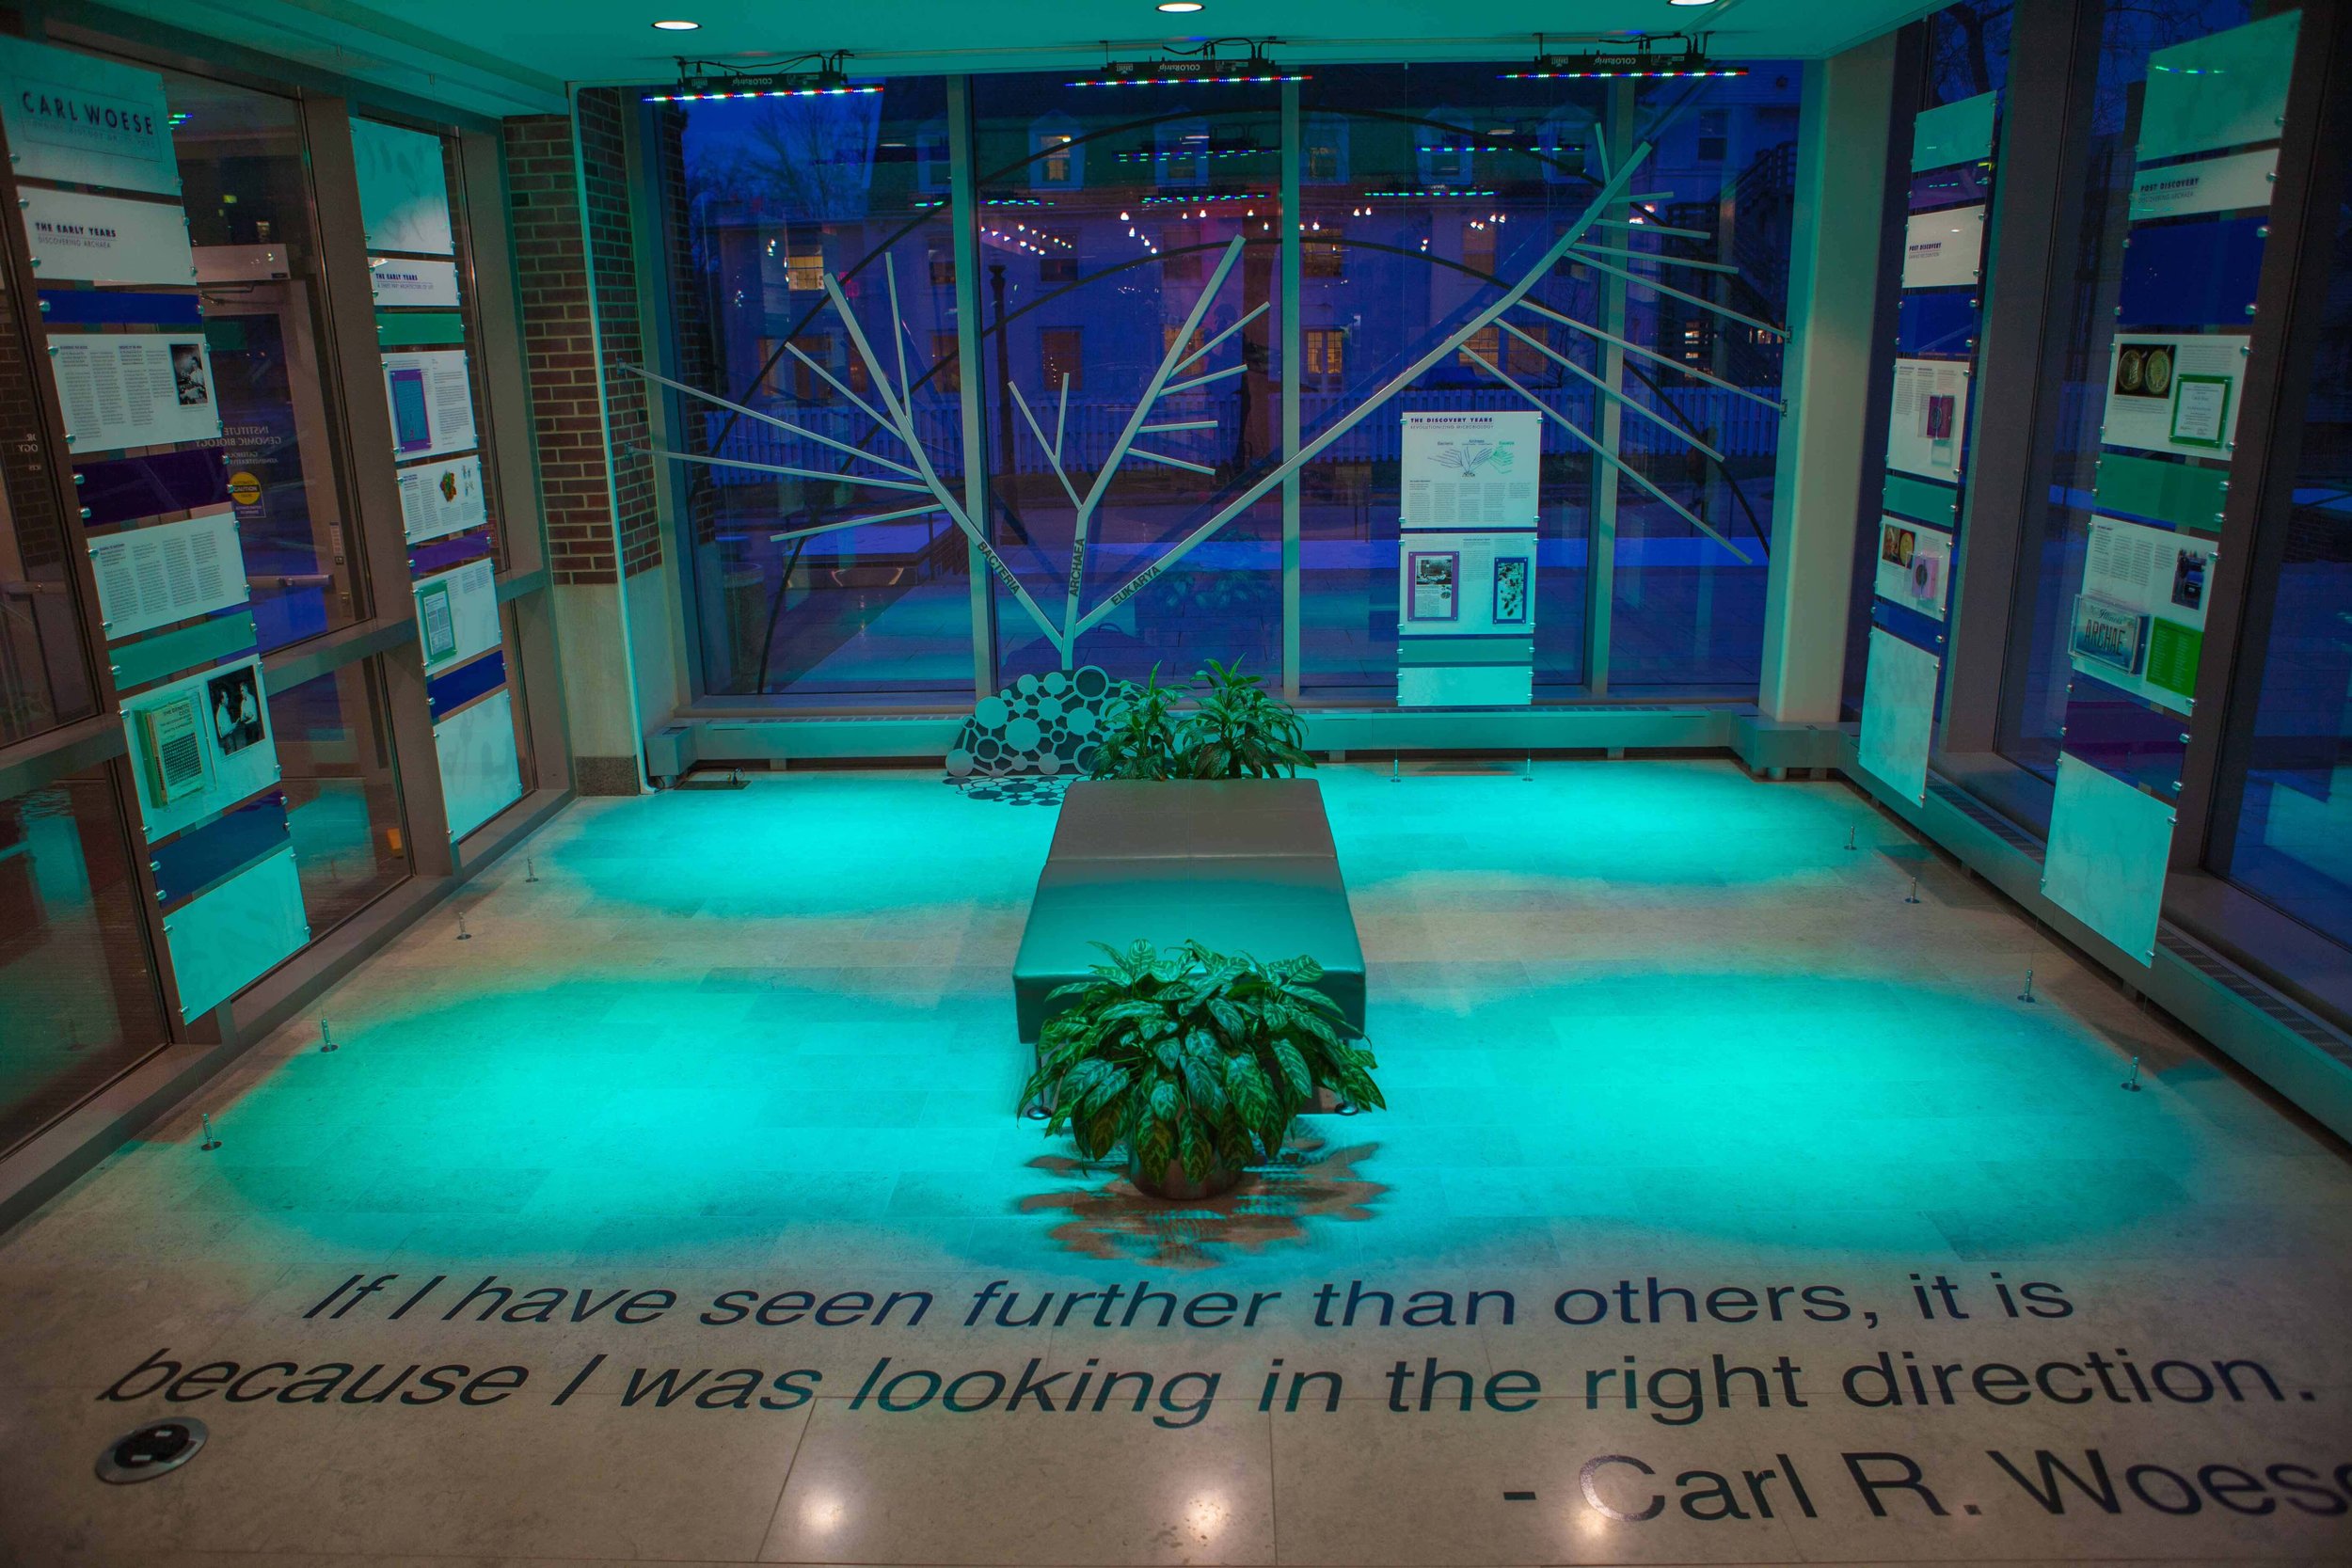
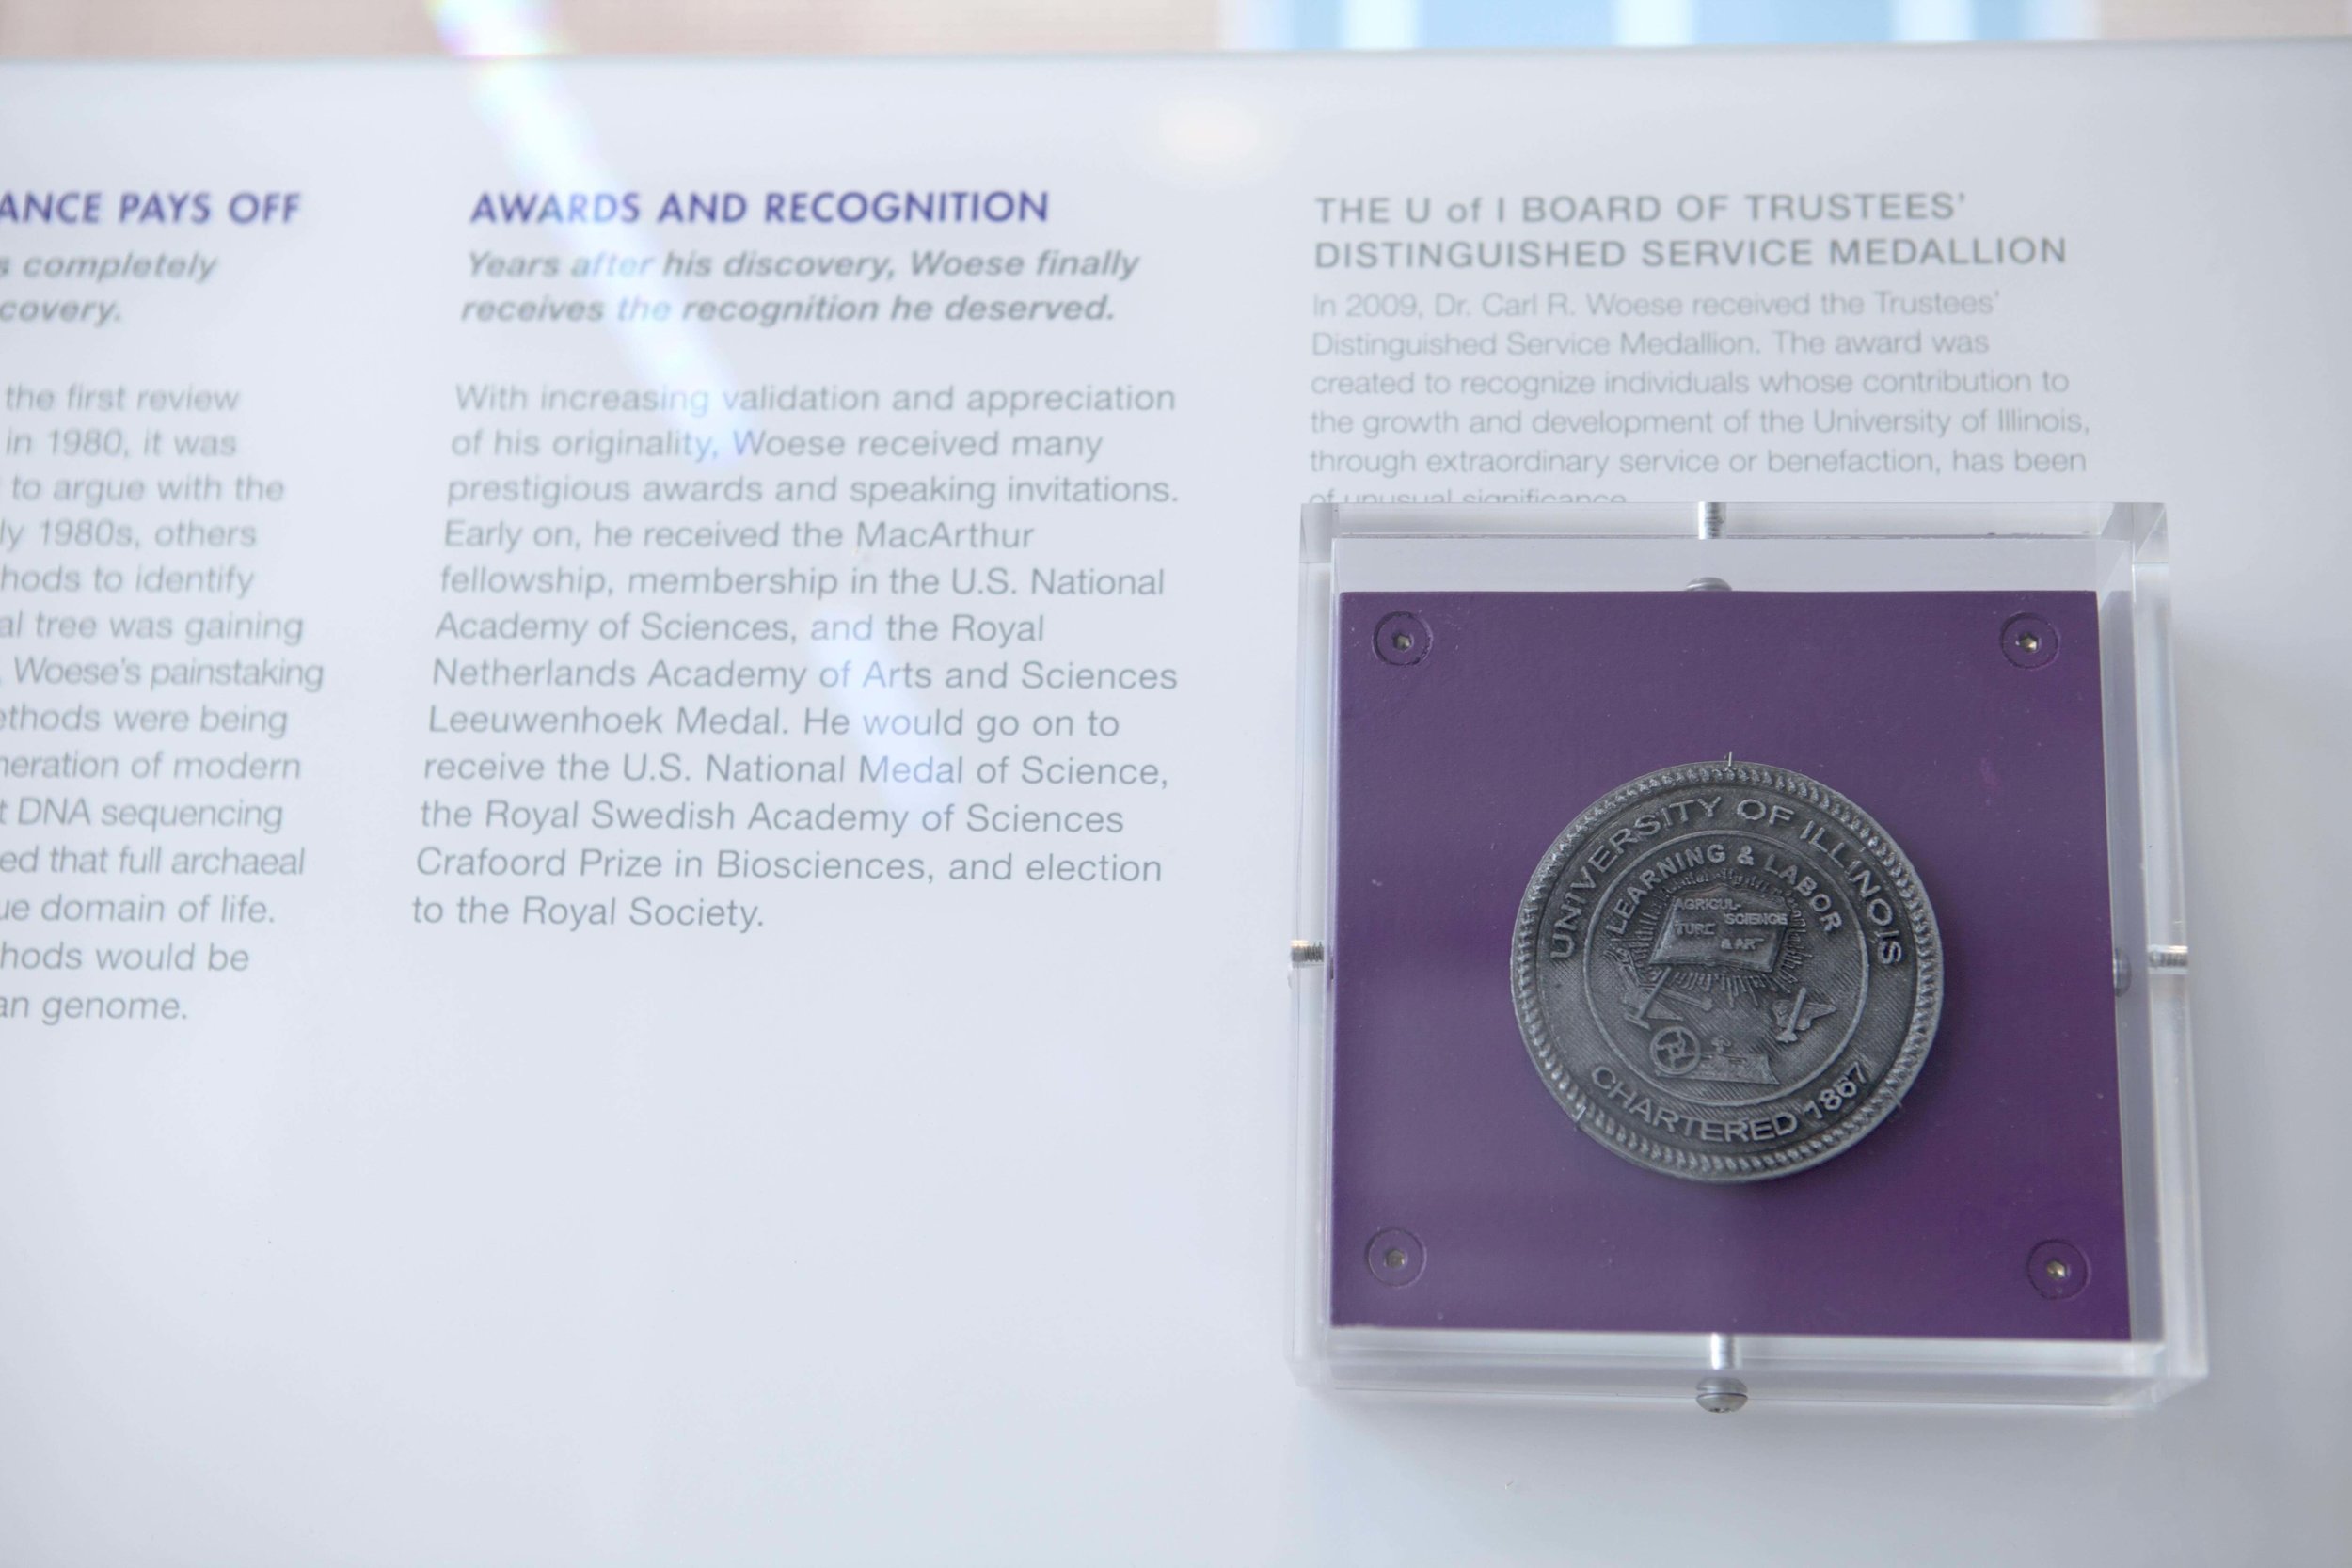
Carl Richard Woese was a great microbiologist and a biophysicist. He held the Stanley O. Ikenberry Chair and was a professor at the University of Illinois at Urbana Champaign. This great man passed away on December 30, 2012. Today we commemorate this great man and his accomplishments. Nicholas Vasi, Director of Communications, Institute for Genomic Biology came to us at the MakerLab with the idea of 3D printing two medals that held significance in the life of Carl R Woese. Woese received the National medal of Science in 2000 and the Trustees’ Distinguished Service Medallion 2009. Mr. Vasi thought it would be great to recreate these medals and place them in the memorial exhibit within the Institute for Genomic Biology.

Printing these medals was never going to be an easy task. However we deal with such challenges on a daily basis at the MakerLab. Our Gurus took this challenge head on and began the design of the two medals.

Every interesting project comes with numerous unforeseen difficulties. Our Guru, Ryan Hurley who was initially assigned to this project injured his foot so Kevin Lohan and Brian Busch two of our other guru's had to step in midway and take charge of the order and they did an amazing job.

Kevin Lohan(Left) and Brian Busch(right)

“I learned a lot of time management during the course of this project. It was dropped on me at the last second and I had to pick up where somebody else had left off.” said Brian.

There were some design issues faced during this project as well. The lettering of the book in the Trustees’ Distinguished Service Medallion was too small and had to be redone. Kevin Lohan was the guru in charge of the National Medal of Science. He faced some trouble during this project also.

“The free form modeling was a little bit challenging since the person in the medal is an organic shape and doing that is much more difficult with a 3D modeler as compared to doing geometric patterns”, said Kevin.

However, Kevin has had some experience in dealing with such situations and was able to handle this difficulty with ease. The project was a success and was completed in time. Mr. Nicholas Vasi was impressed with the results and is looking forward to working with us again.You can hear Mr. Nicholas Vasi talk about his experience below.

http://youtu.be/YHvj2FSykPU

Join the Maker movement at Illinois. Stay tuned for updates by subscribing to our blog feed, or just get our posts via email (subscribe by entering your email on the right). You can also like us on Facebook or follow us on twitter to stay updated. Interested in our services? Just drop us a note at UIMakerLab@illinois.edu.

Making Mr. Jaws at the MakerLab

This video introduces the Illinois MakerLab and demonstrates the workflow for getting something printed at the lab. The example used in the demo is called Mr. Jaws, which is a test print that is used to test a new Replicator 2 printer.This video was made by Ms. Hyewon Cho , a Phd Student in Marketing, who is also doing research in the MakerLab, to study the impact of 3D printing on consumer behavior.

Meet the Maker : Austin Keating

Sometimes you can settle for a $20 lamp from Target, but other times, you want something more. Recently, an amateur Maker came to the Makerlab to look at his options.Austin Keating, a Junior at the University of Illinois, came to the lab in September and found what he was looking for on thingiverse: A Jigsaw Puzzle Lamp. As a Journalism major without any experience in modeling, Austin said he found the undertaking was easy, with the help of Makerlab staff. He said he looks forwarding to making more, and views his experience as an entry point into building his own designs. Based on his experience he also signed up for the "Digital Making" course for Spring 2015


http://youtu.be/vhWaXygF3eI

Meet our other makers . Stay tuned for updates by subscribing to our blog feed, or just get our posts via email. You can also like us on Facebook or follow us on twitter to stay updated. Have an interesting story about making at the lab? Just drop us a note at UIMakerLab@illinois.edu.
Things we Make: Eiffel Tower

We are often asked, "Can you make a large object using a 3D printer?" This is a good question. Although most of the objects that our users make are fairly small, it is possible to make large items using the printers in our Lab. Our MakerBot Replicator 2 printers have a print capacity of 410 cubic inches (11.2 L x 6.0 W x 6.1 H) or about the size of a small loaf of bread. We can also make objects larger than this by printing separate parts than can be fit together. For example, this summer, we printed a model of the Eiffel Tower than stands This model was designed by LeFab Shop in Paris and is freely available via Thingiverse. It is composed of seven different parts, which were individually printed and then glued together, and once assembled, stands over 24 inches tall! We have this tower proudly displayed near the entrance of our Lab. Stop by and have a look! Eifel Tower

Things We Make: World Cup Mascots

This summer, World Cup Fever spread to the MakerLab. Since many of our users are soccer fans, we regularly broadcasted World Cup games. In addition, Guru Kevin printed a set of World Cup Mascots. These mascots were designed by Ultimaker, downloaded from YouMagine, and printed in our Lab. Pictured below are the mascots for the Netherlands (Orange), United States (Brown), Brazil (Green), and Portugal (Red). Stop by our Lab this fall to make your own mascots or anything else that you can imagine! Mascots

MakerLabbers Make RGB Trippy Wave Lights

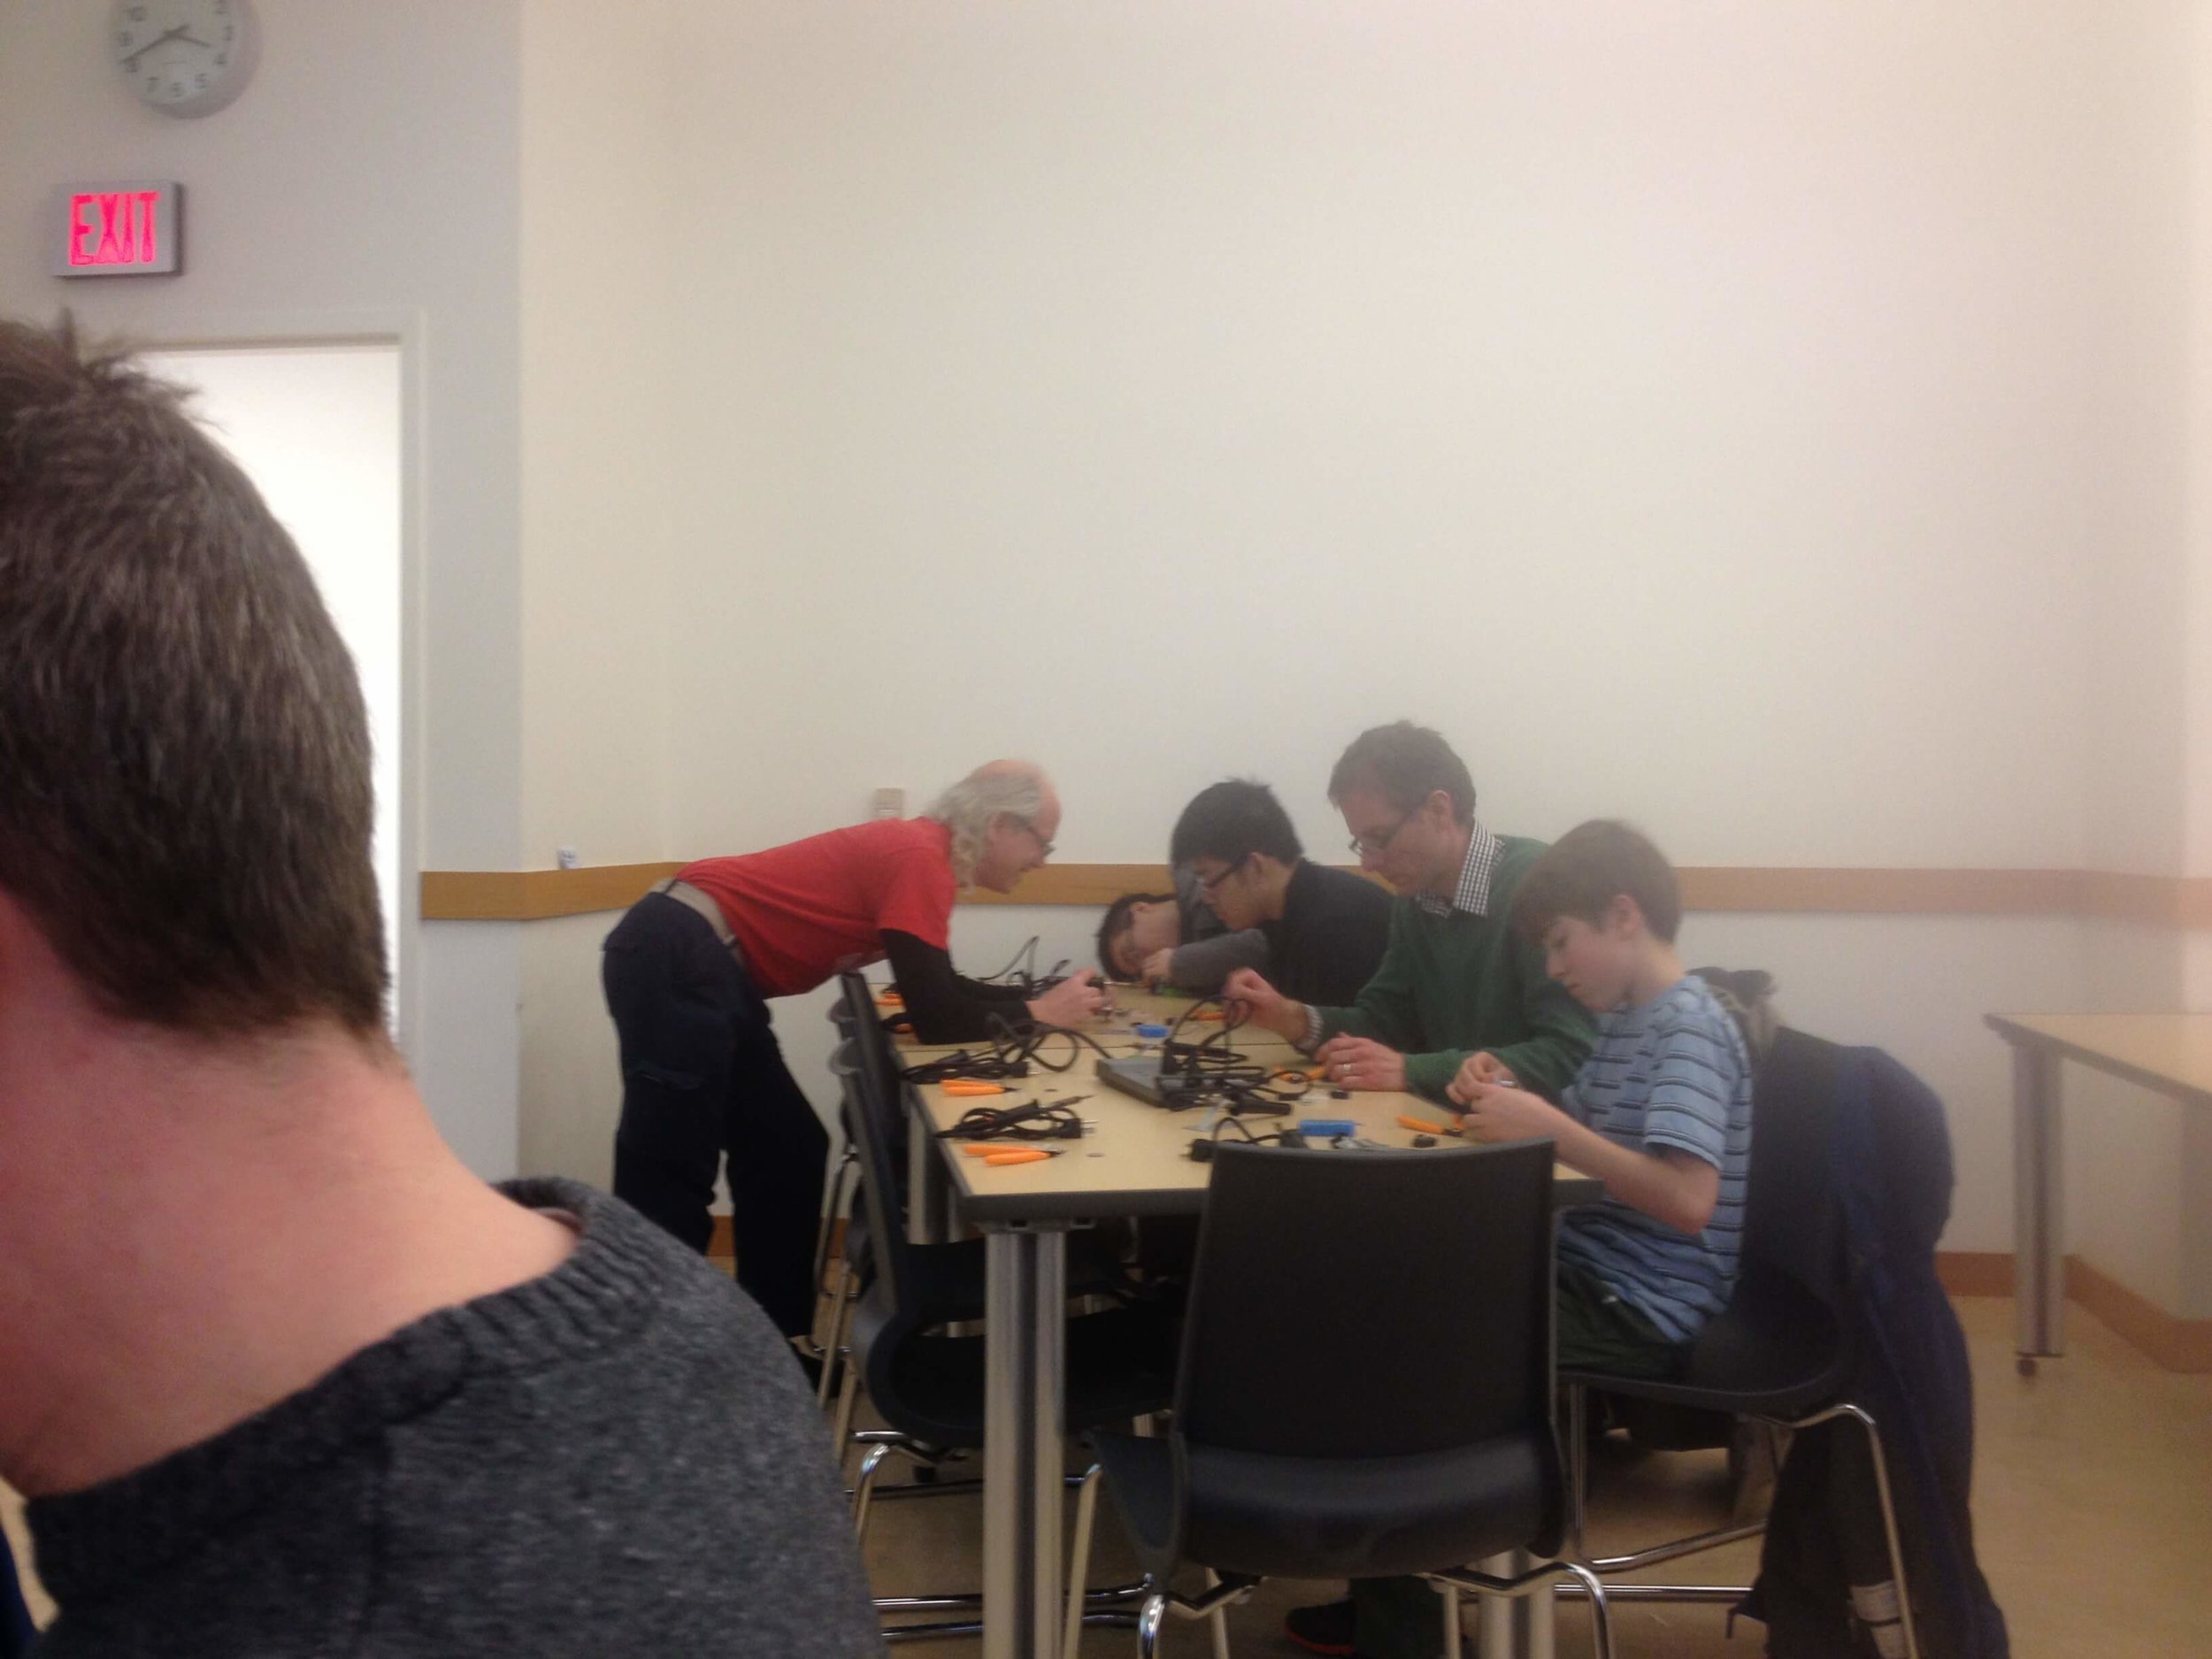
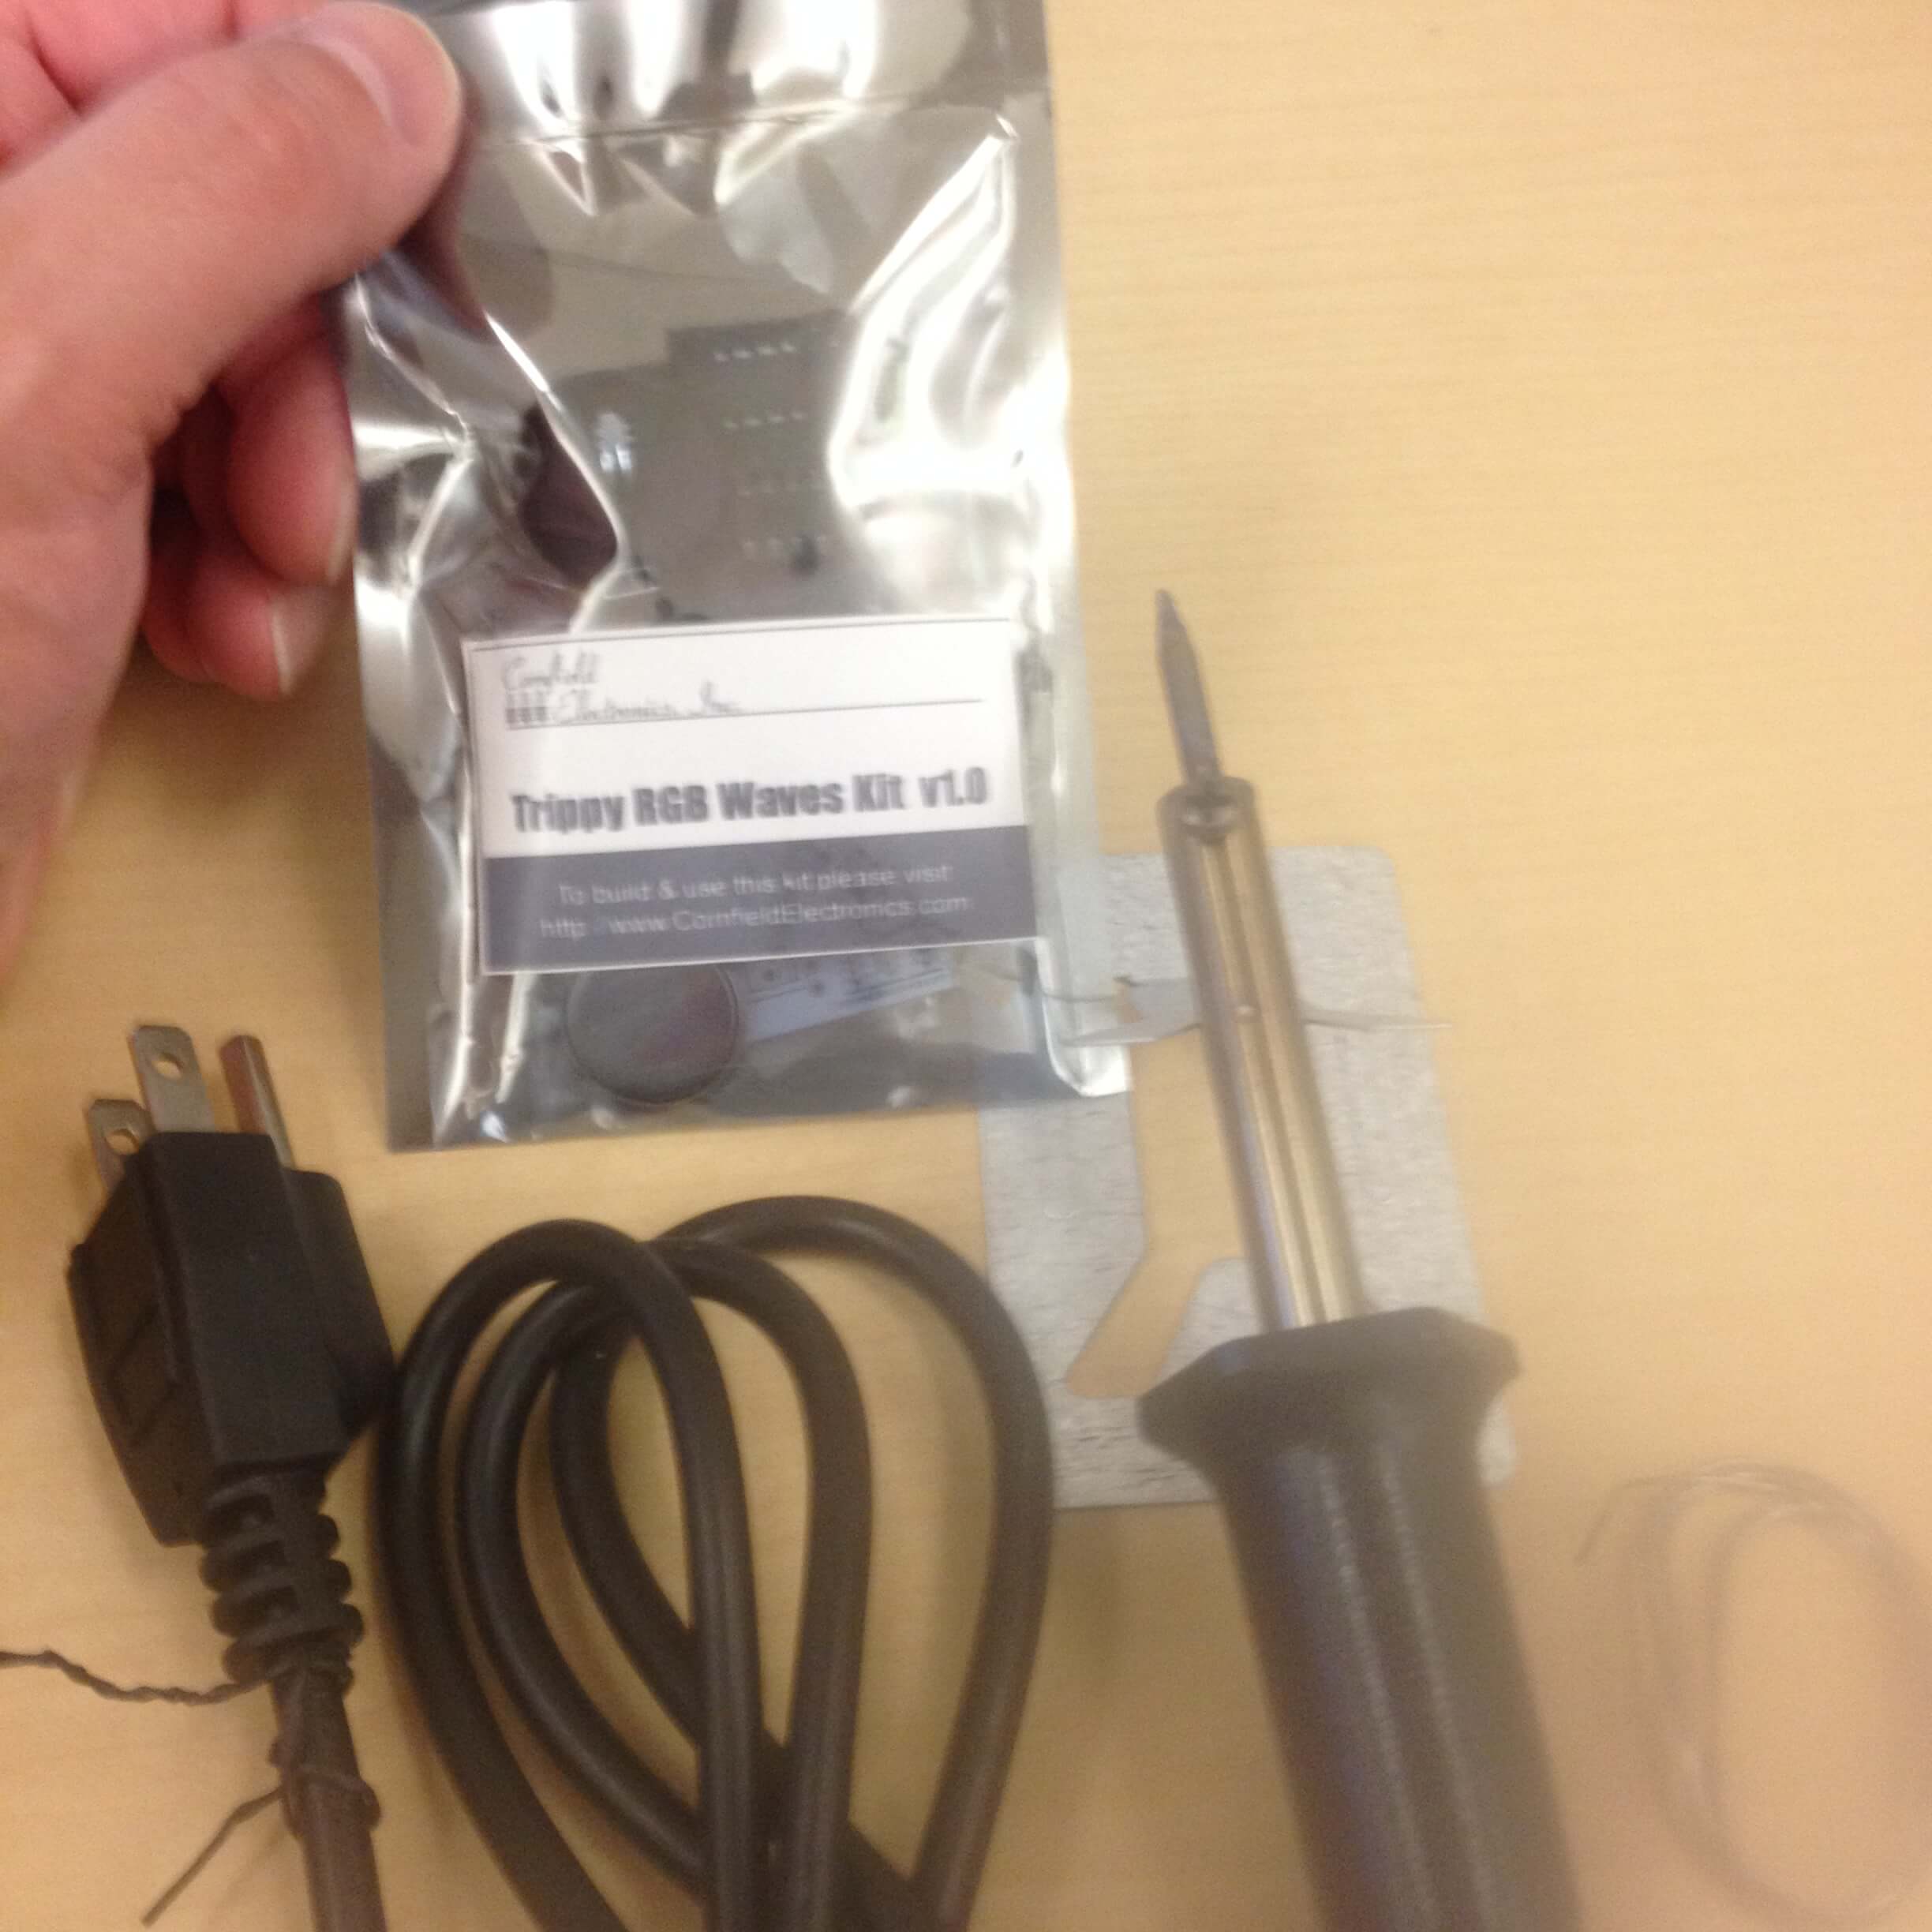
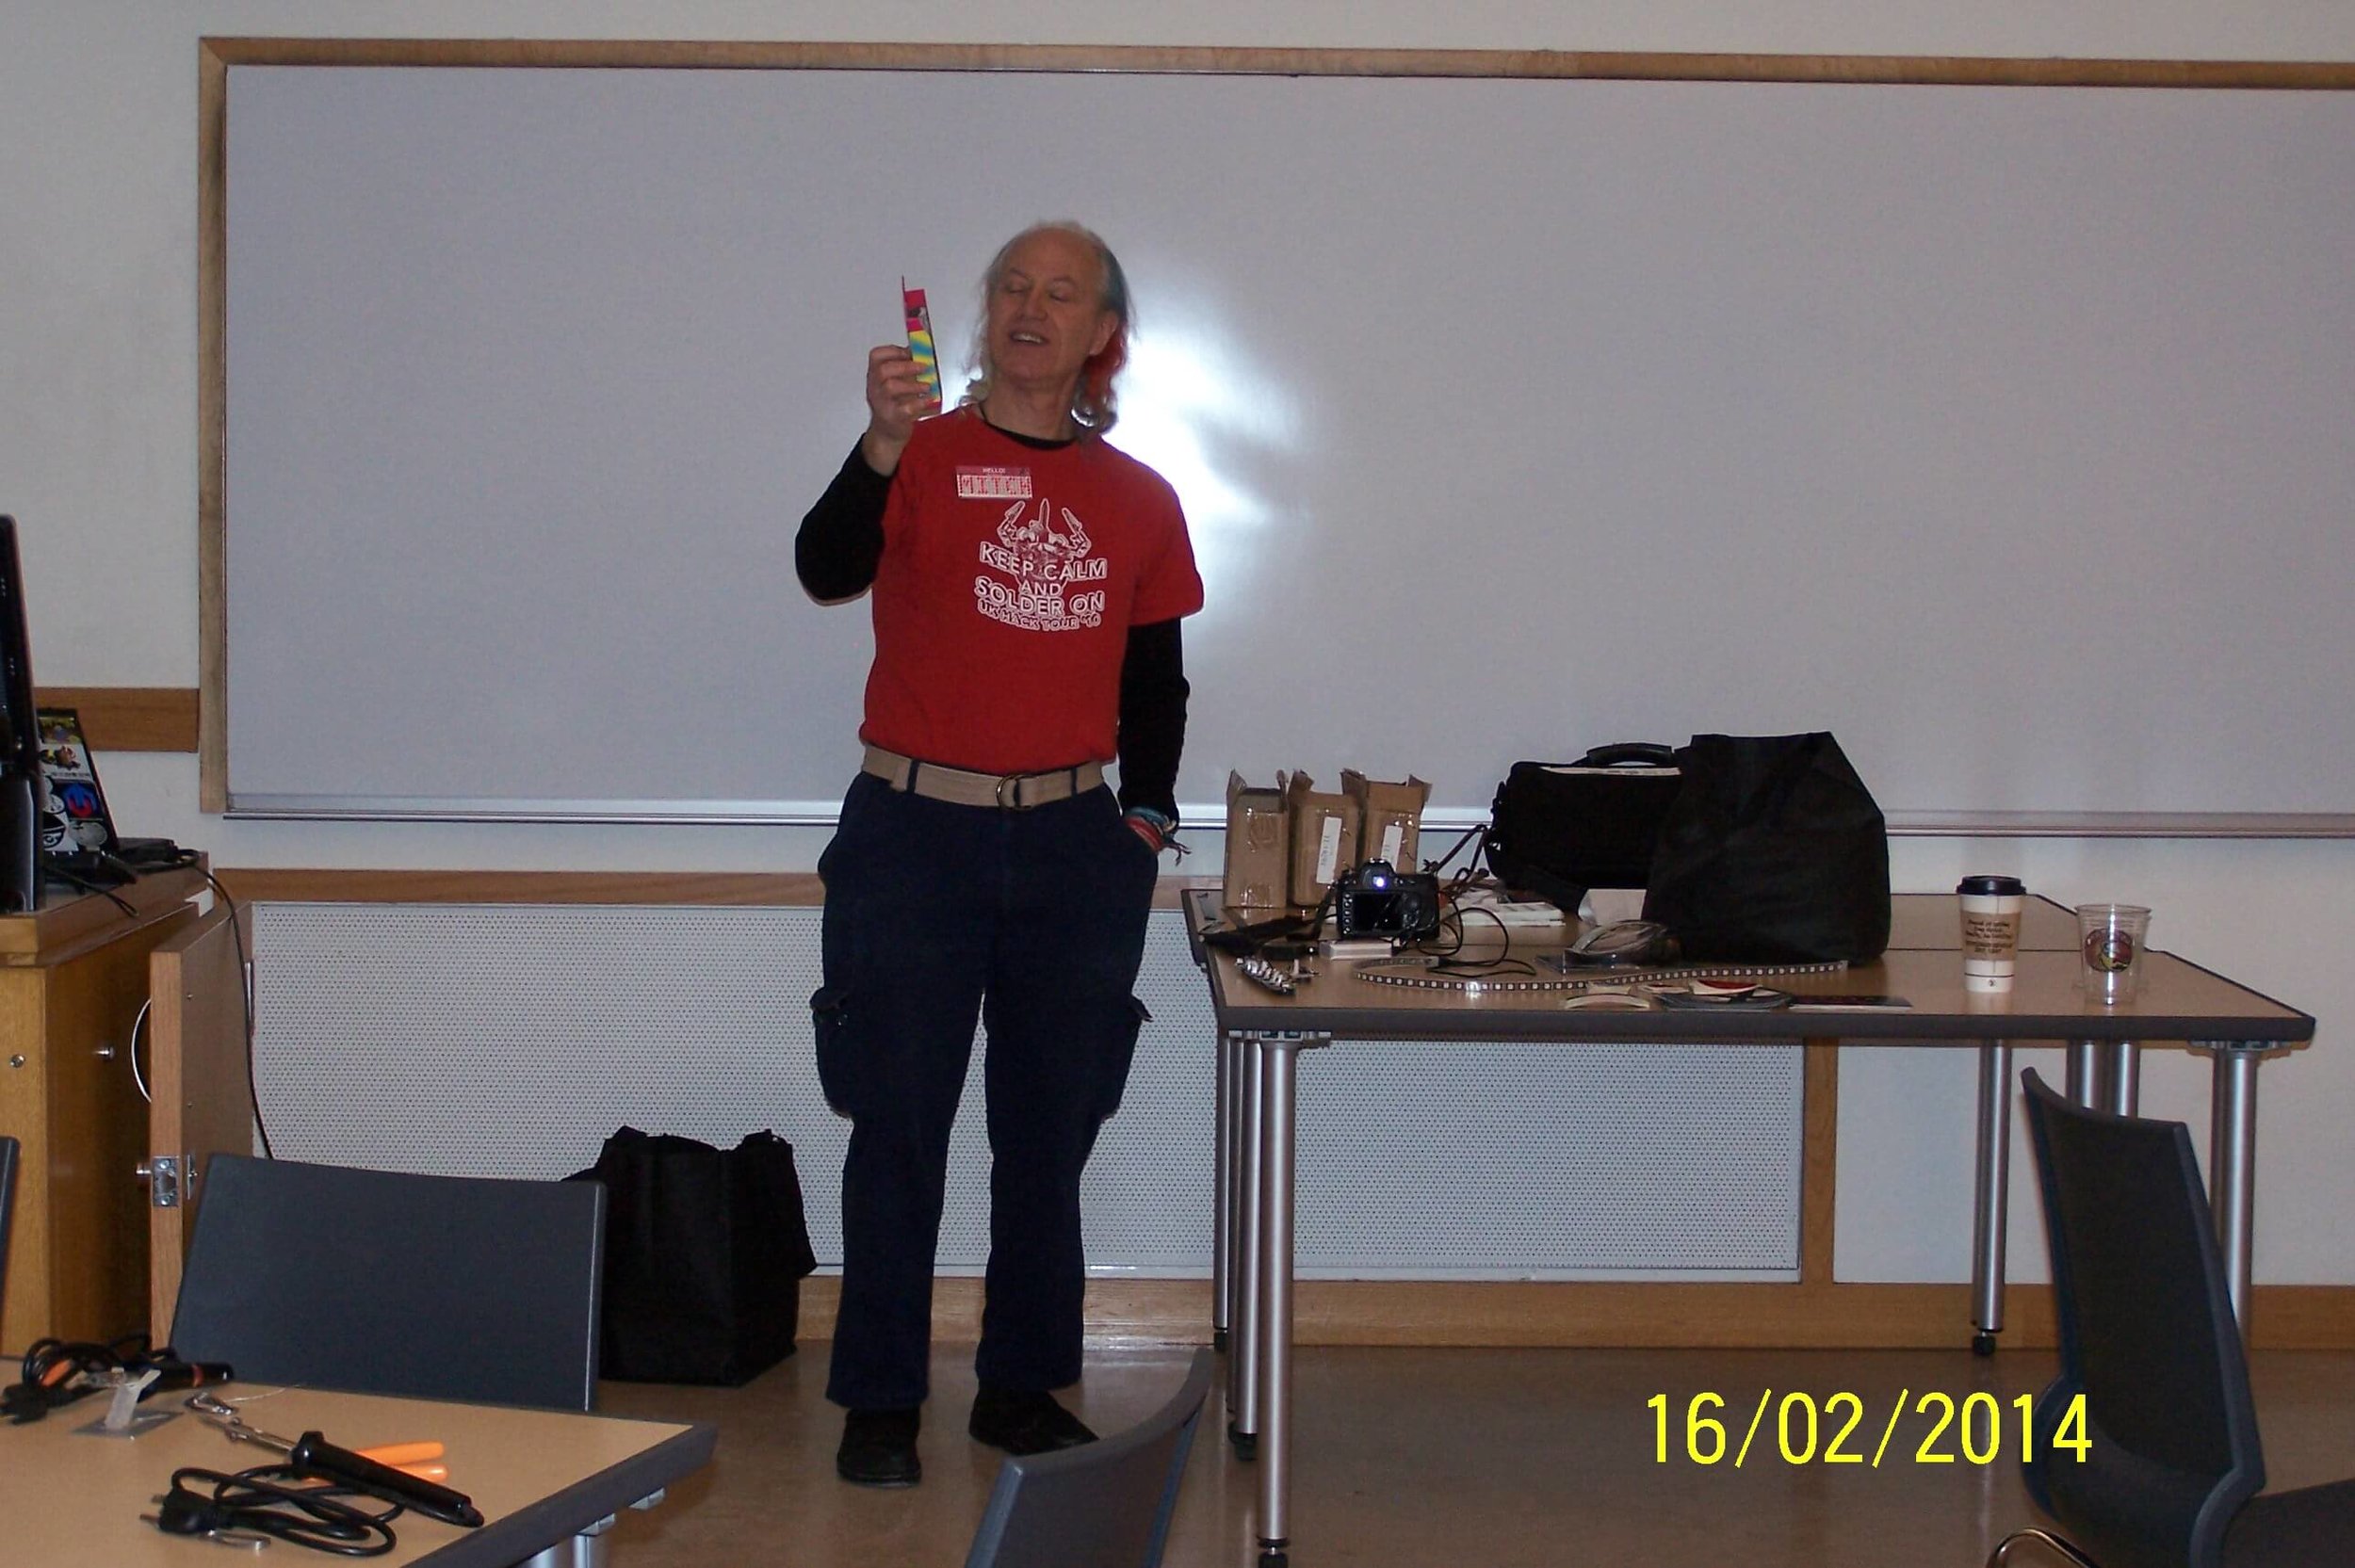
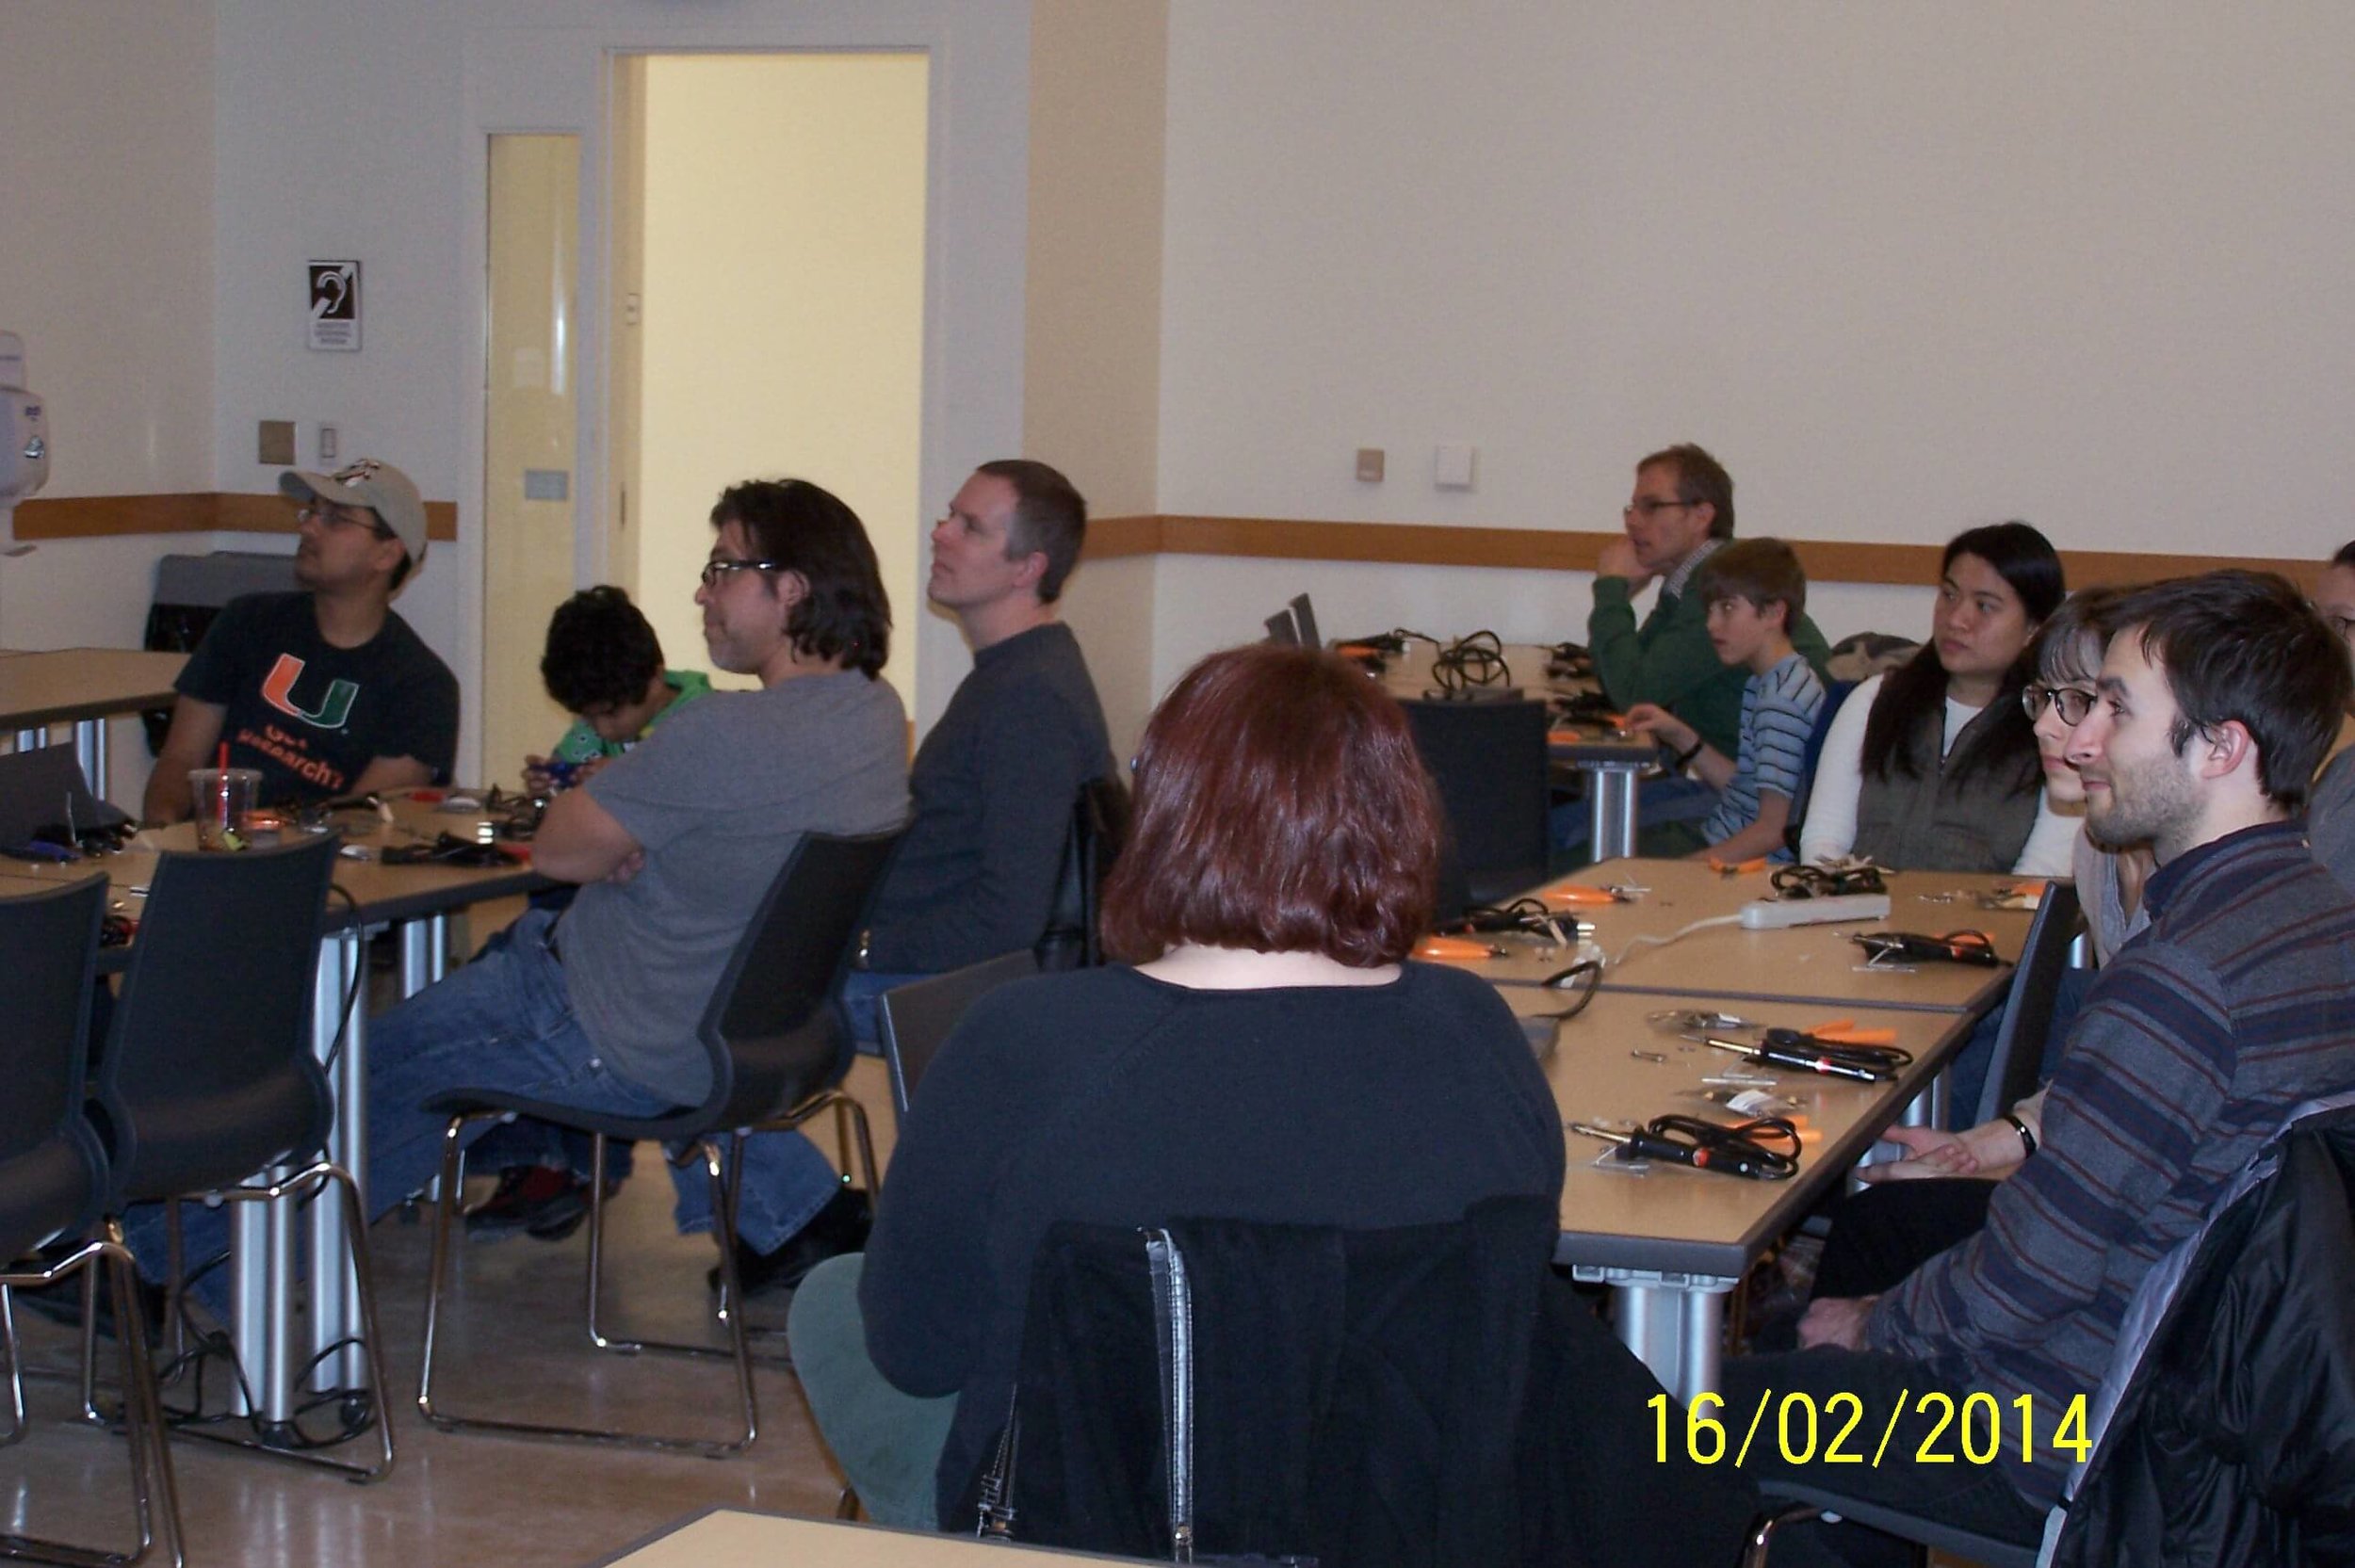
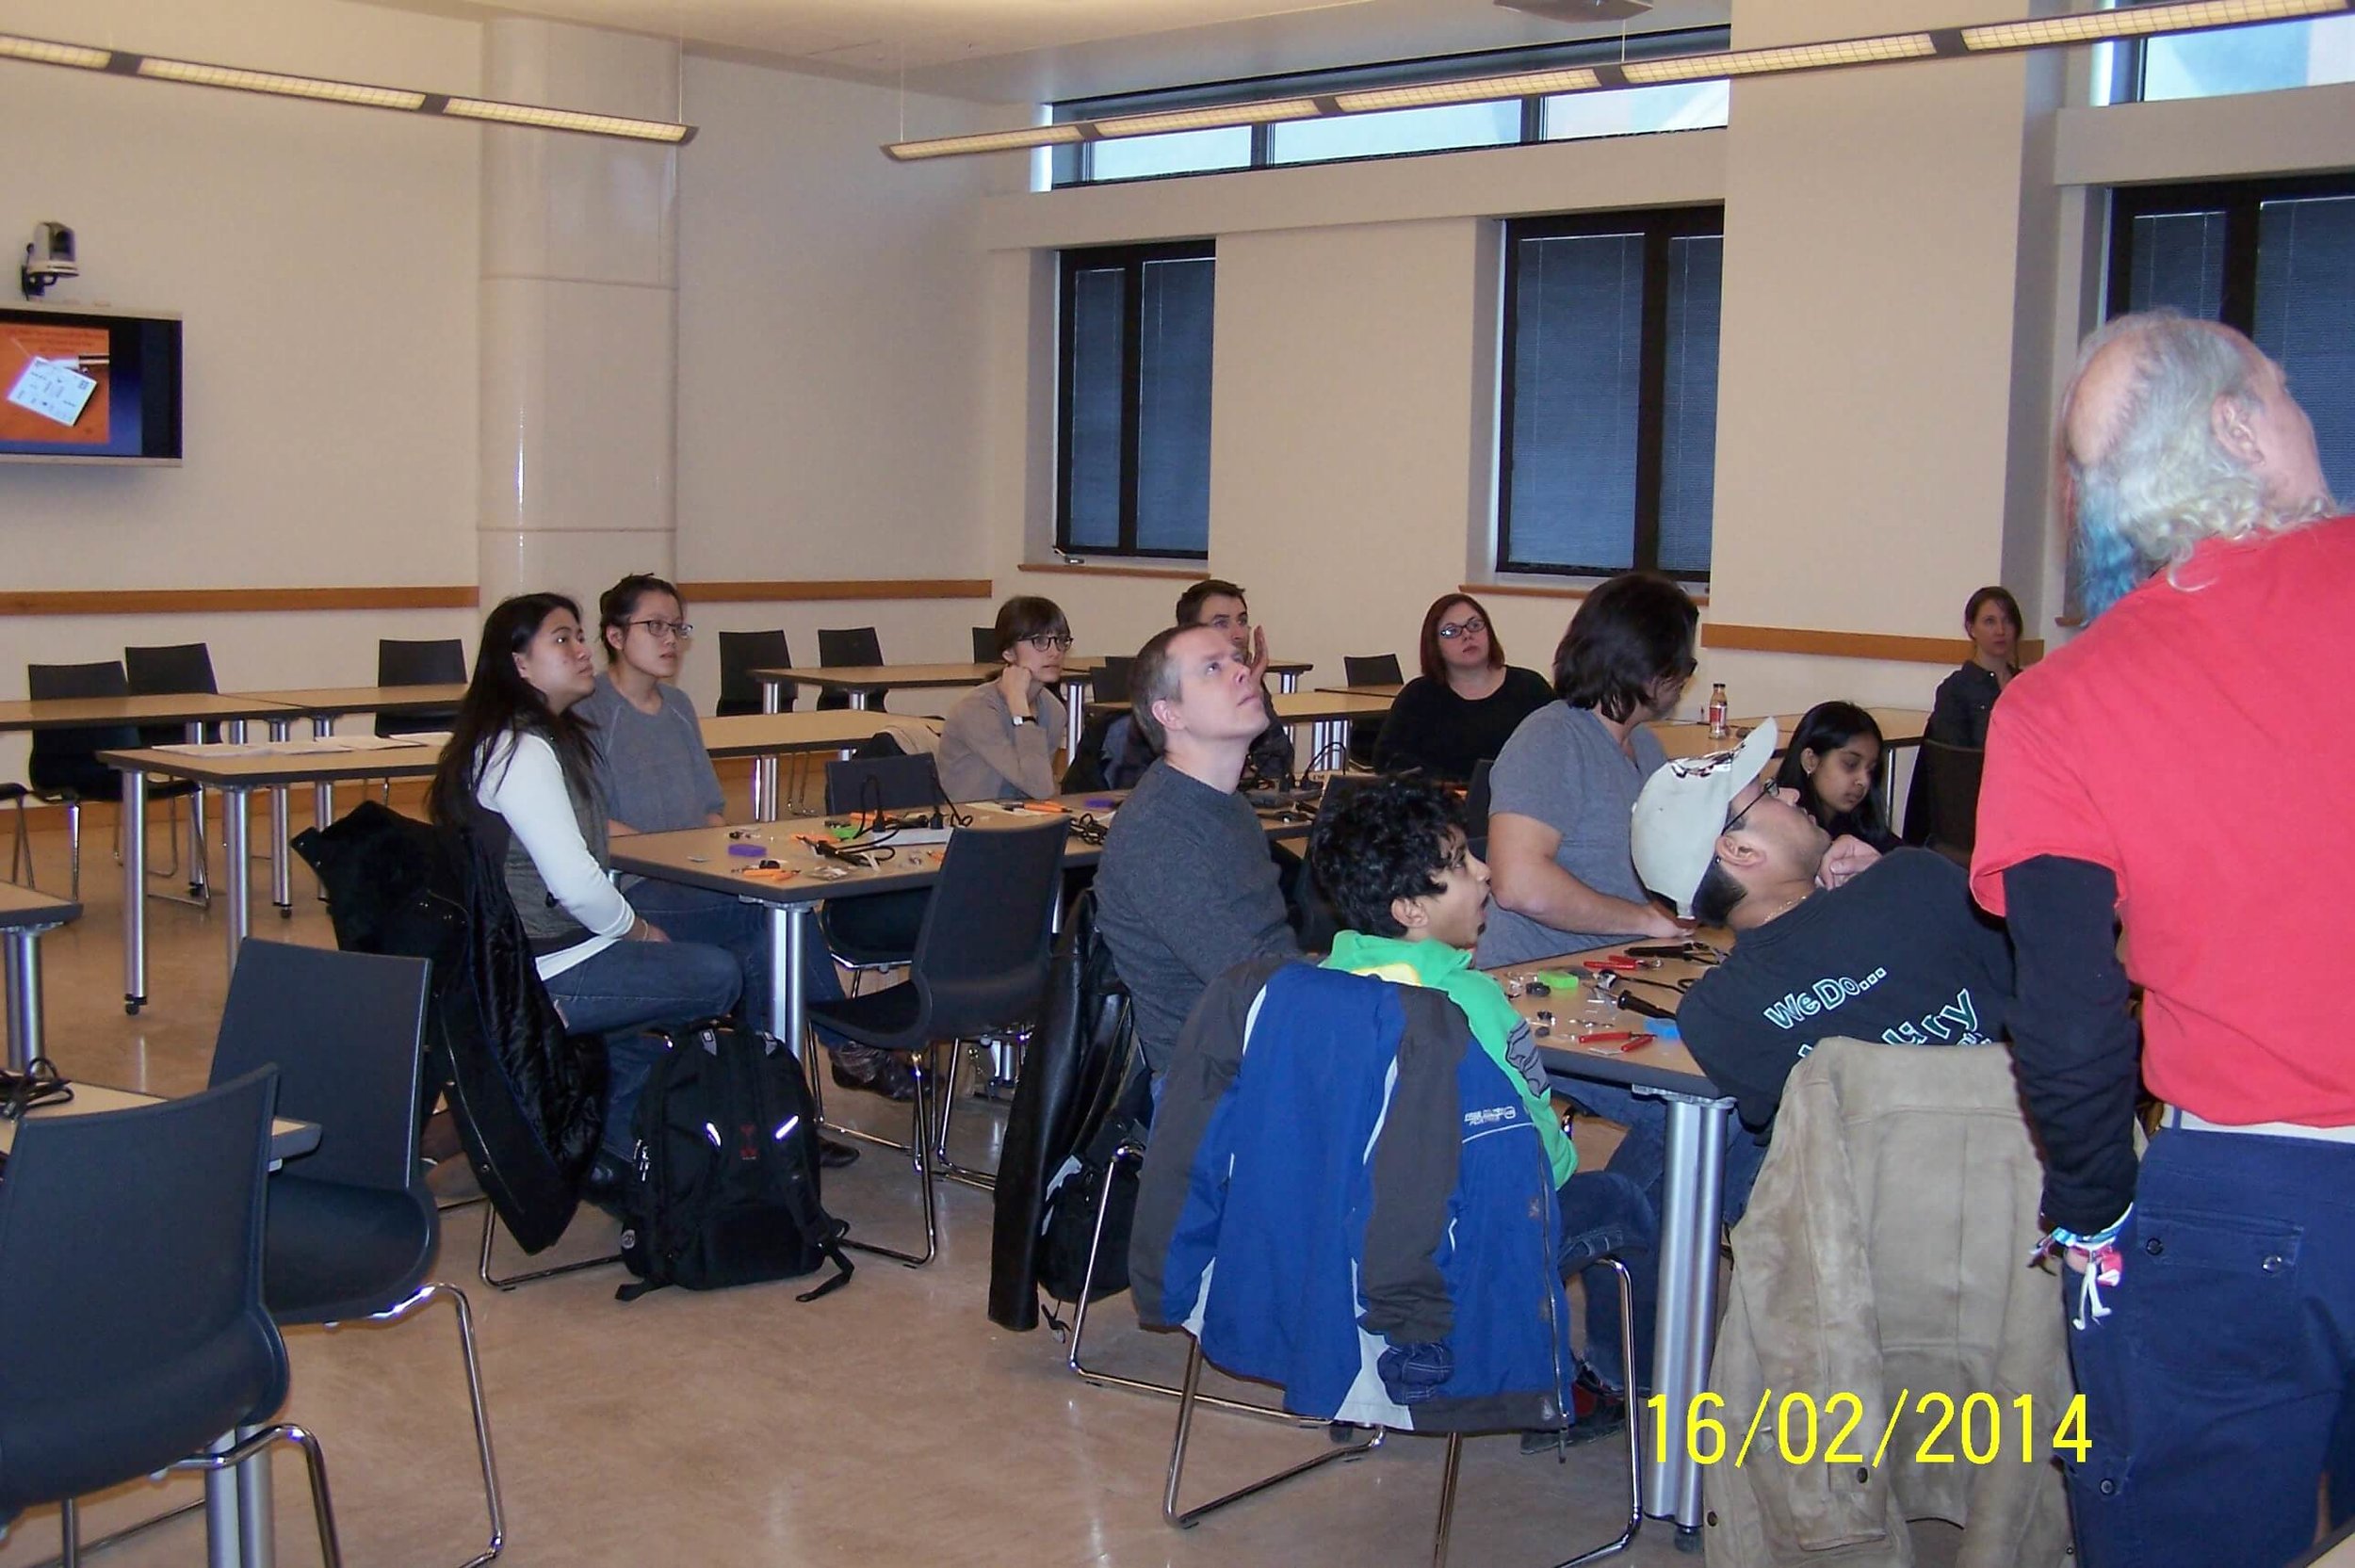
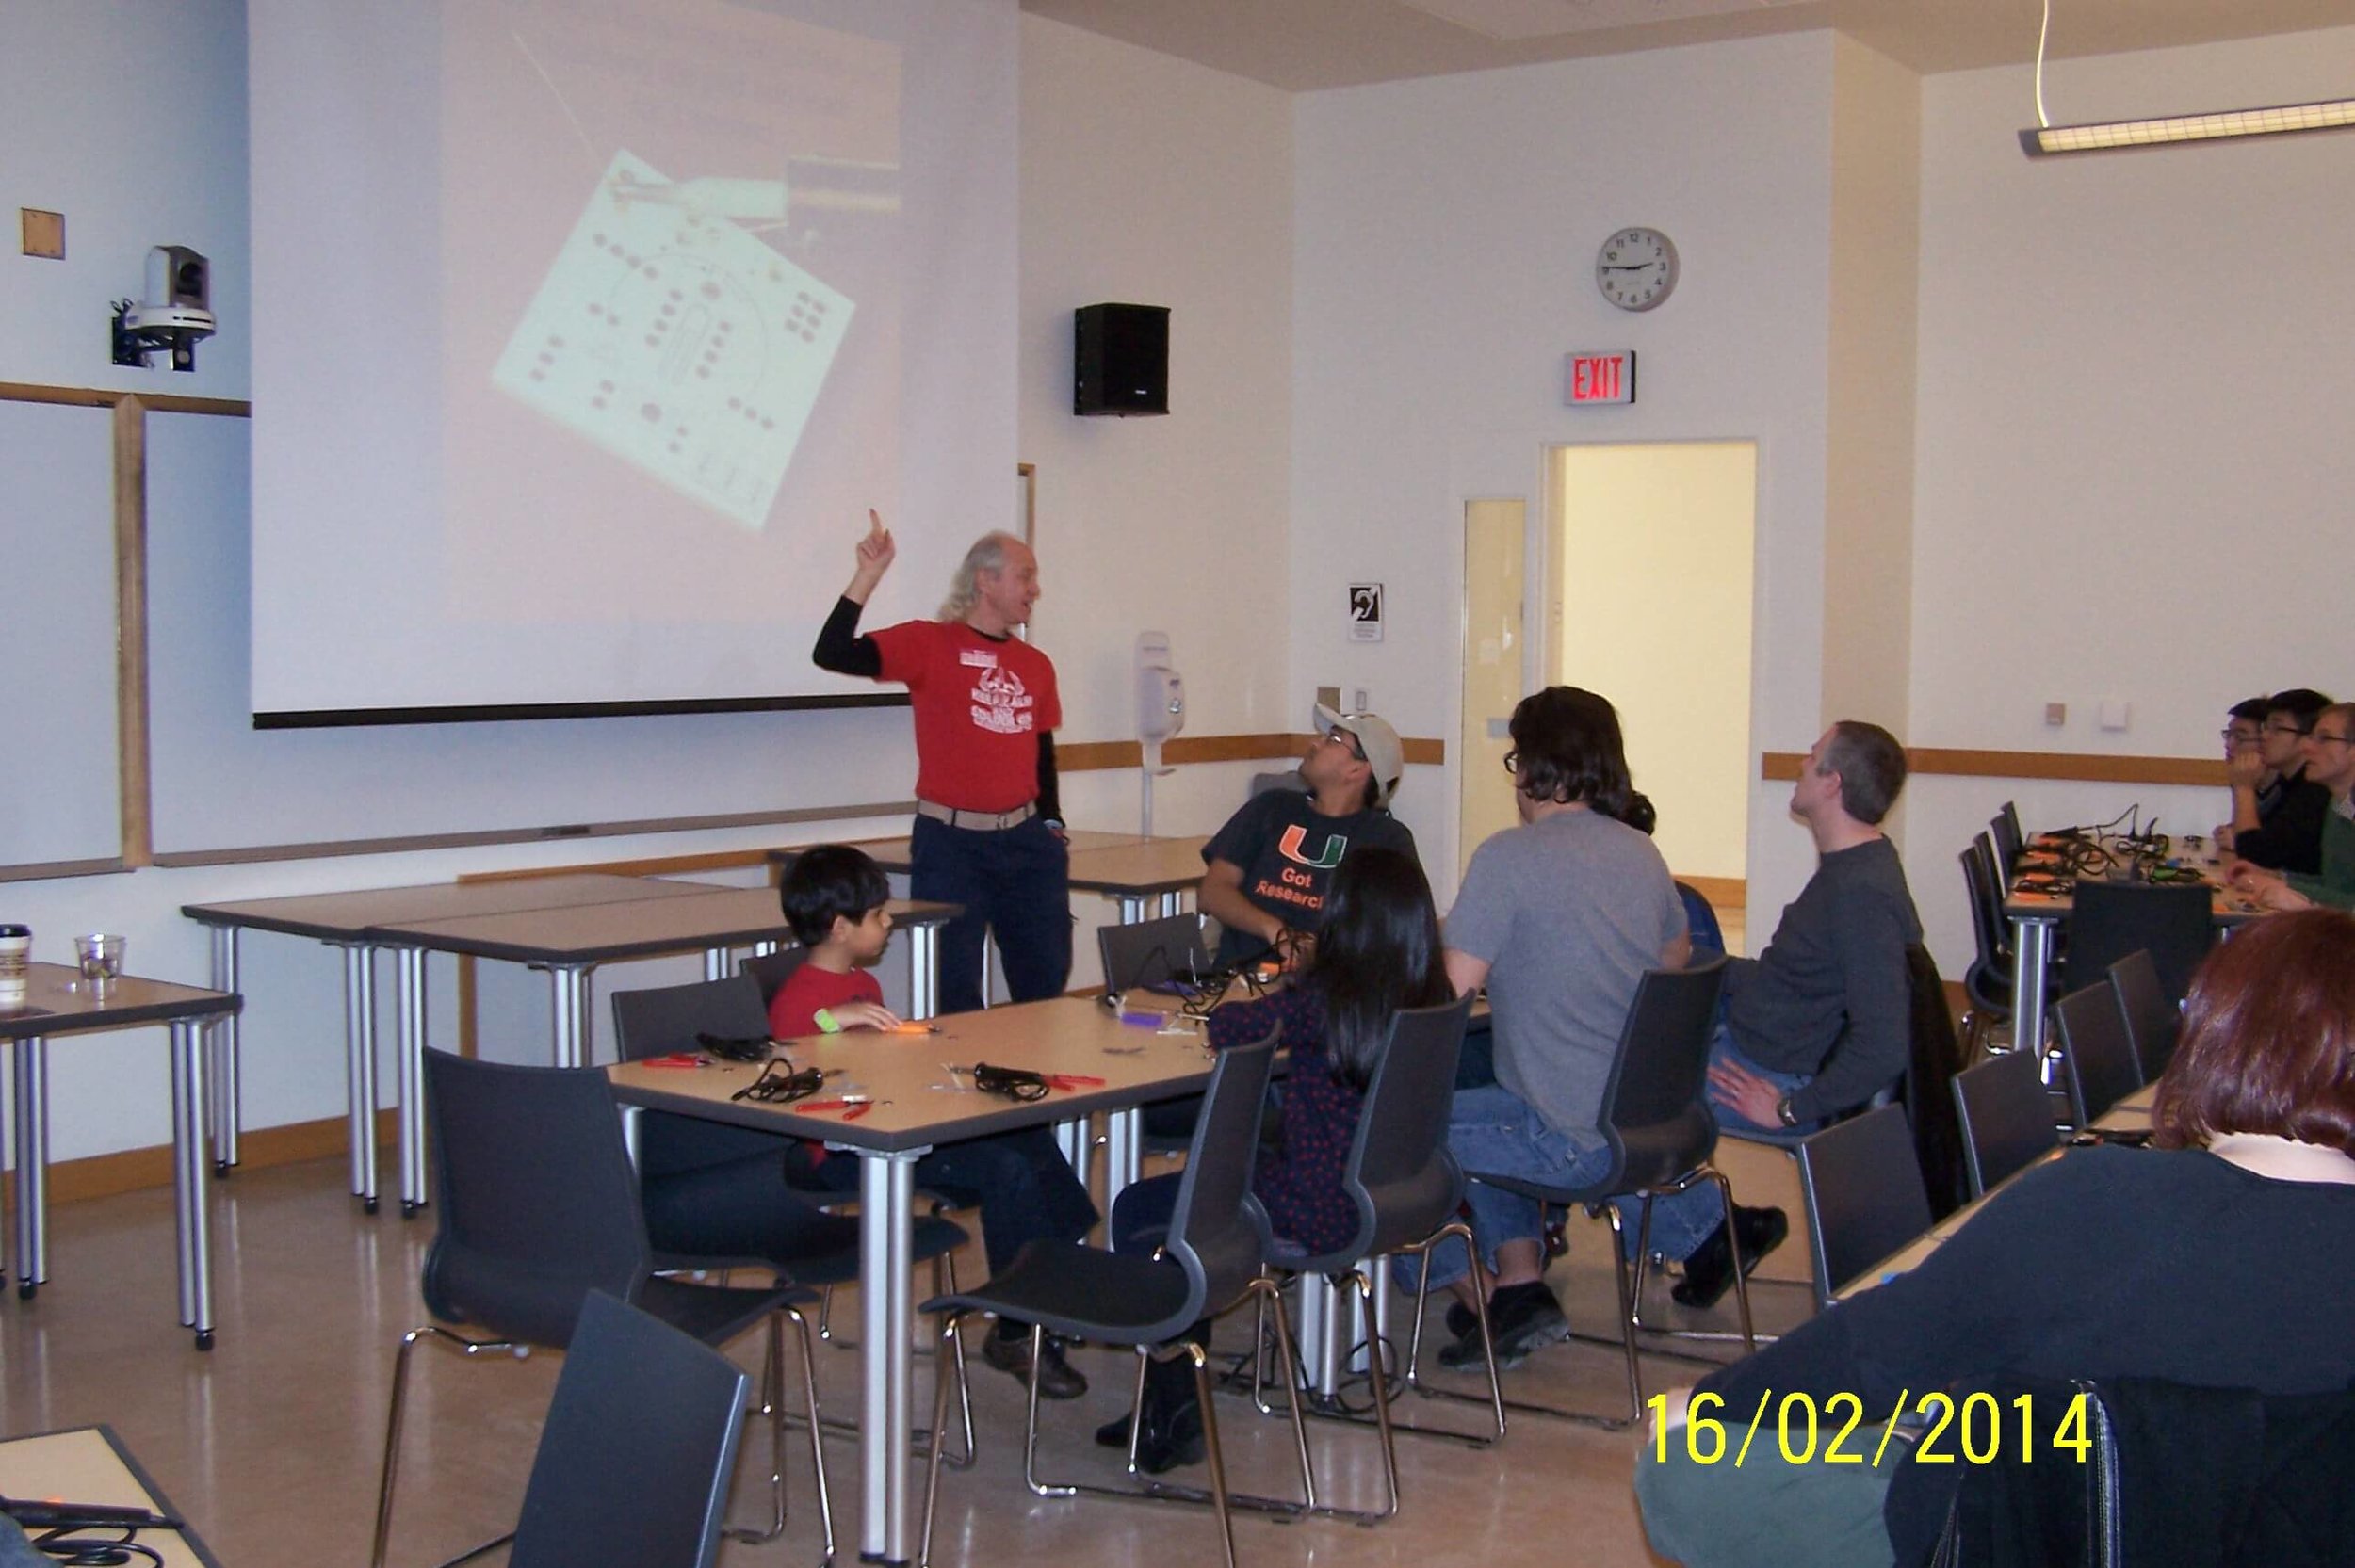
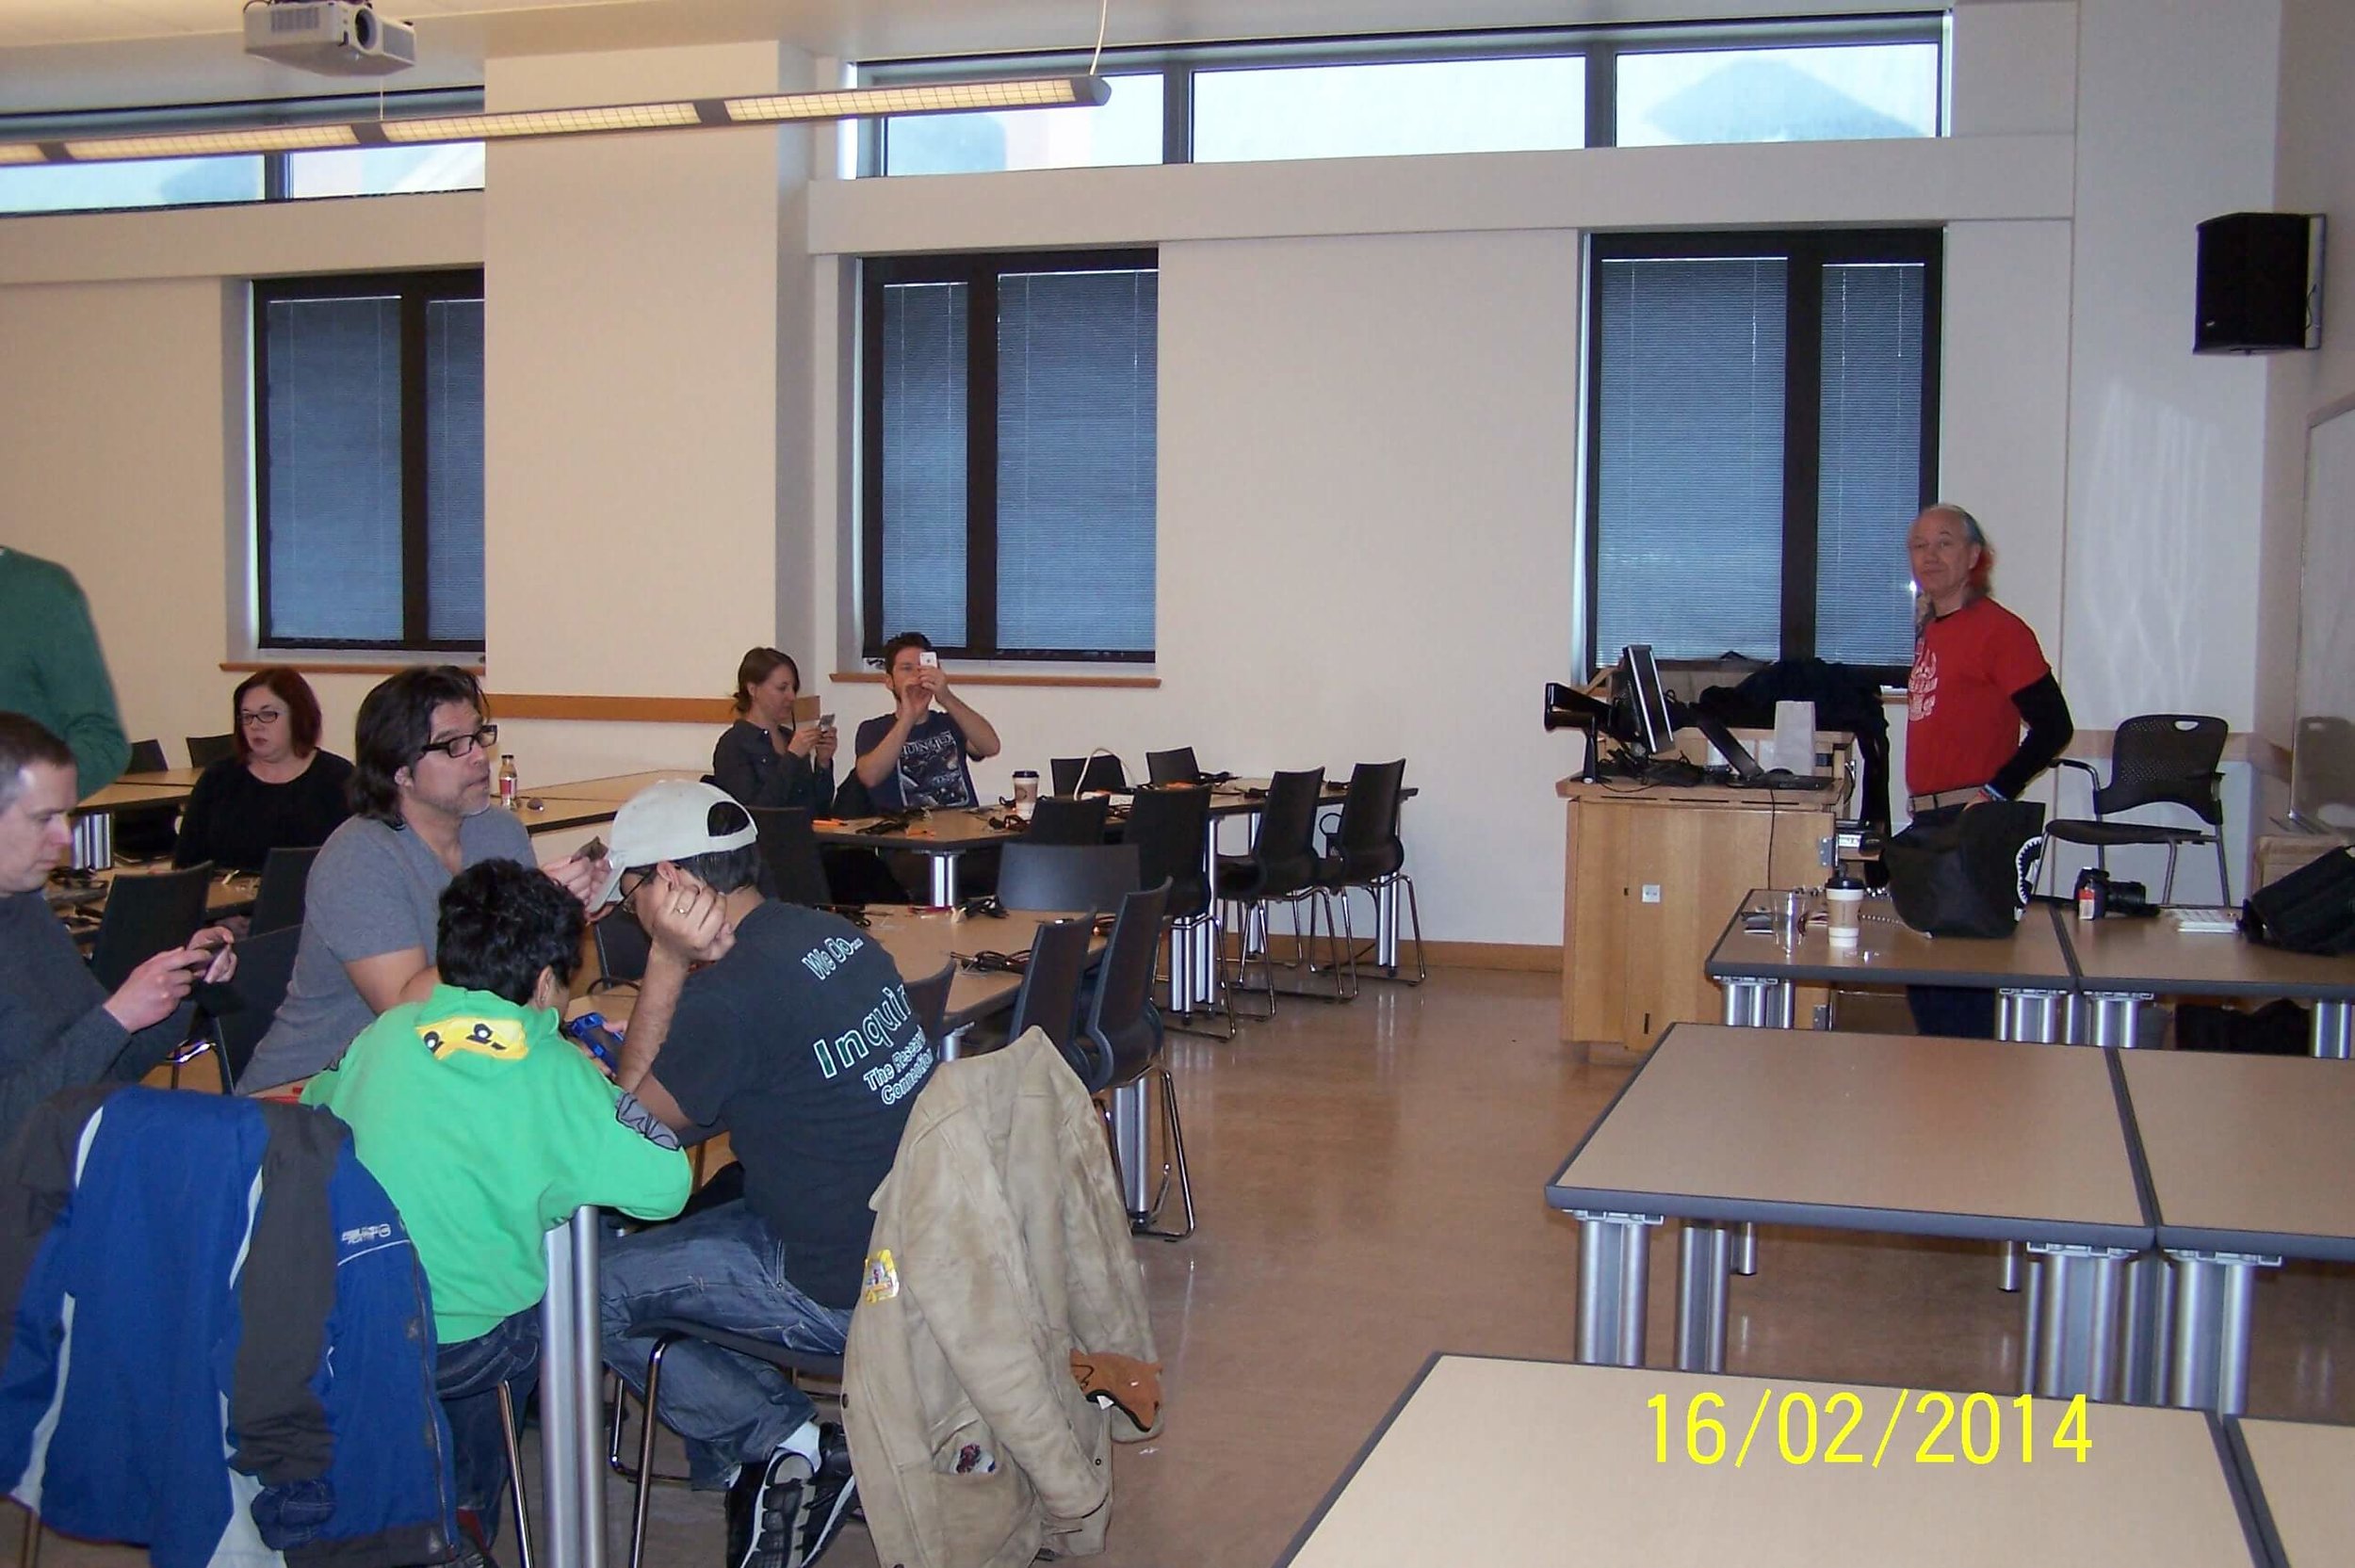
This past weekend, the MakerLab hosted a special workshop led by Mitch Altman. Mitch (and Illinois alum) is Co-Founder of Noisebridge (one of the first hackerspaces in the US) and CEO of Cornfield Electronics (maker of TV-B-Gone). Mitch, who travels the world teaching people how to make things, as been an artist at resident here at Illinois for the past two weeks). In this workshop, Mitch taught a group of MakerLabbers how to create a battery-operated LED light device that flashes various colors (using the Red-Blue-Green color spectrum). This device has an infrared sensor that restarts the color pattern when a hand is waved over it. Using soldering irons, we connected a set of resistors, capacitors, controllers, lights, and a battery to a circuit board. Making these light kits was great fun and relatively easy and is a great illustration of how making things (including electronic devices) on your own can be an alternative to buying things in a store.

Please see our events listing for information about other workshops that we plan to hold this semester. You can sign up to be a member as well, to get invites to exclusive events and get some discounts on your prints. We hope to see you there.