Reaching Out to the Community at the Library

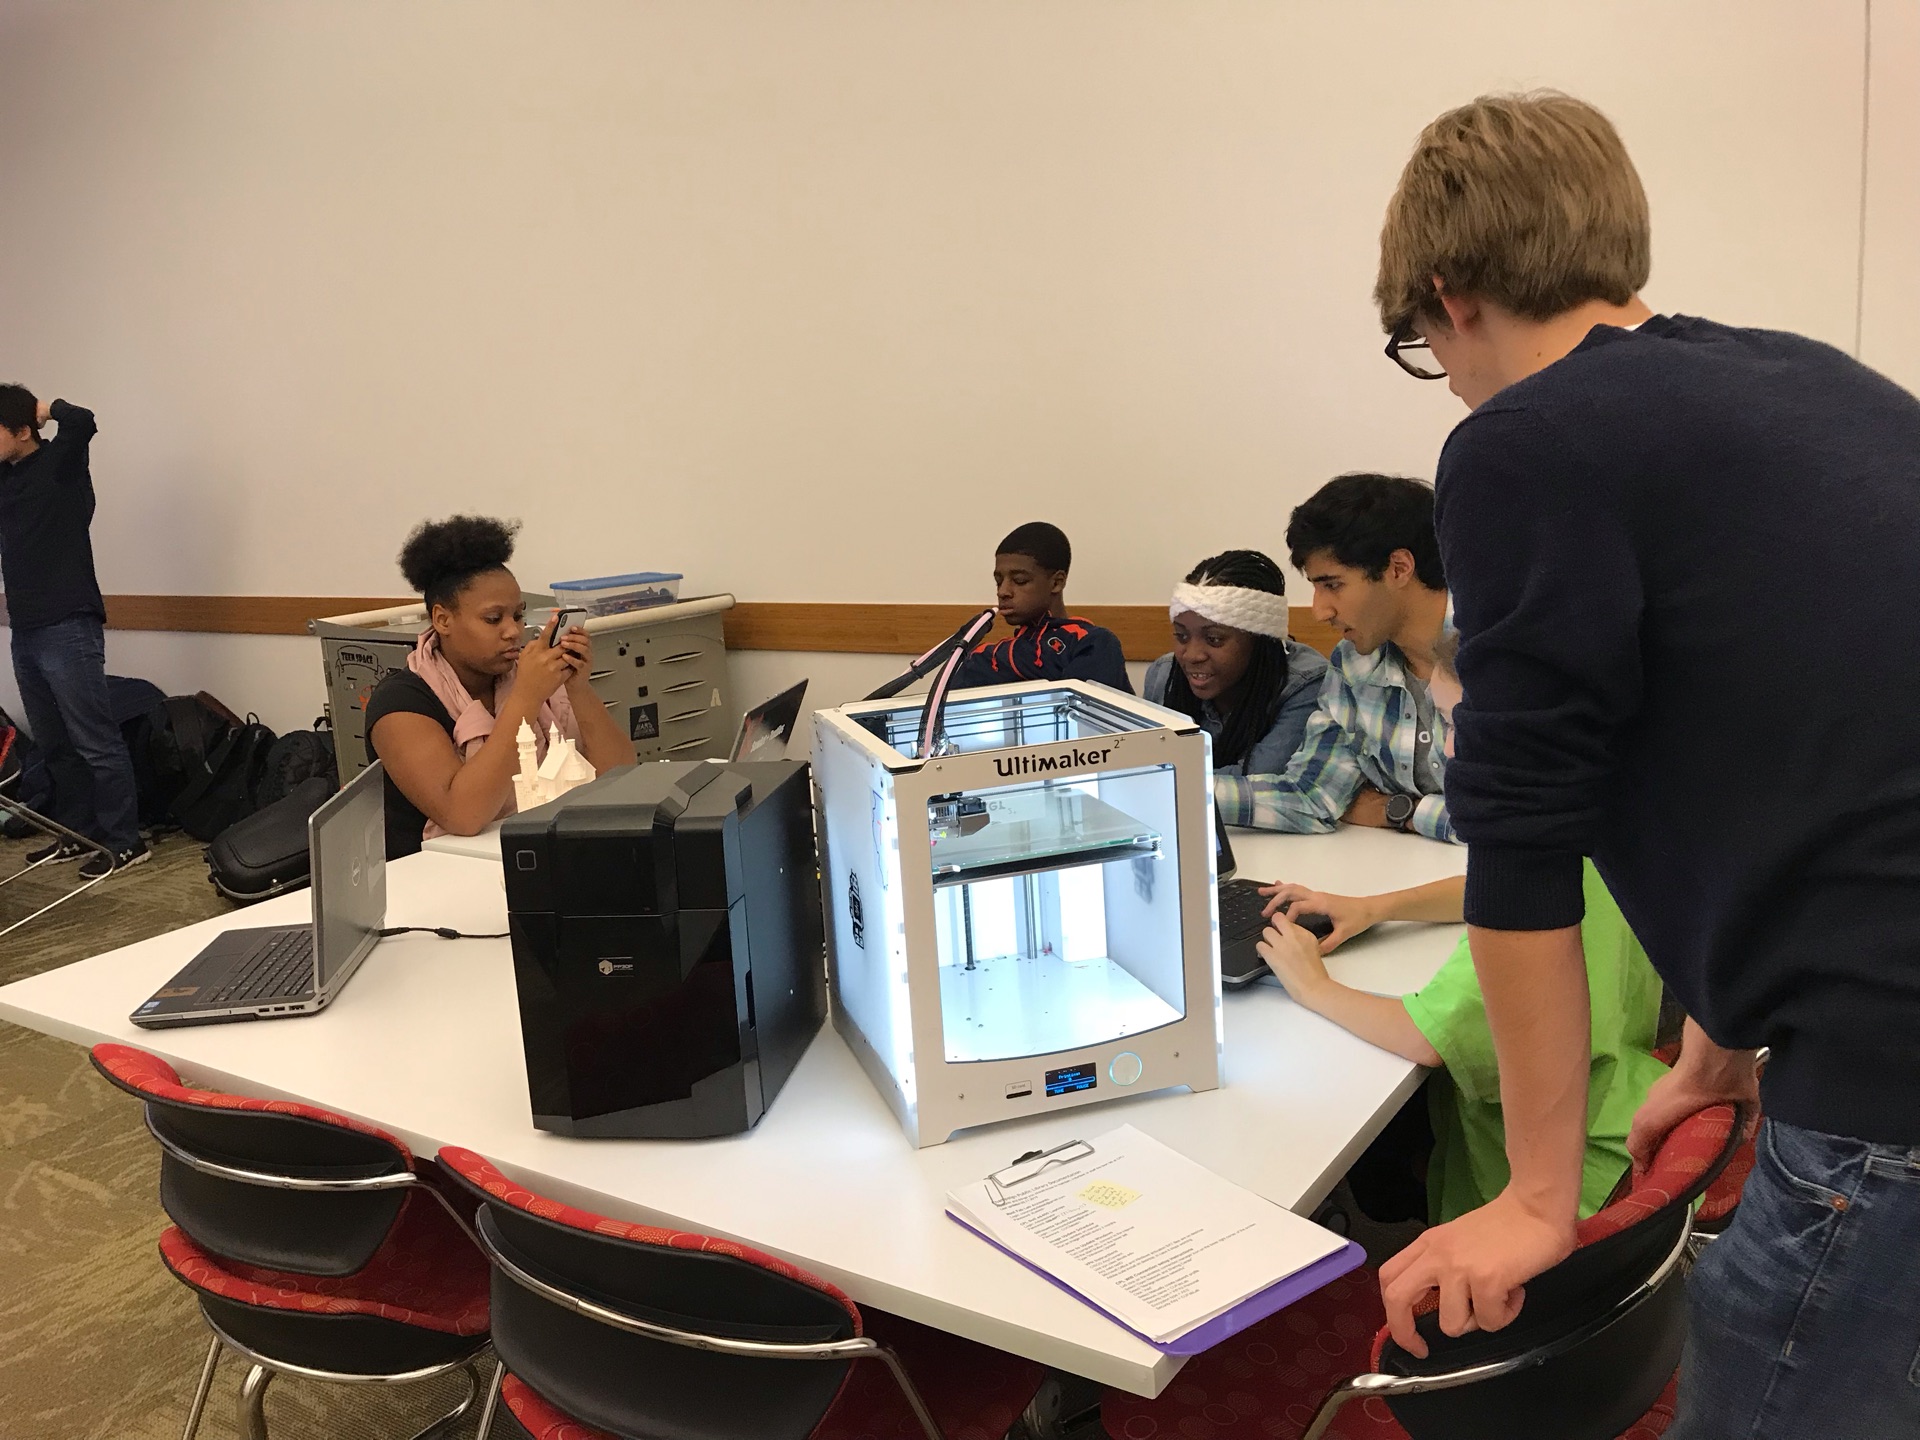
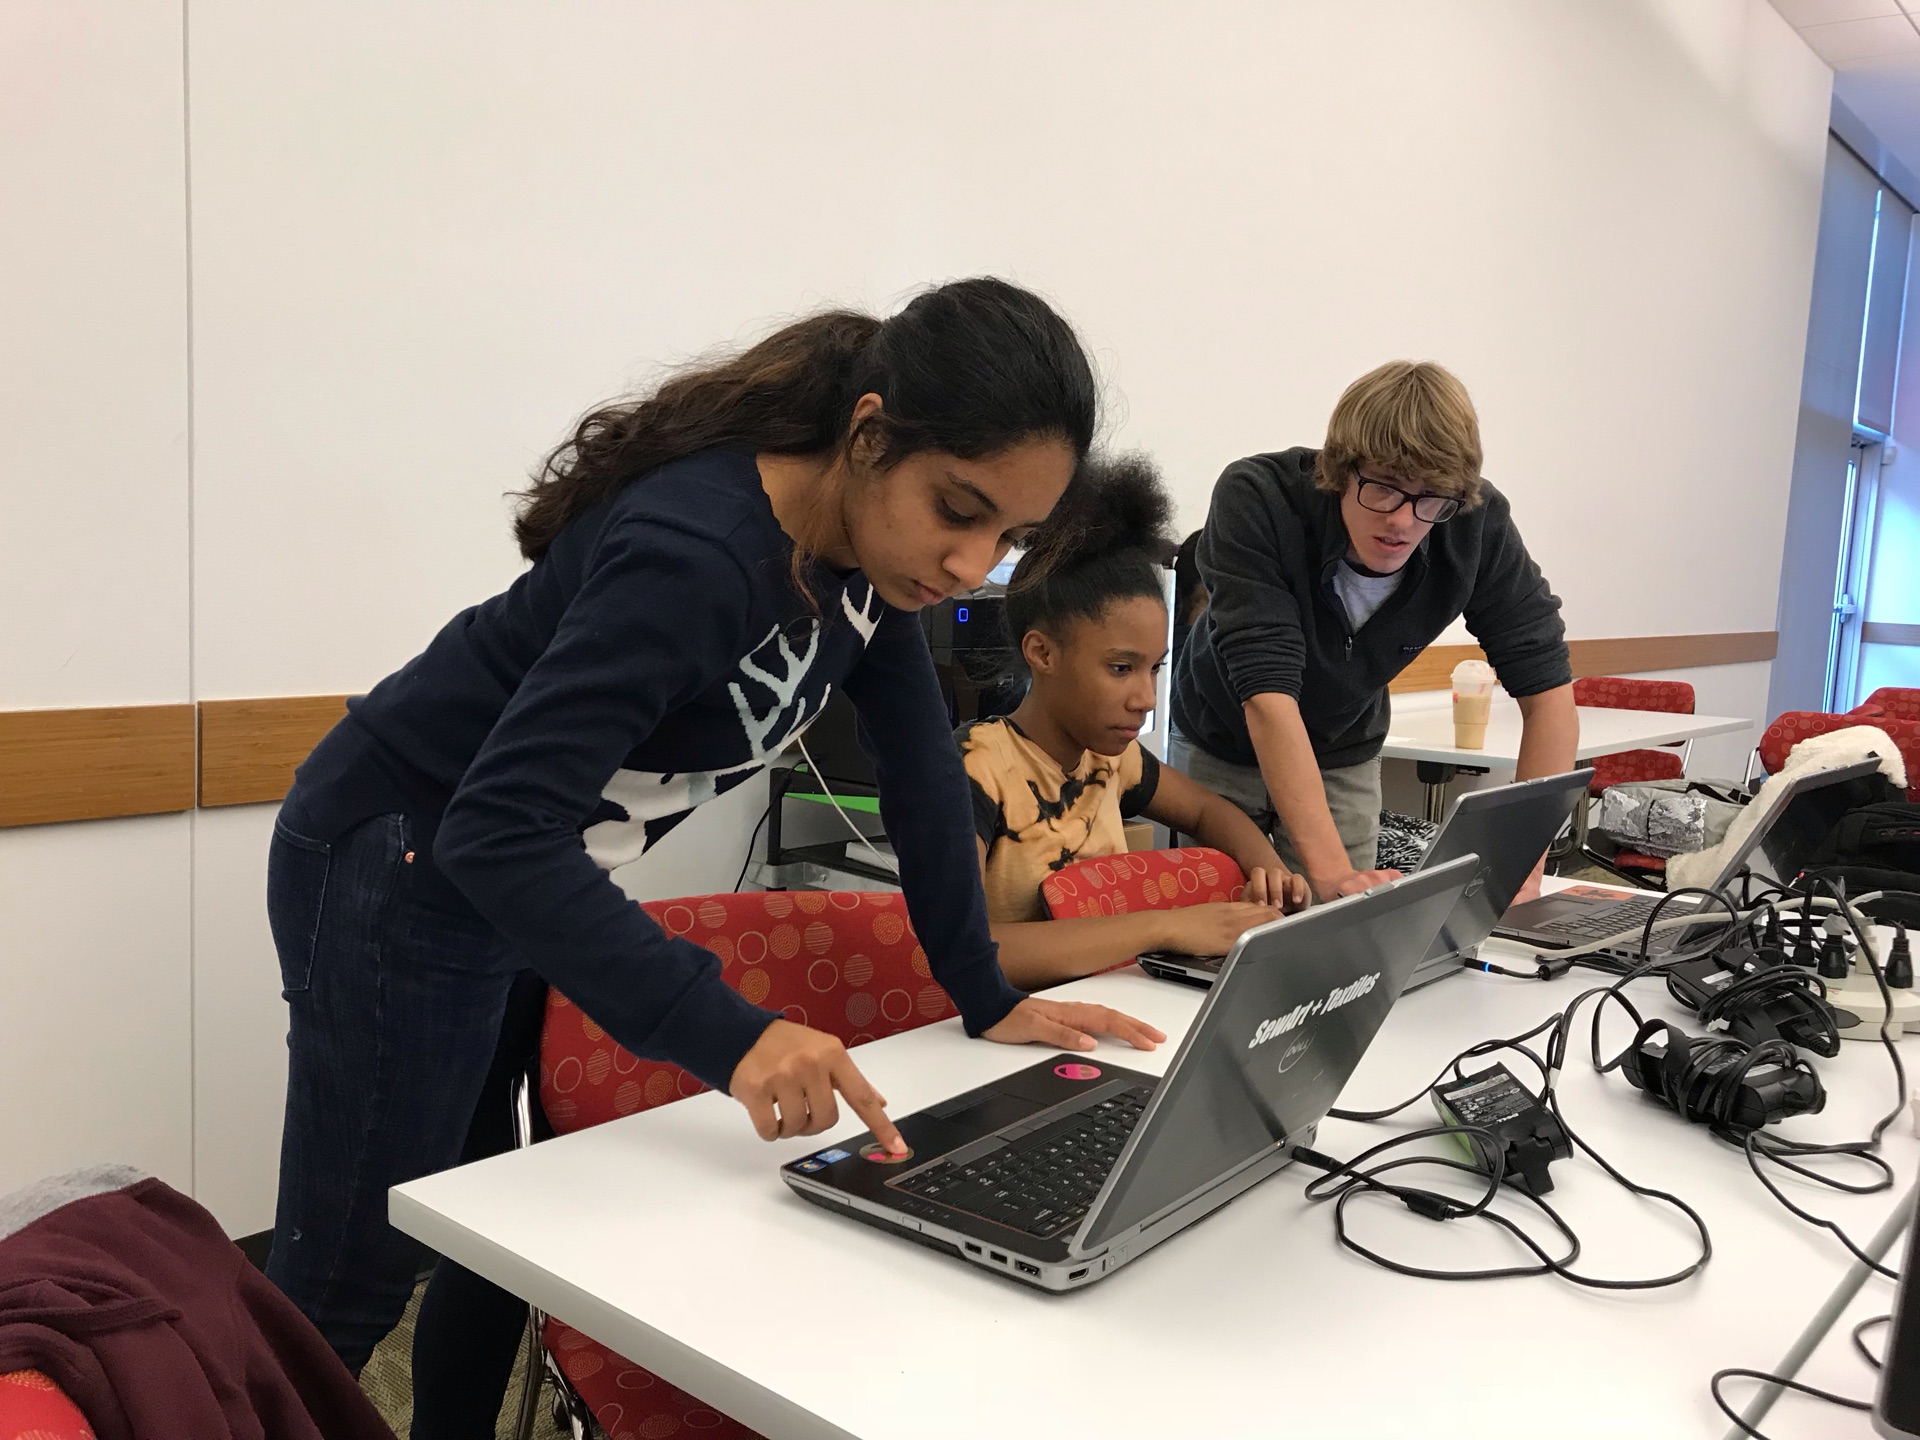
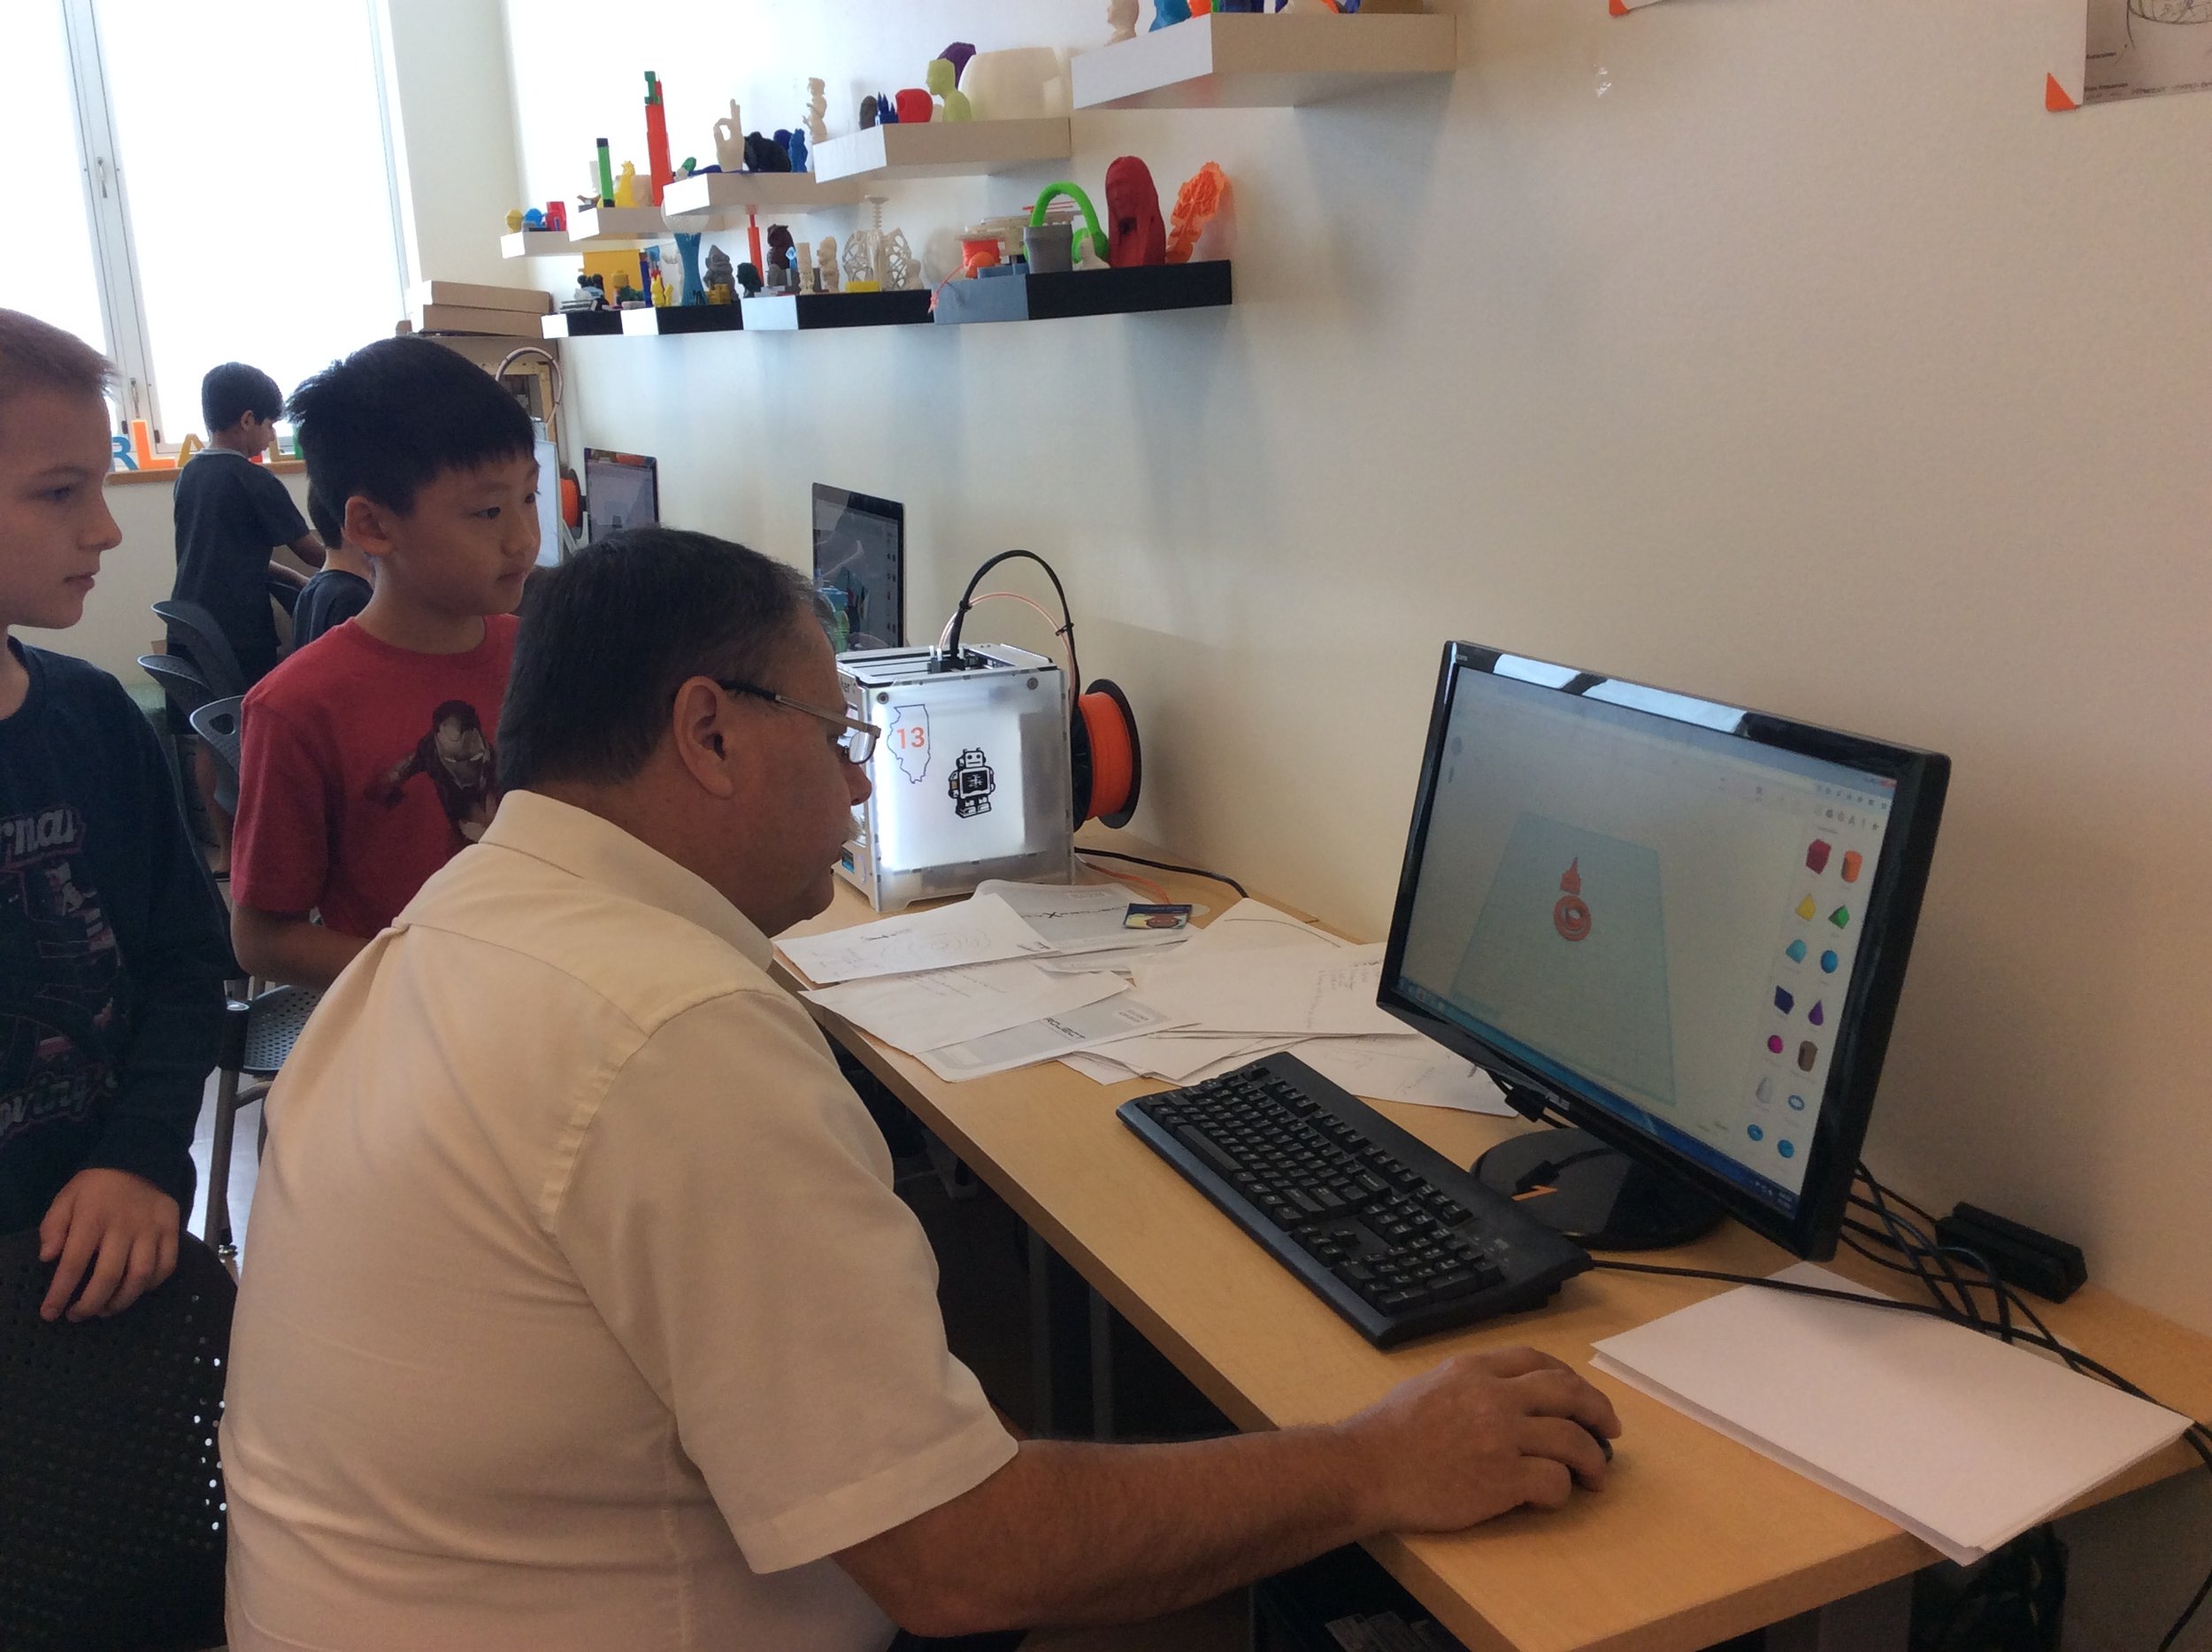
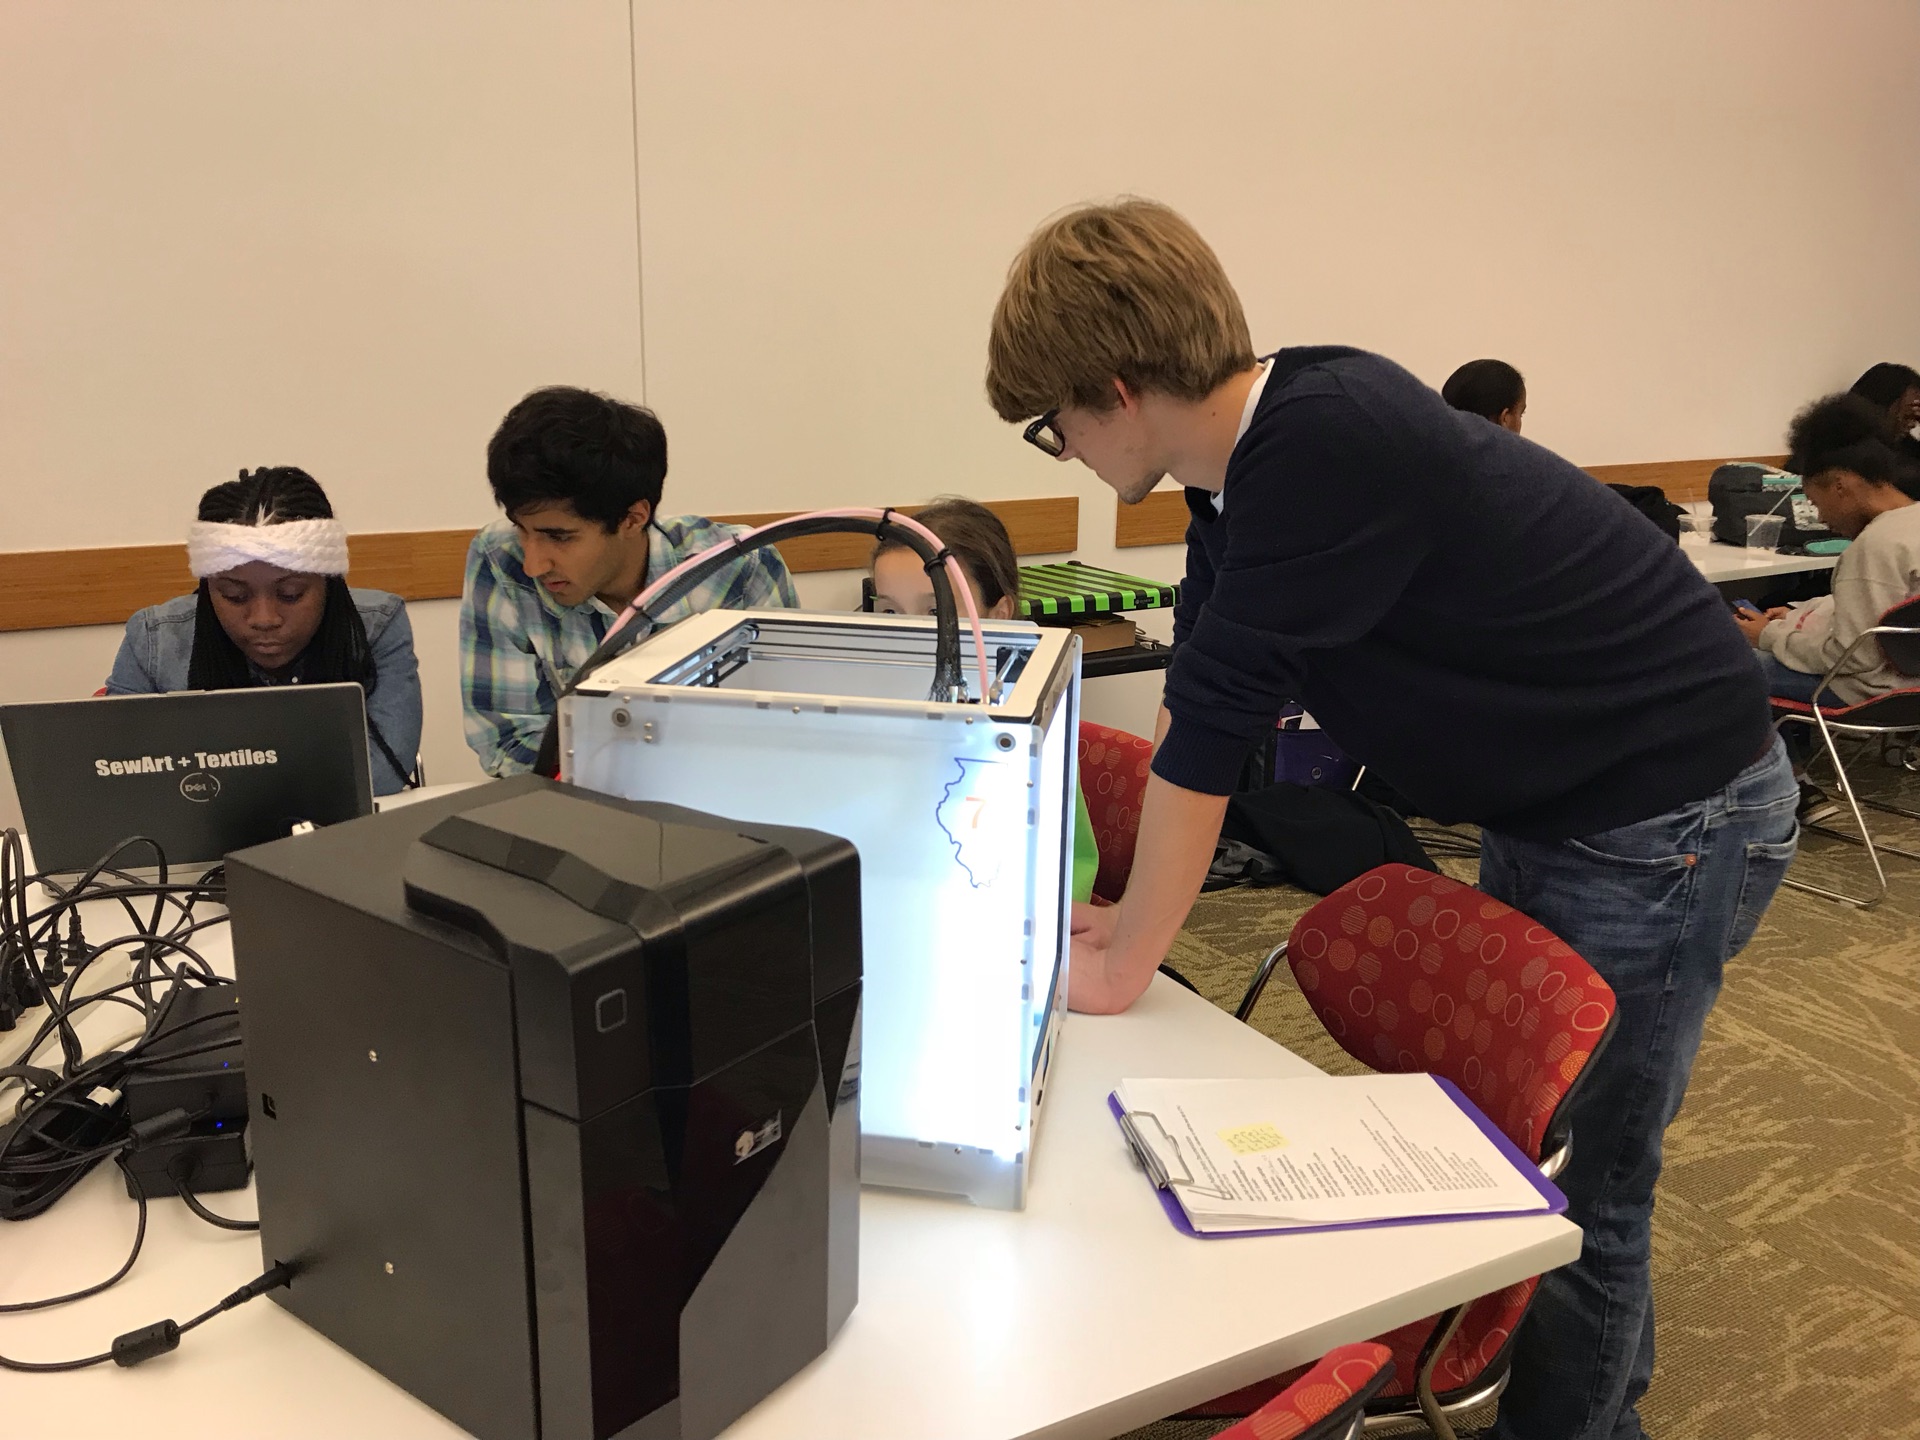
The MakerLab isn’t just on Illinois’s campus anymore! Every Monday, guru William Jones heads over to the Champaign Public Library to help with the after school program for teens. Will and a high school volunteer, Shreya, helps the kids learn basic 3D printing and TinkerCAD, a 3D design software. There is even 2 Ultimaker printers at the library for the kids to use and print their models on! The MakerLab is really excited to be able to continuing to teach kids 3D printing and TinkerCAD and encouraging them to learn more about 3D design and STEM with 3D printing! Be sure to stop by and see us at the teen lounge next time you are at the Champaign Library on a Monday!

Stay tuned for MakerLab updates by subscribing to our newsletter, liking us on Facebook, or following us on Snapchat(uimakerlab),  Twitter or Instagram. Have an event you want to have the MakerLab at? Contact us and we will help you get started!

High School Seniors Learn 3D Printing

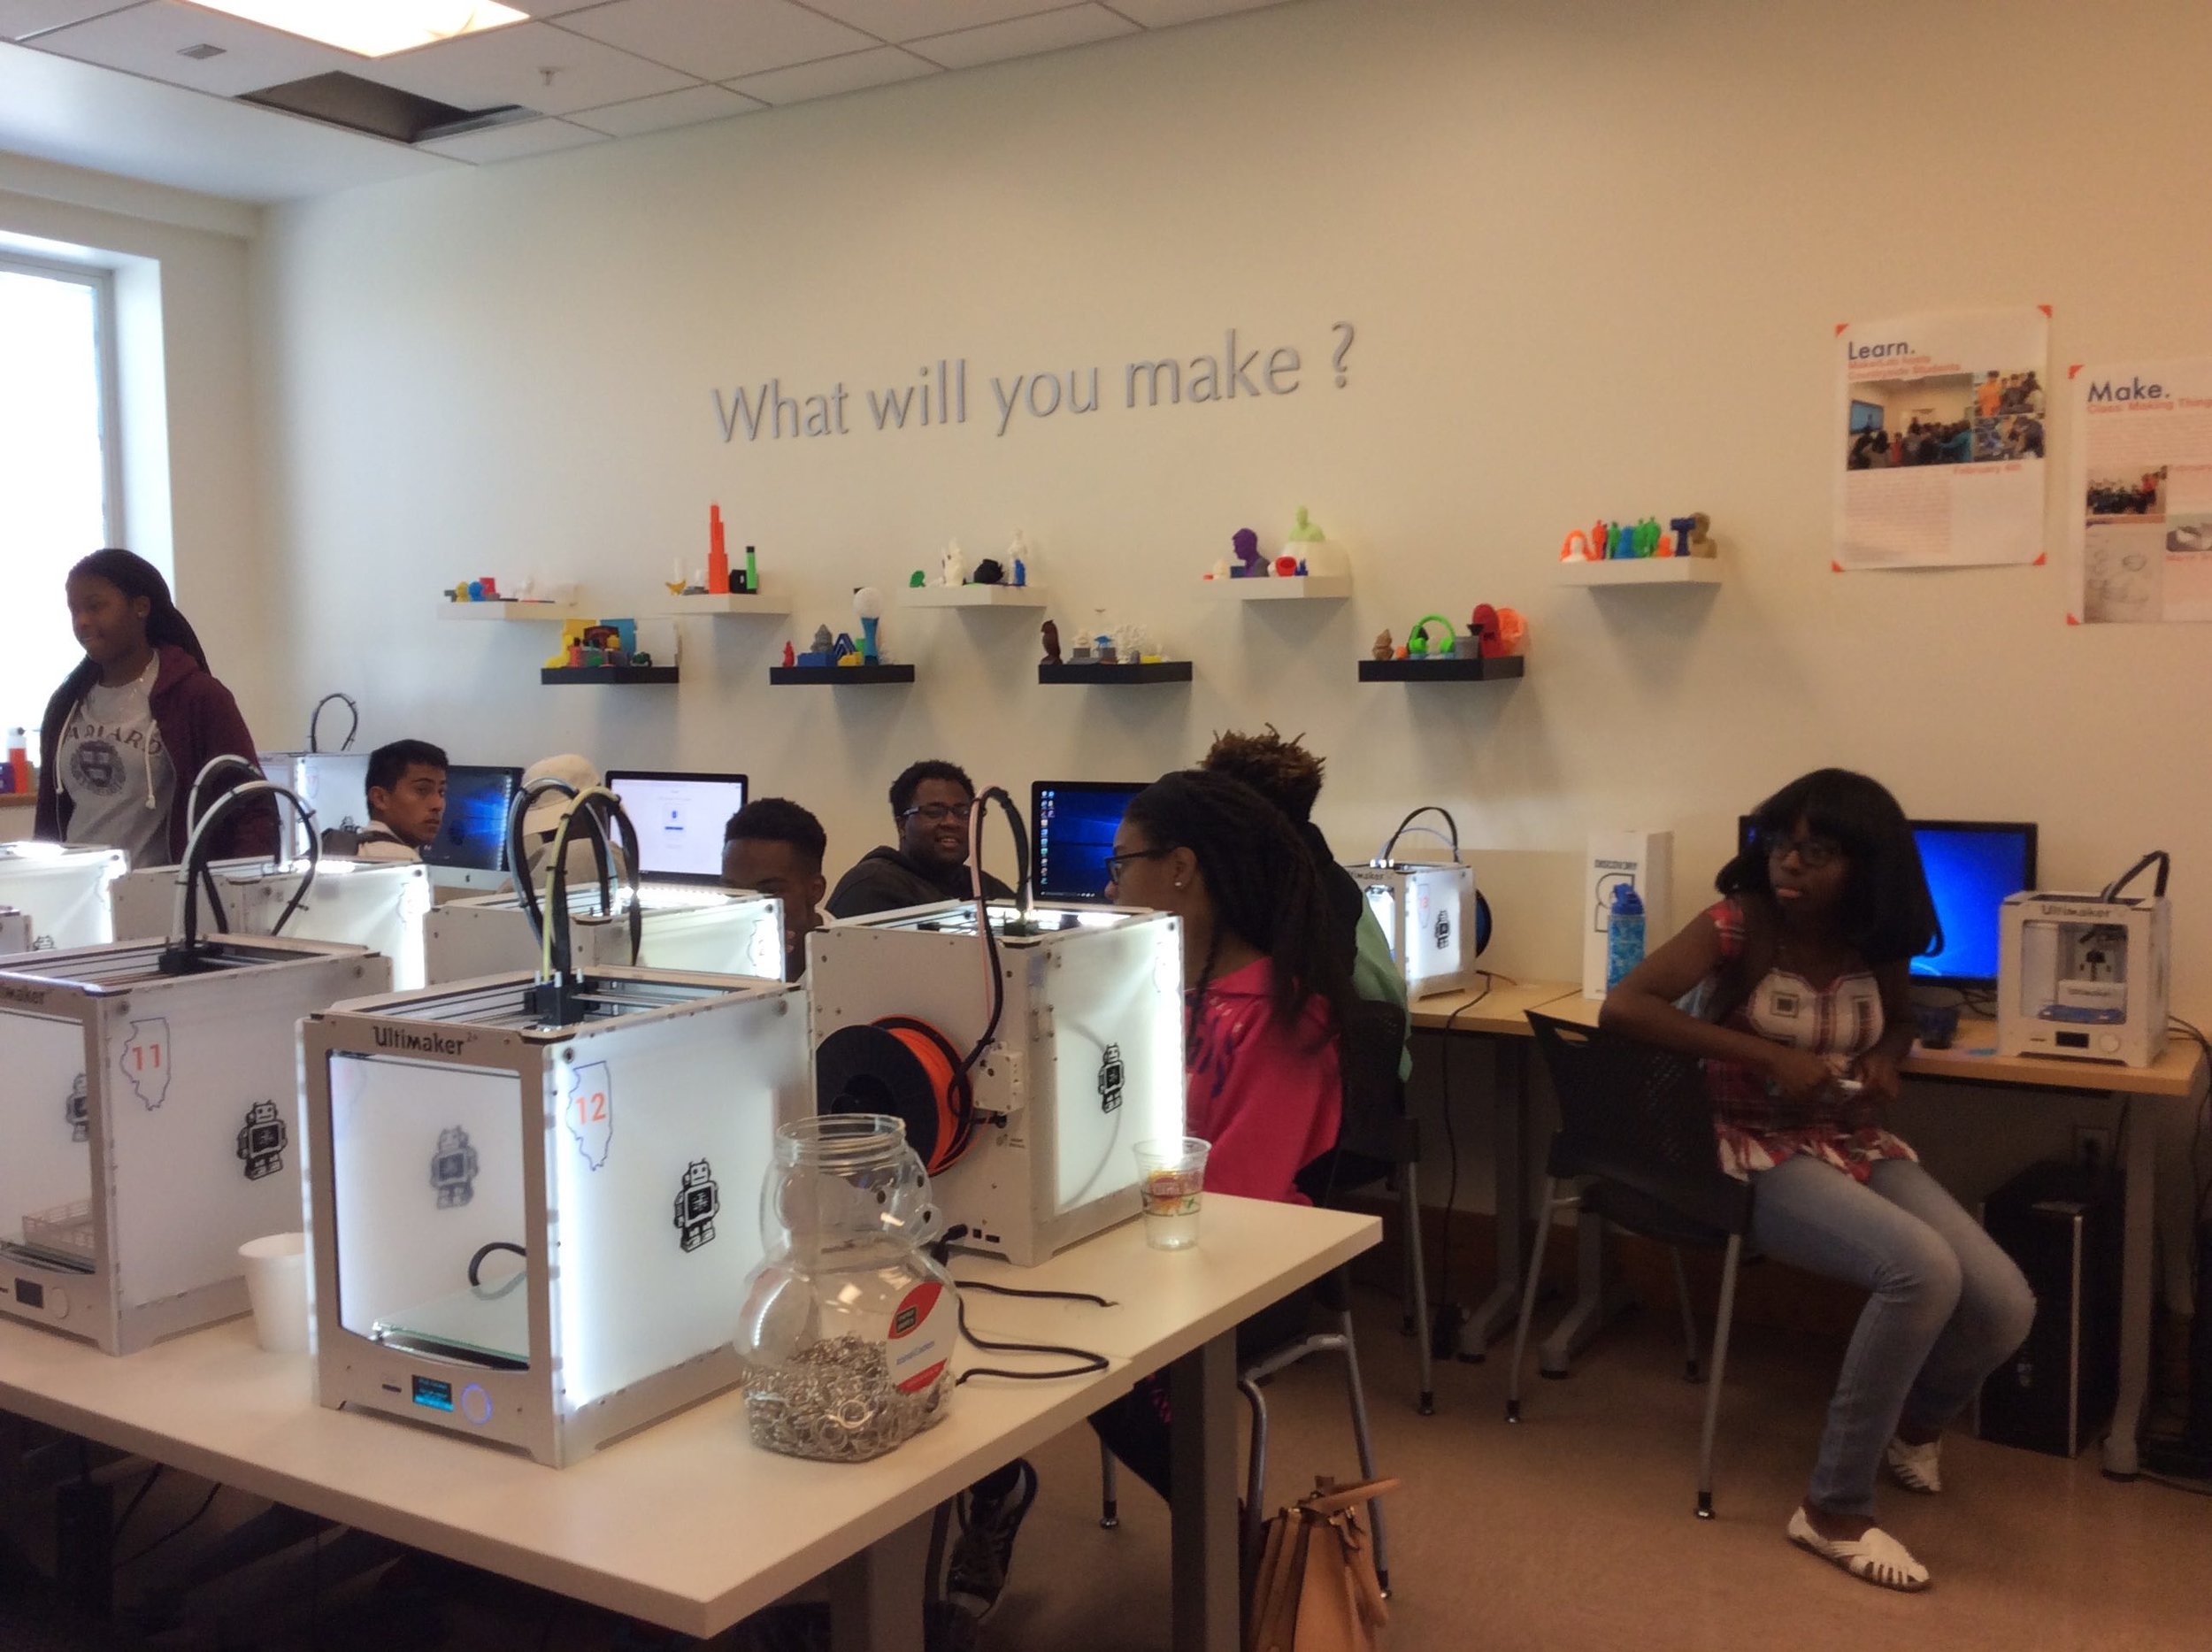
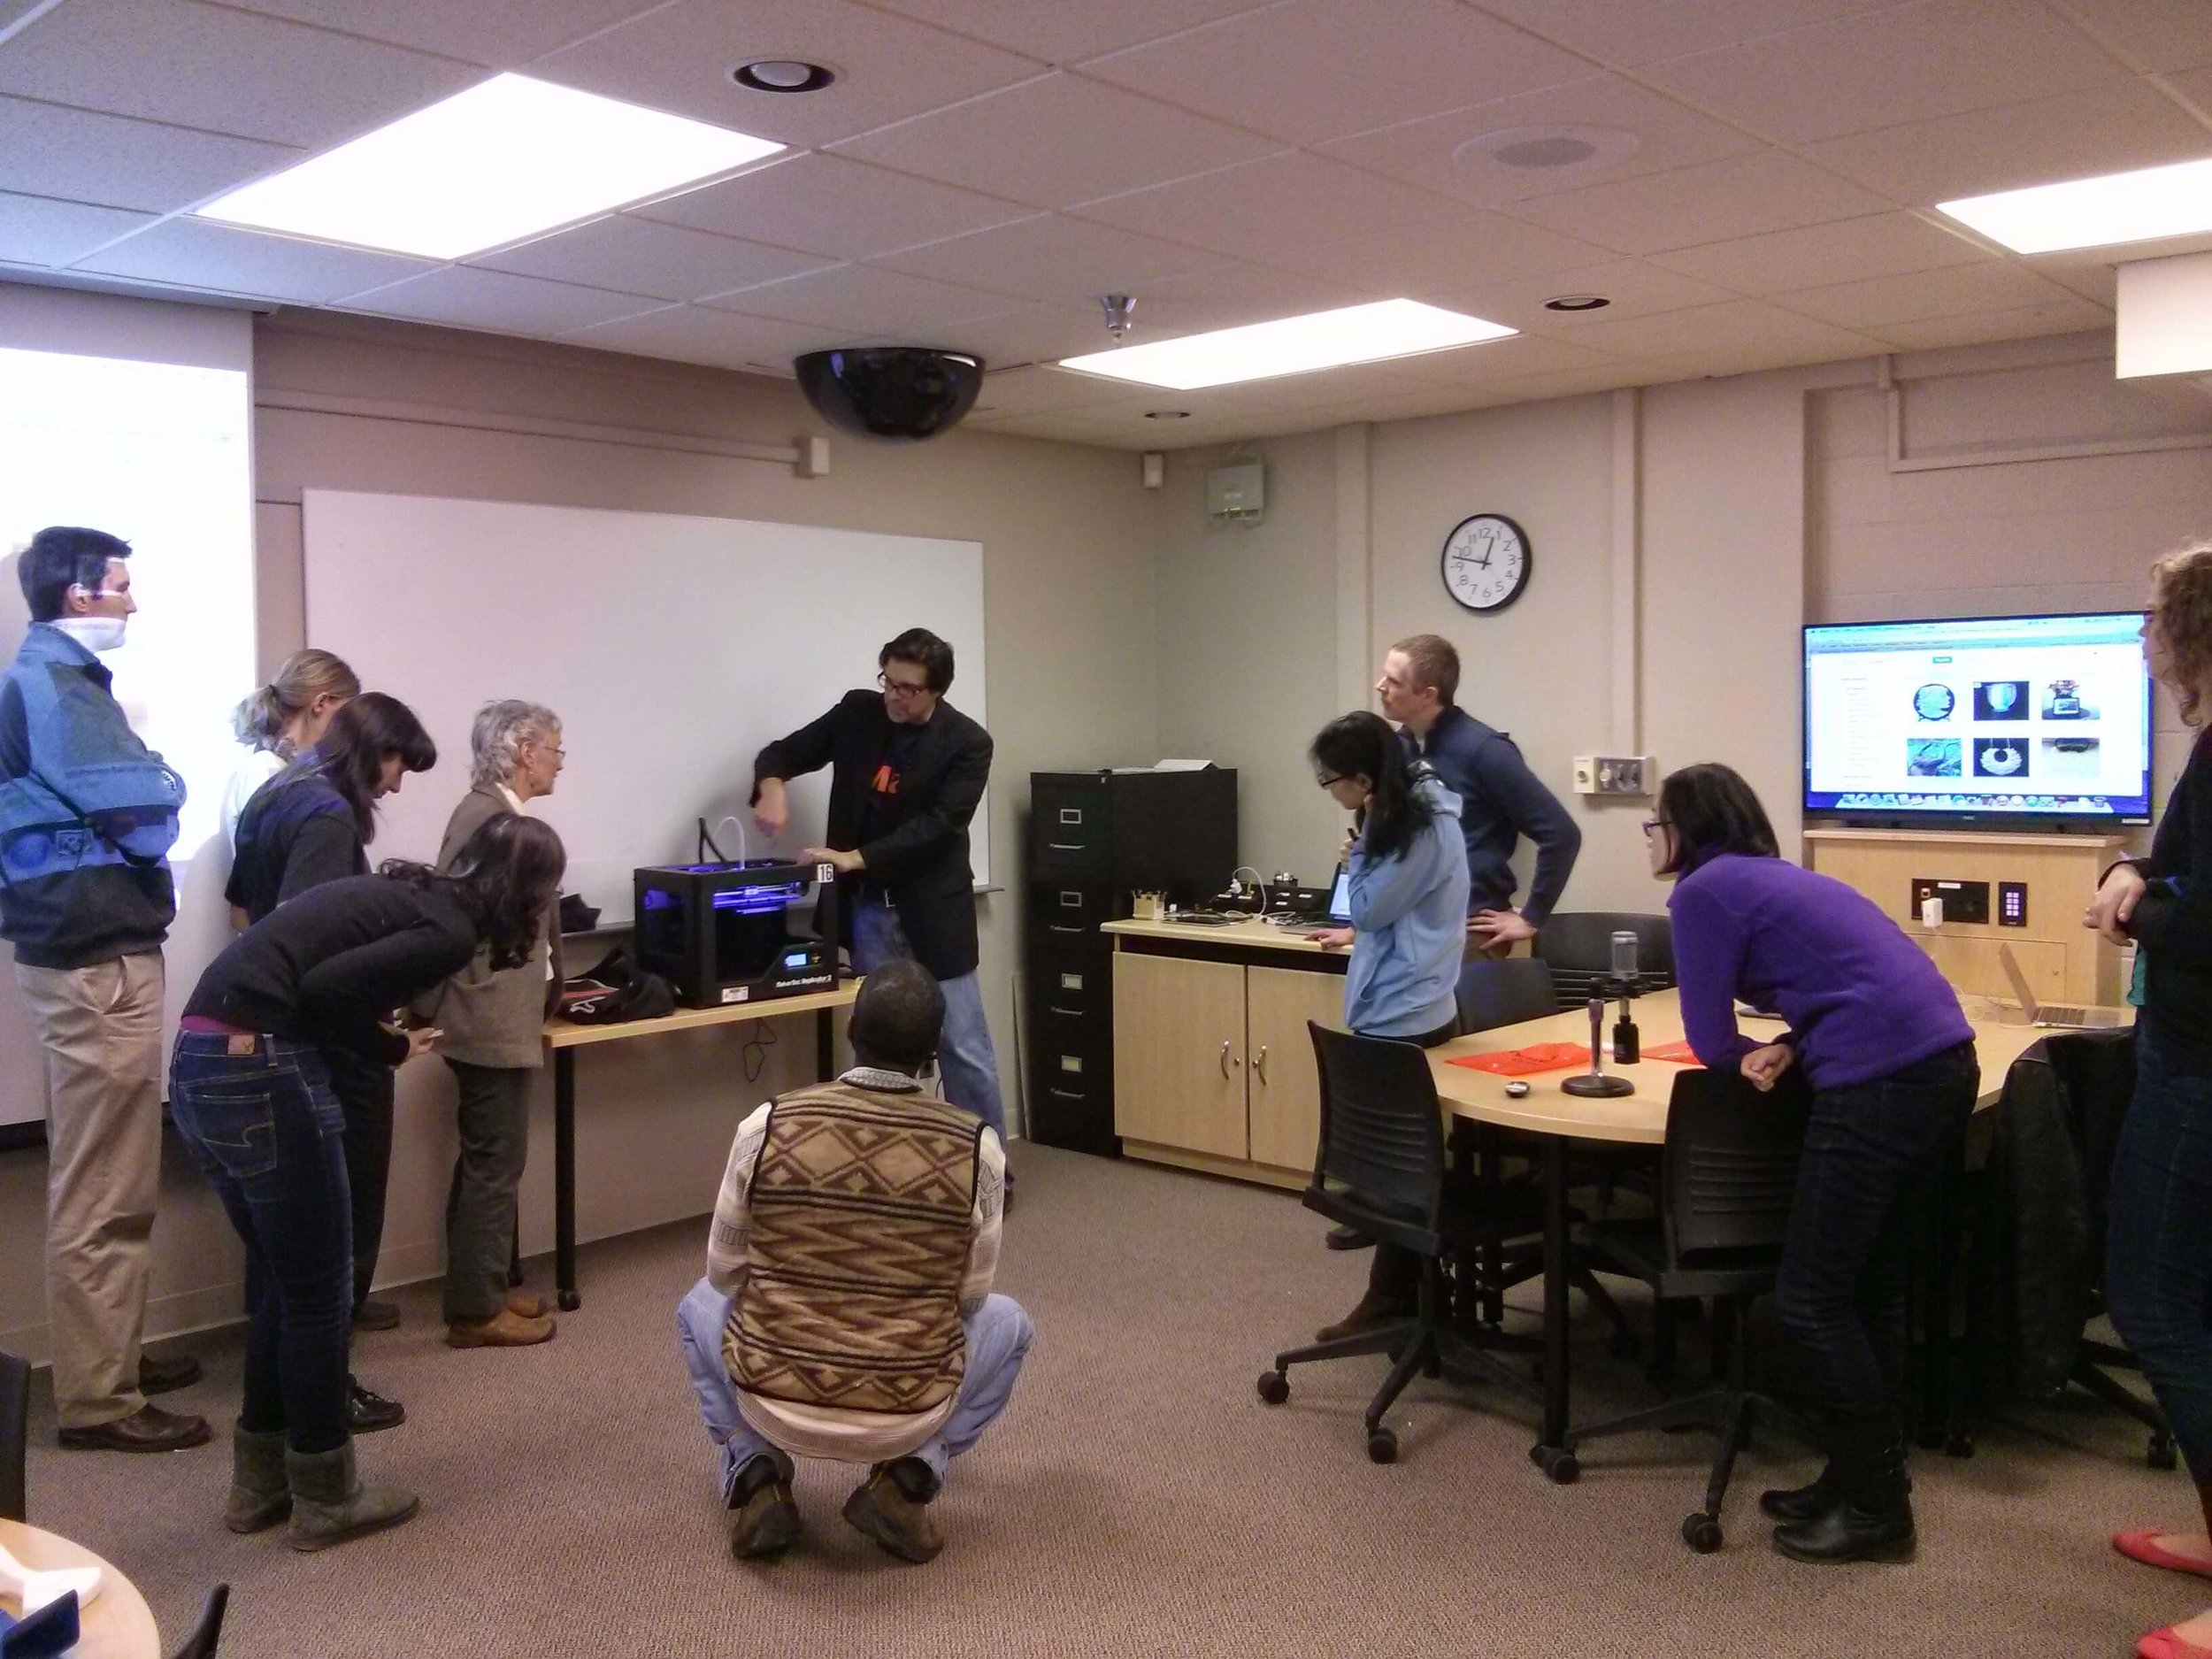
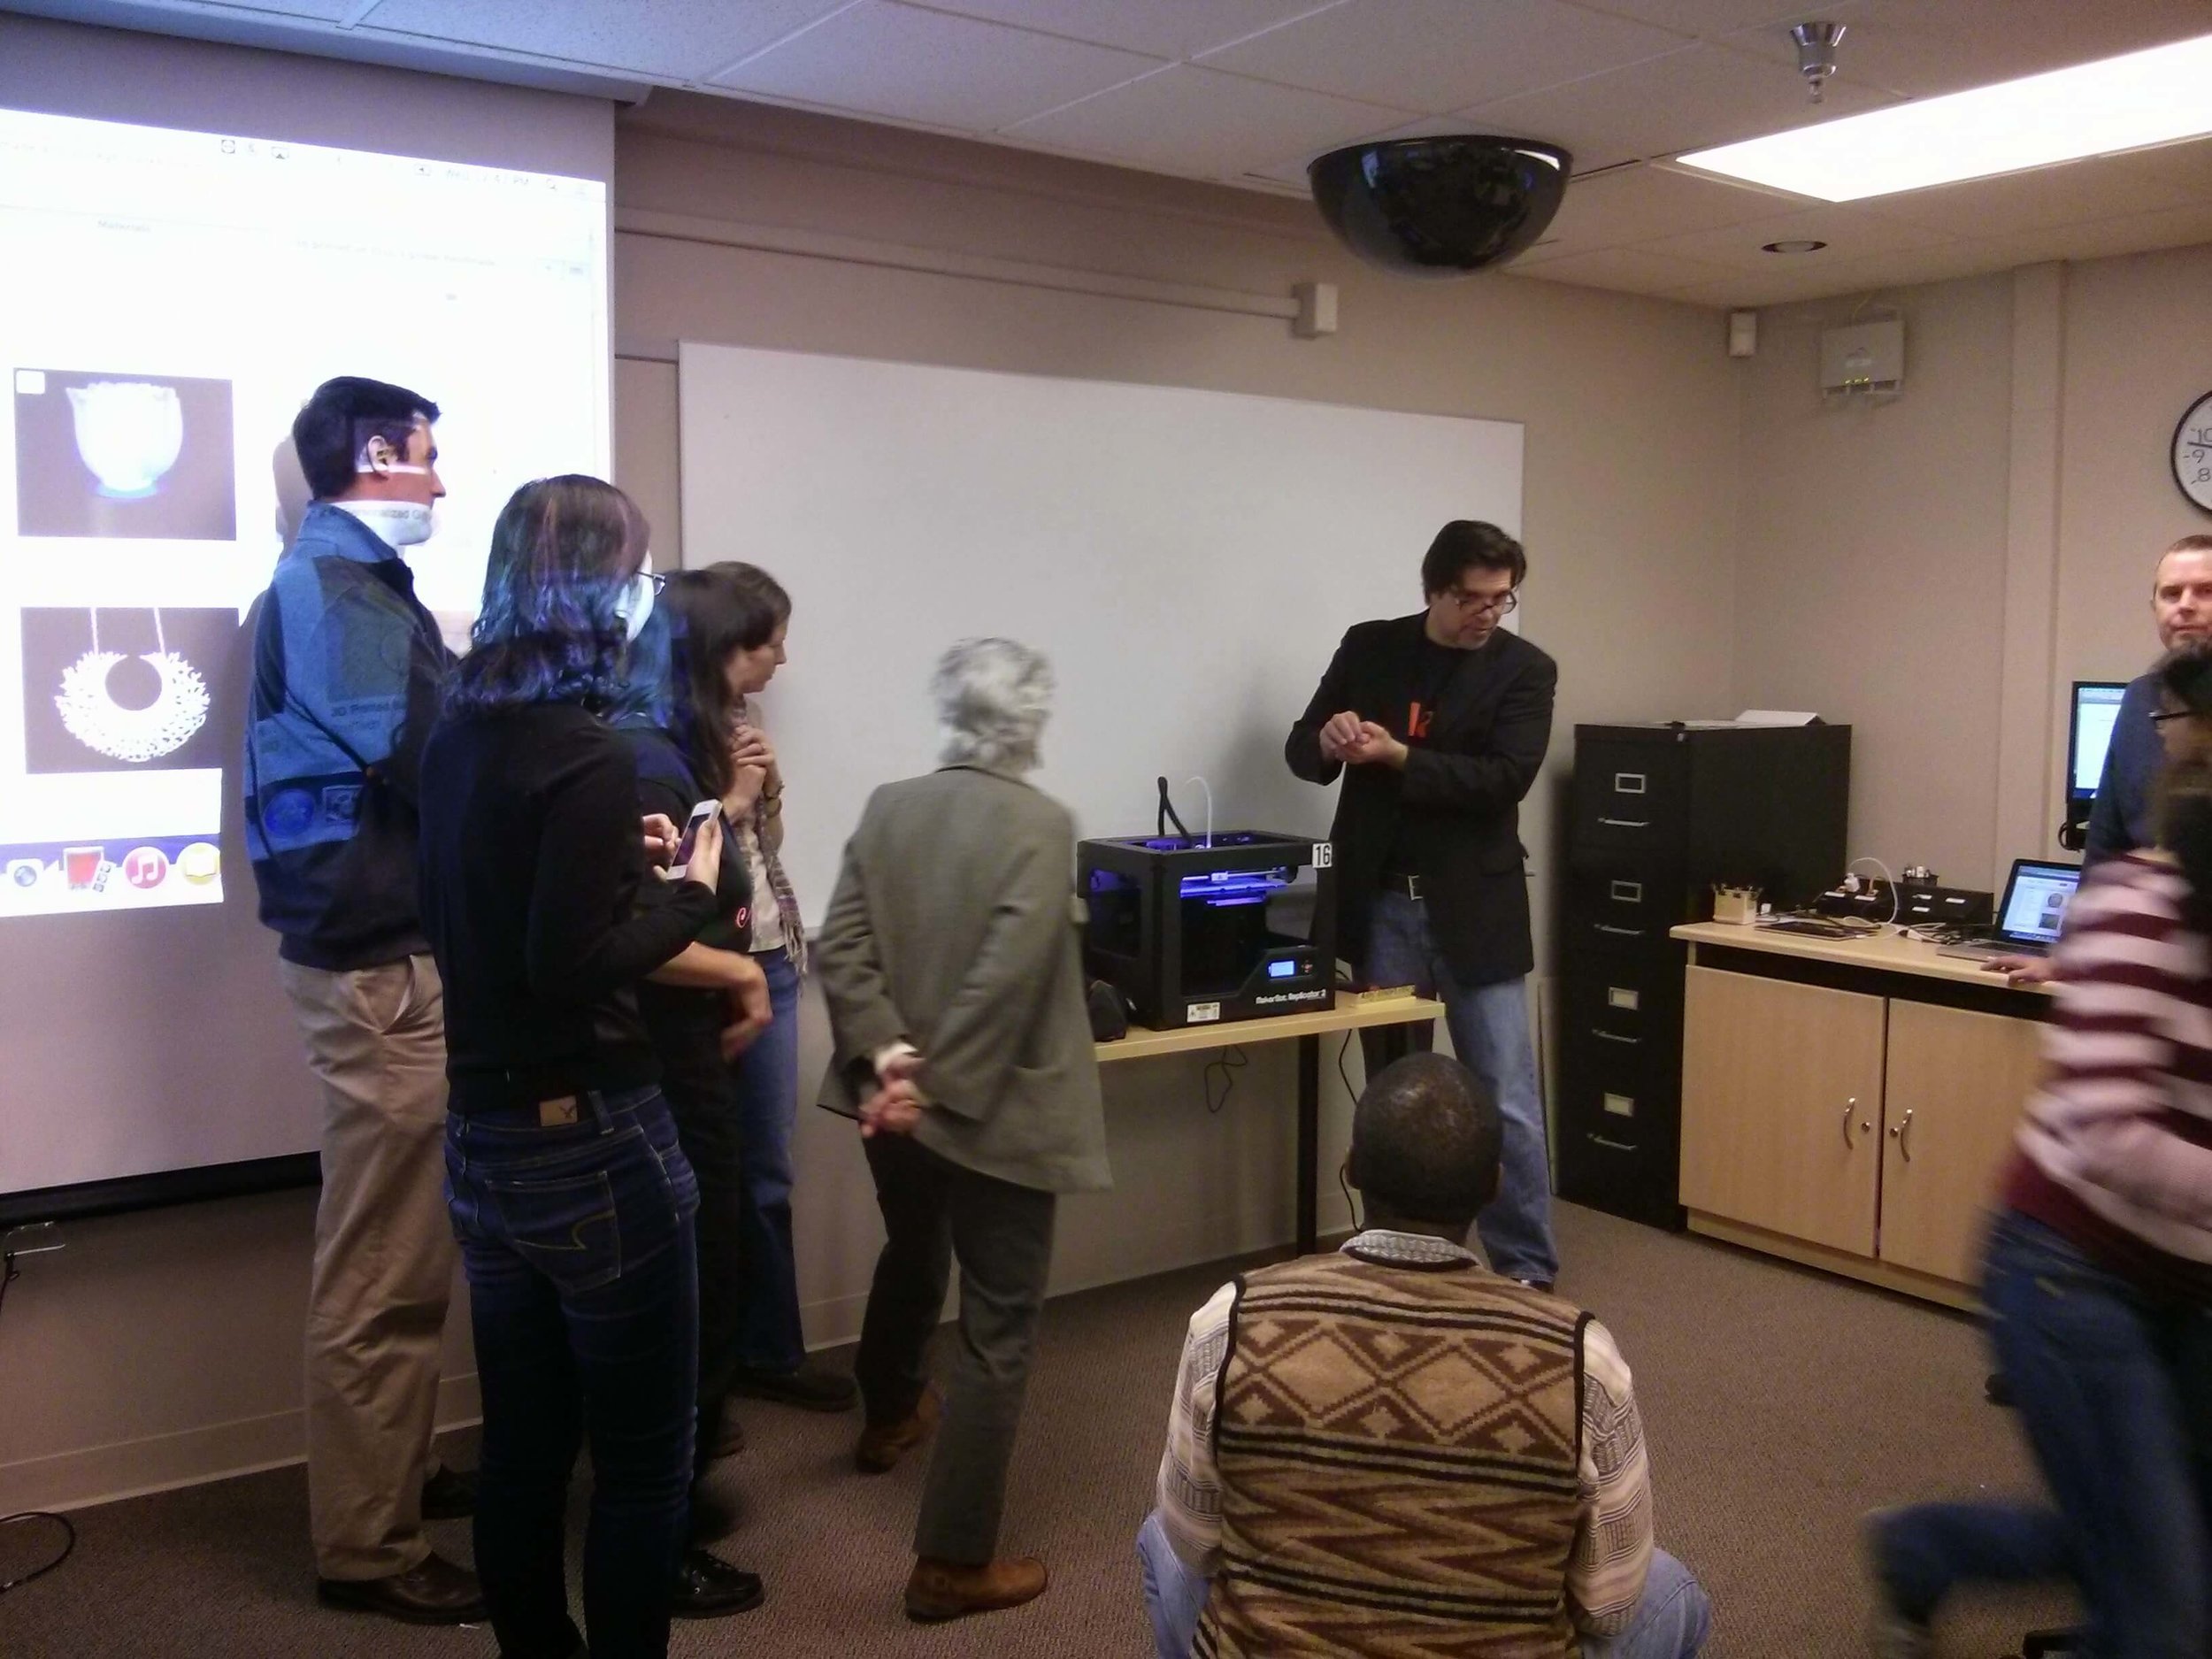
Yesterday, the Illinois MakerLab in conjunction with the college of Business, hosted two groups of rising high school seniors and gave them an introduction into the world of 3D printing. The programs were two hour-and-a half sessions that included information on the types of 3D printers, 3D Printing Applications and Software, and Real-World uses for 3D printed objects. Each student who attended the program received an Illinois Keychain that they made themselves. Here are some pictures from the events.


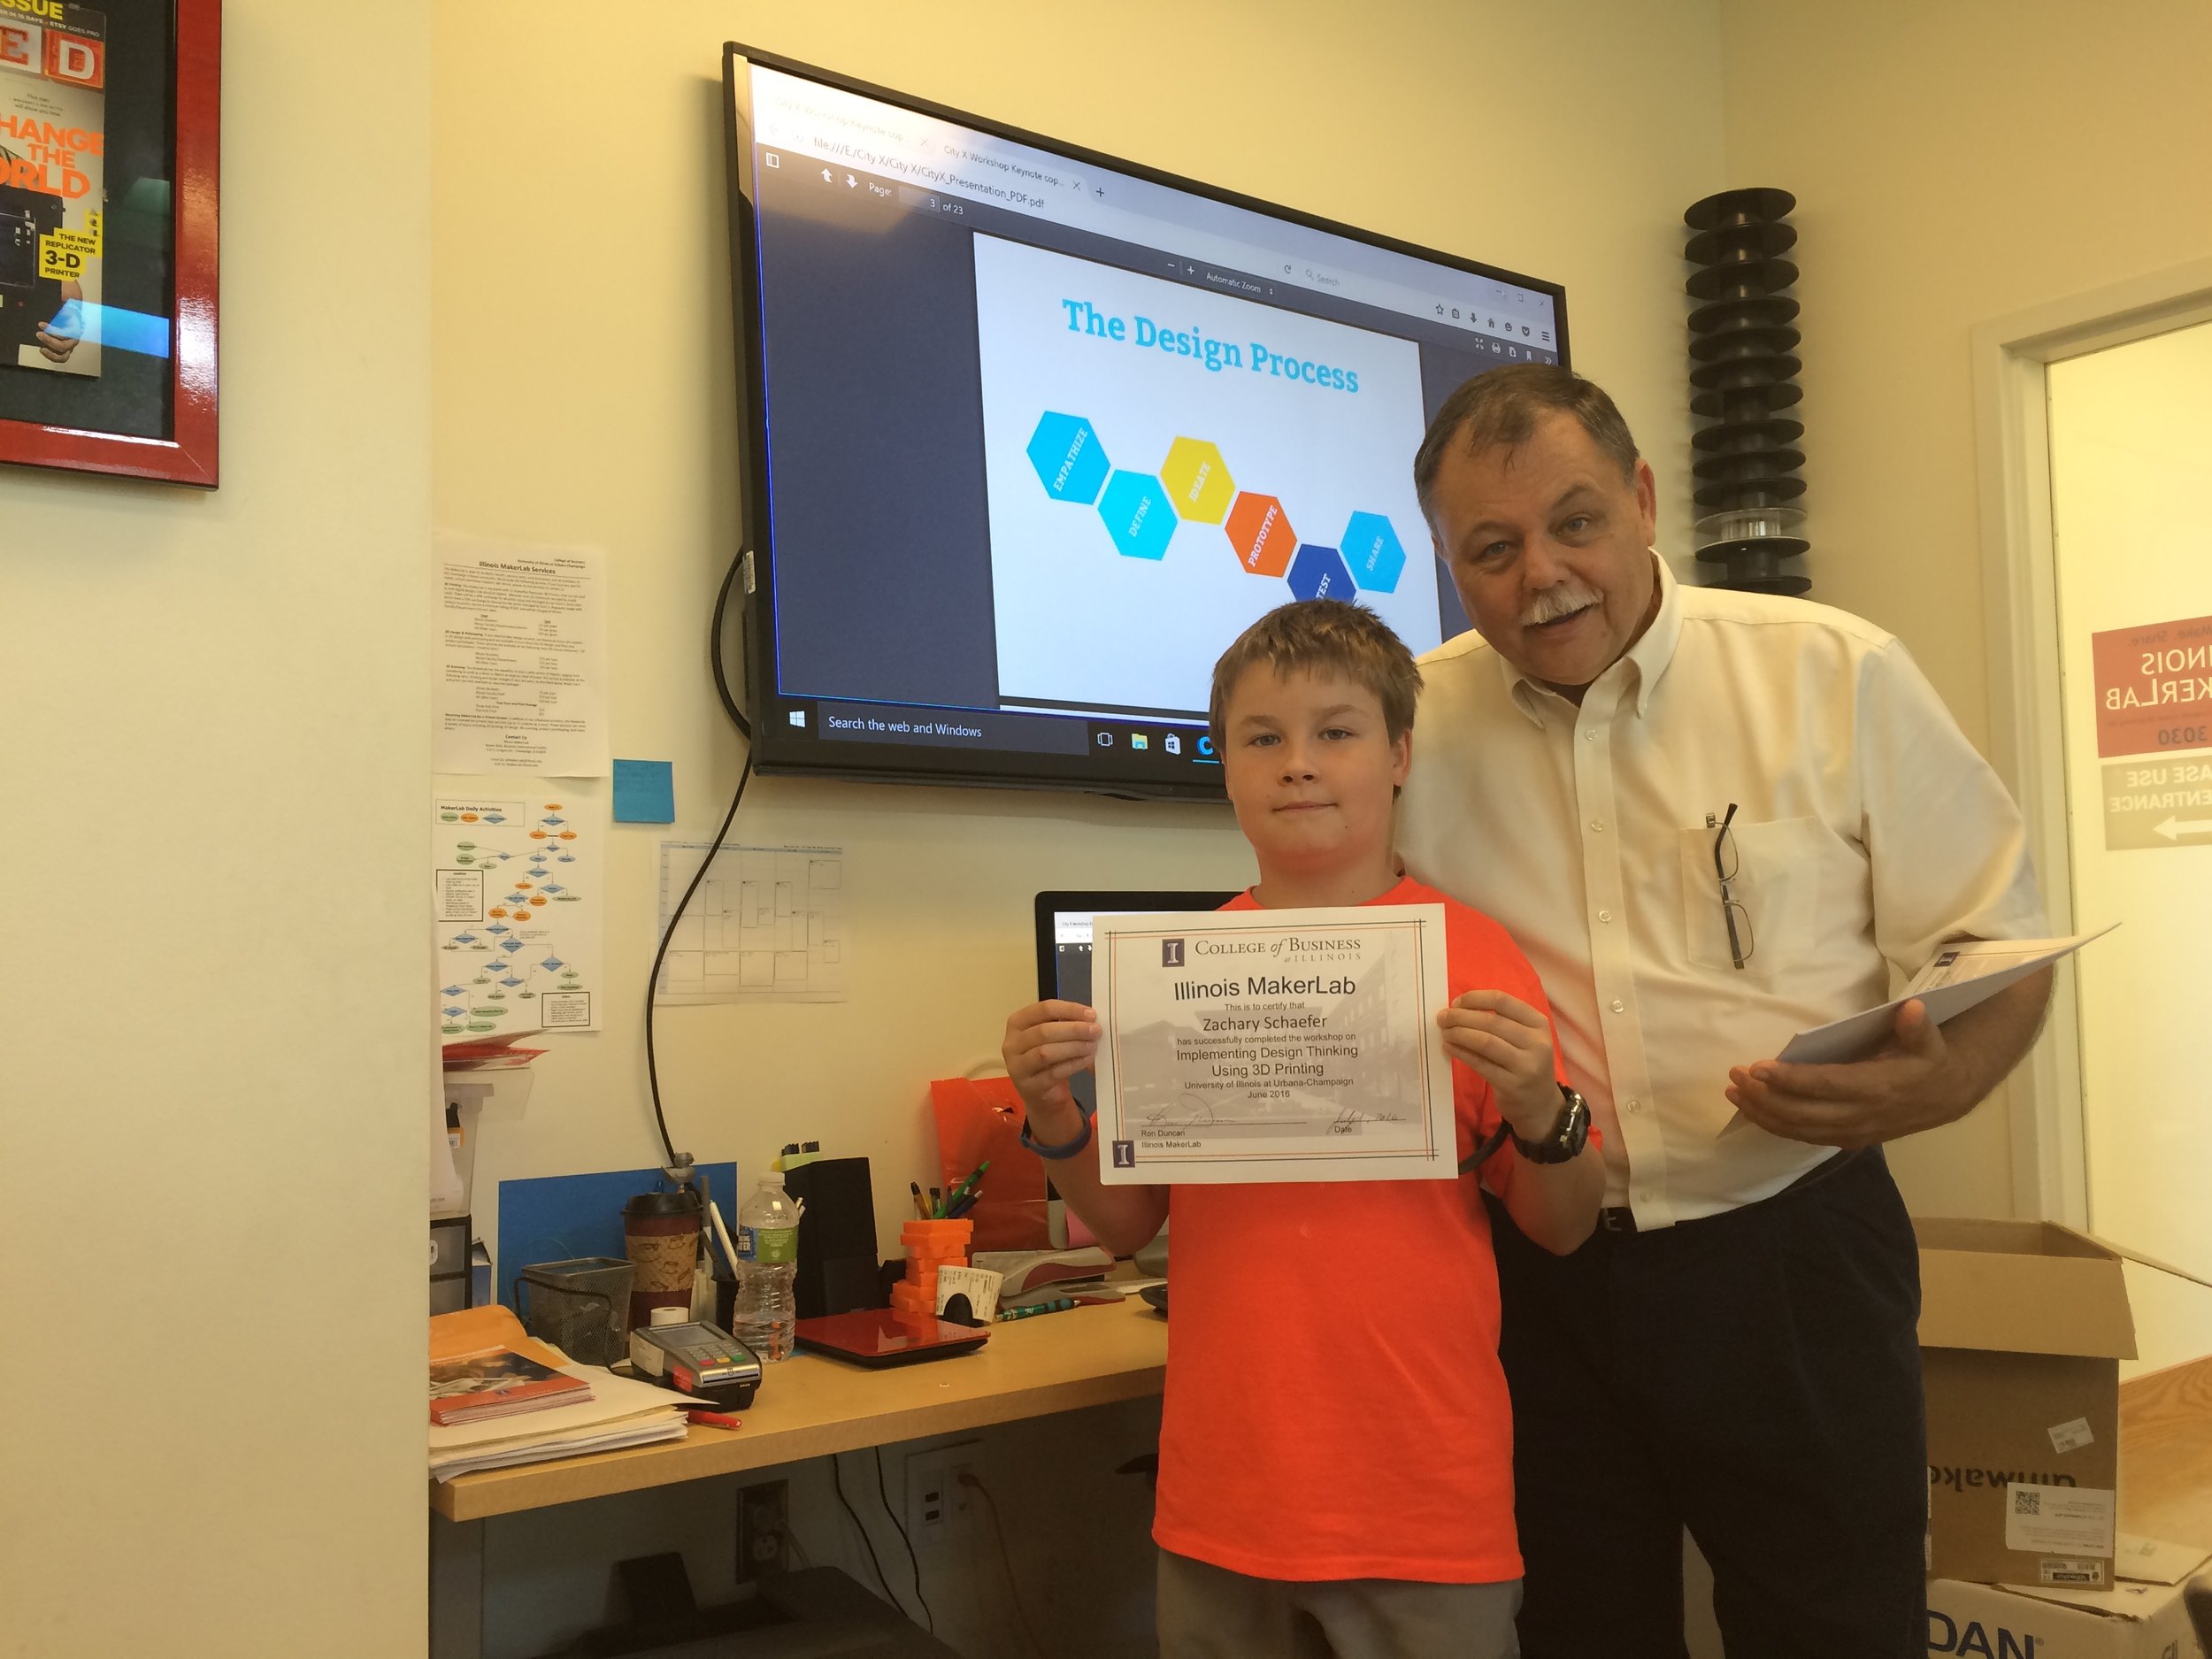
Kids learning design thinking with 3d printing.

One of many workshops offered by the Illinois MakerLab over this summer was Project City X, an international education workshop taught by Ron Duncan from University of Illinois Extension, who manages the southern Illinois operations of the Illinois Marketplace and Maker Literacy project (https://immlp.illinois.edu/). The workshop was geared toward students ages 8 to 13 and taught problem solving using the design thinking process and created solutions using 3D printing.  

The workshop was based around the story of a group of travelers from Earth in the not-so-distant future who have been sent to a remote planet to build a settlement called City X.  However, soon the travelers encounter challenges and social problems that affect not only themselves but everyone in City X. That’s where the students attending the workshop came in, solving the problems in groups of two or three through a five-step design process.


The first of these steps was Empathy. The students discussed how the travelers must be feeling based on their individual problems, which gave them a better understanding of the challenge at hand. The next was defining the difference between social and personal issues including which major world issue aligned with their challenge. The third was Ideation or brainstorming with only two constraints. The students’ inventions could not have been something that already exists and the ideas must have come from the students themselves.

image

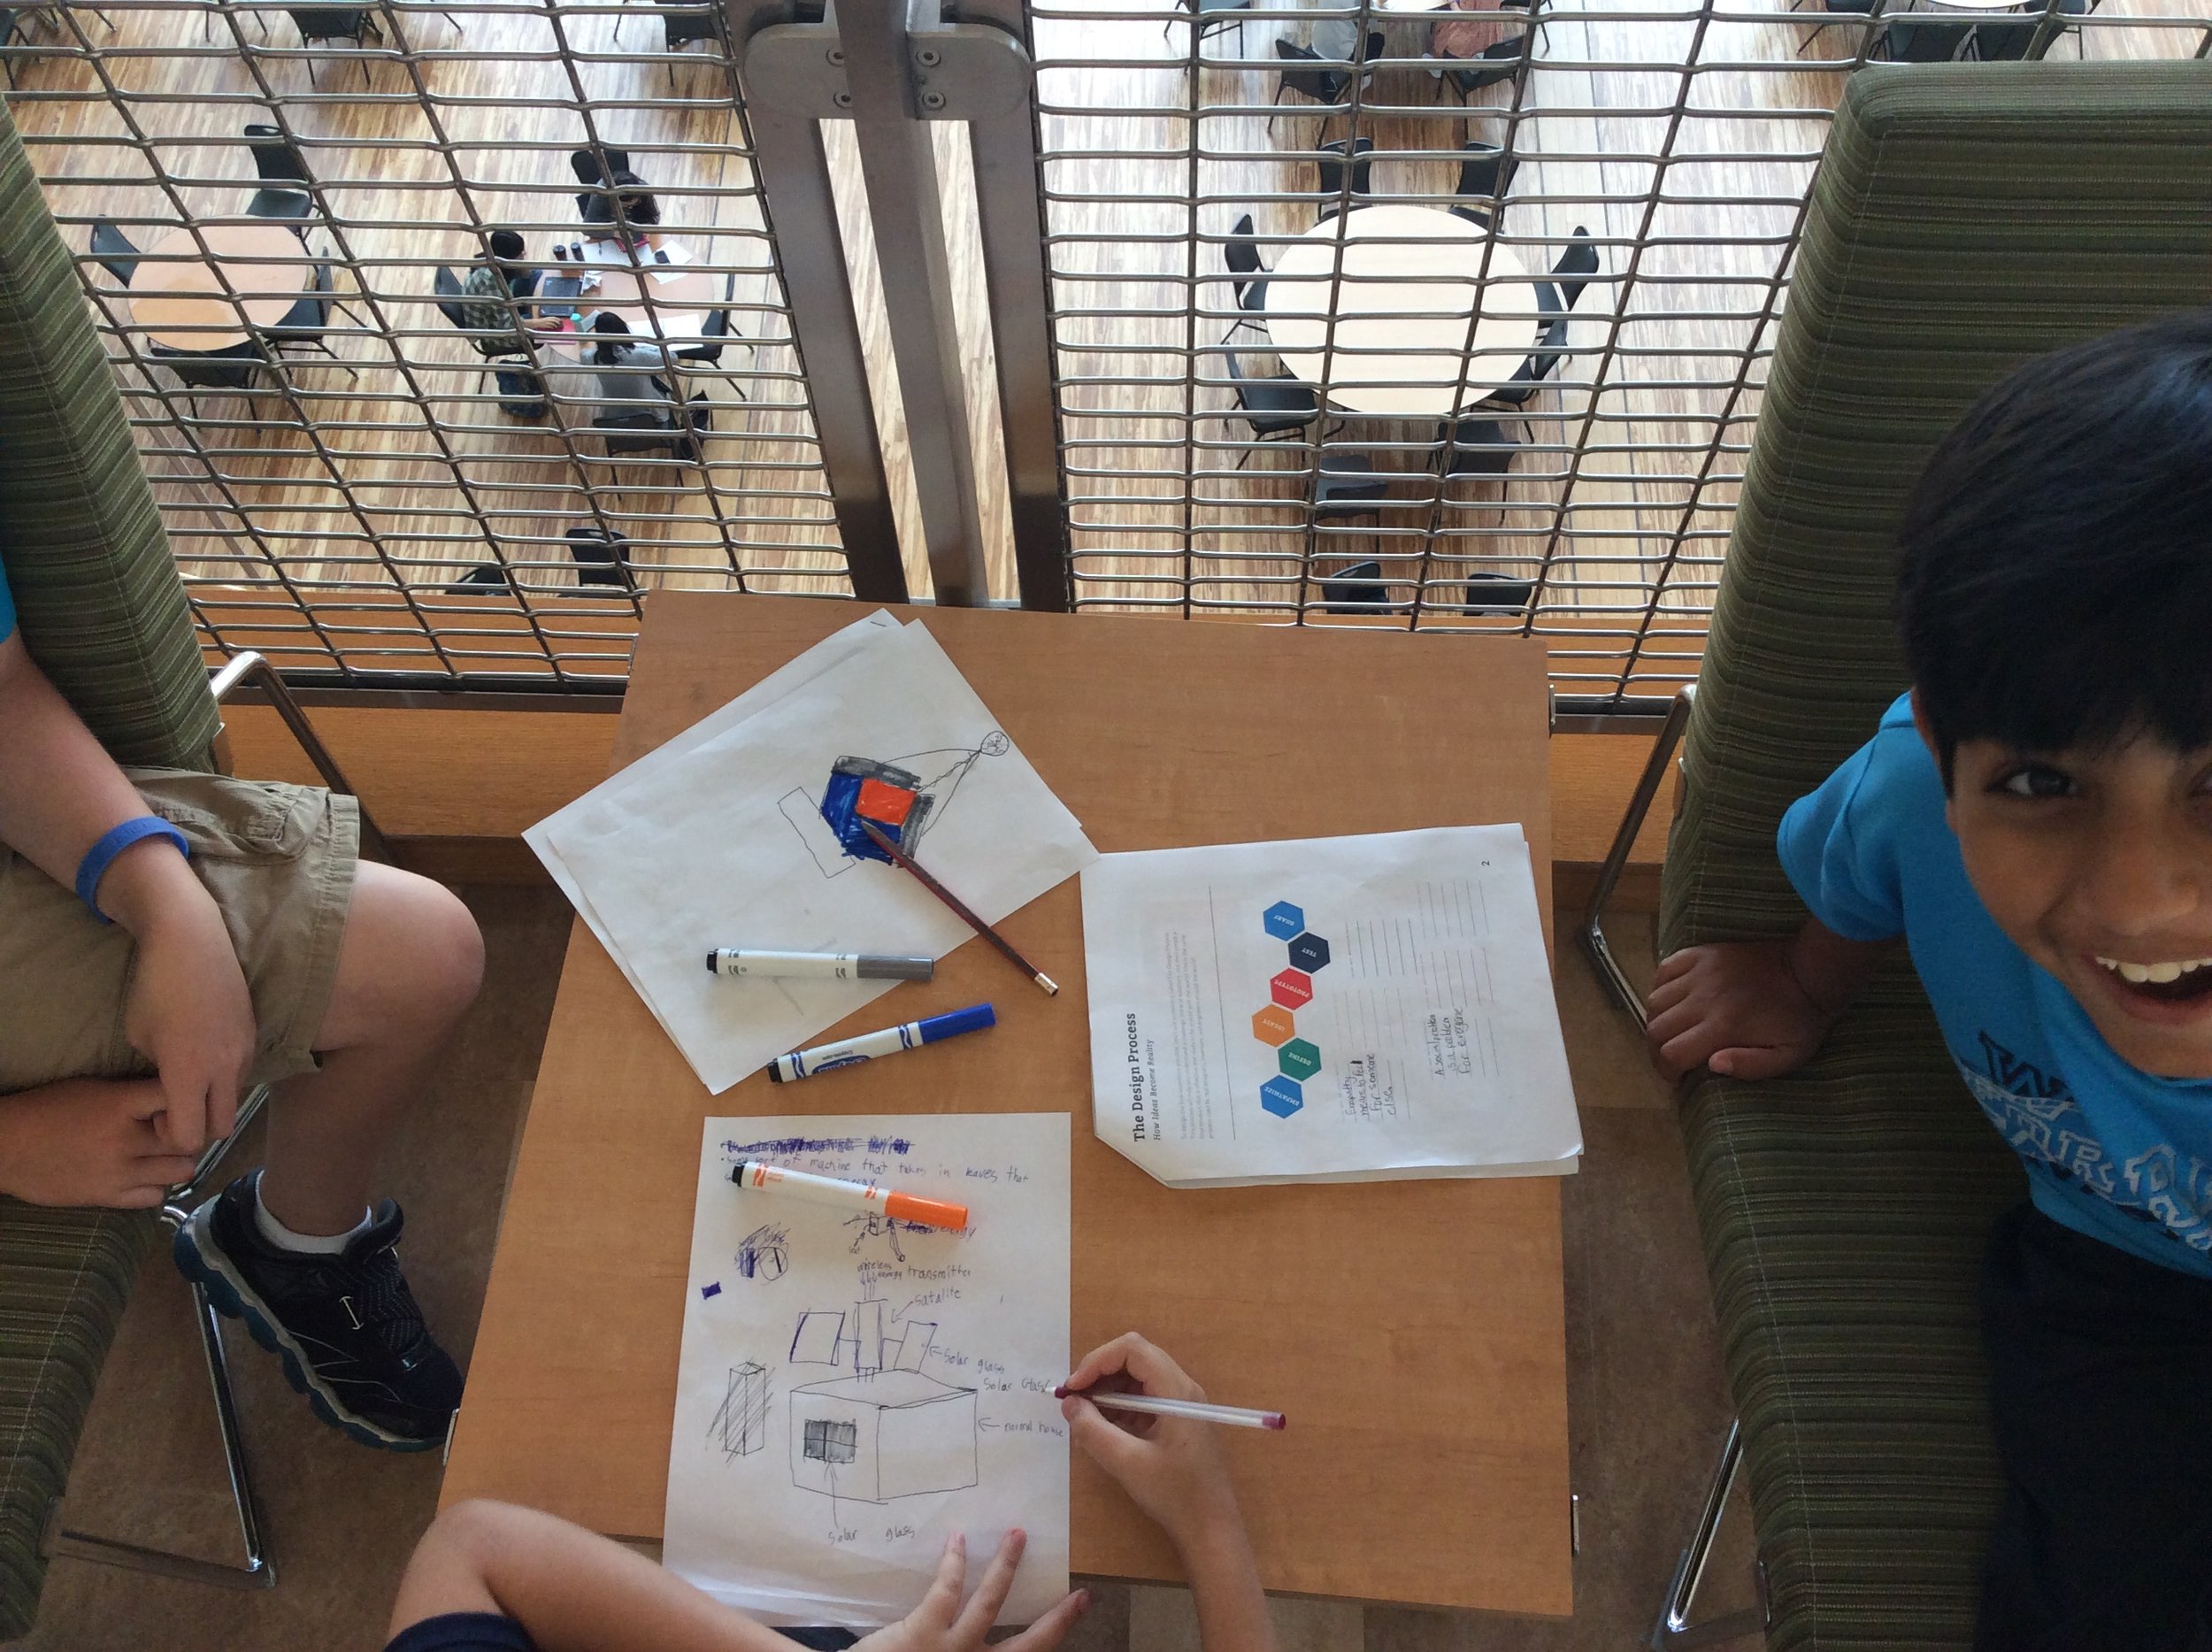
After the students had their ideas they created prototypes using markers and paper, and then discussed them with peers and teaches in order to help them improve and revise their creations.

image 4image2

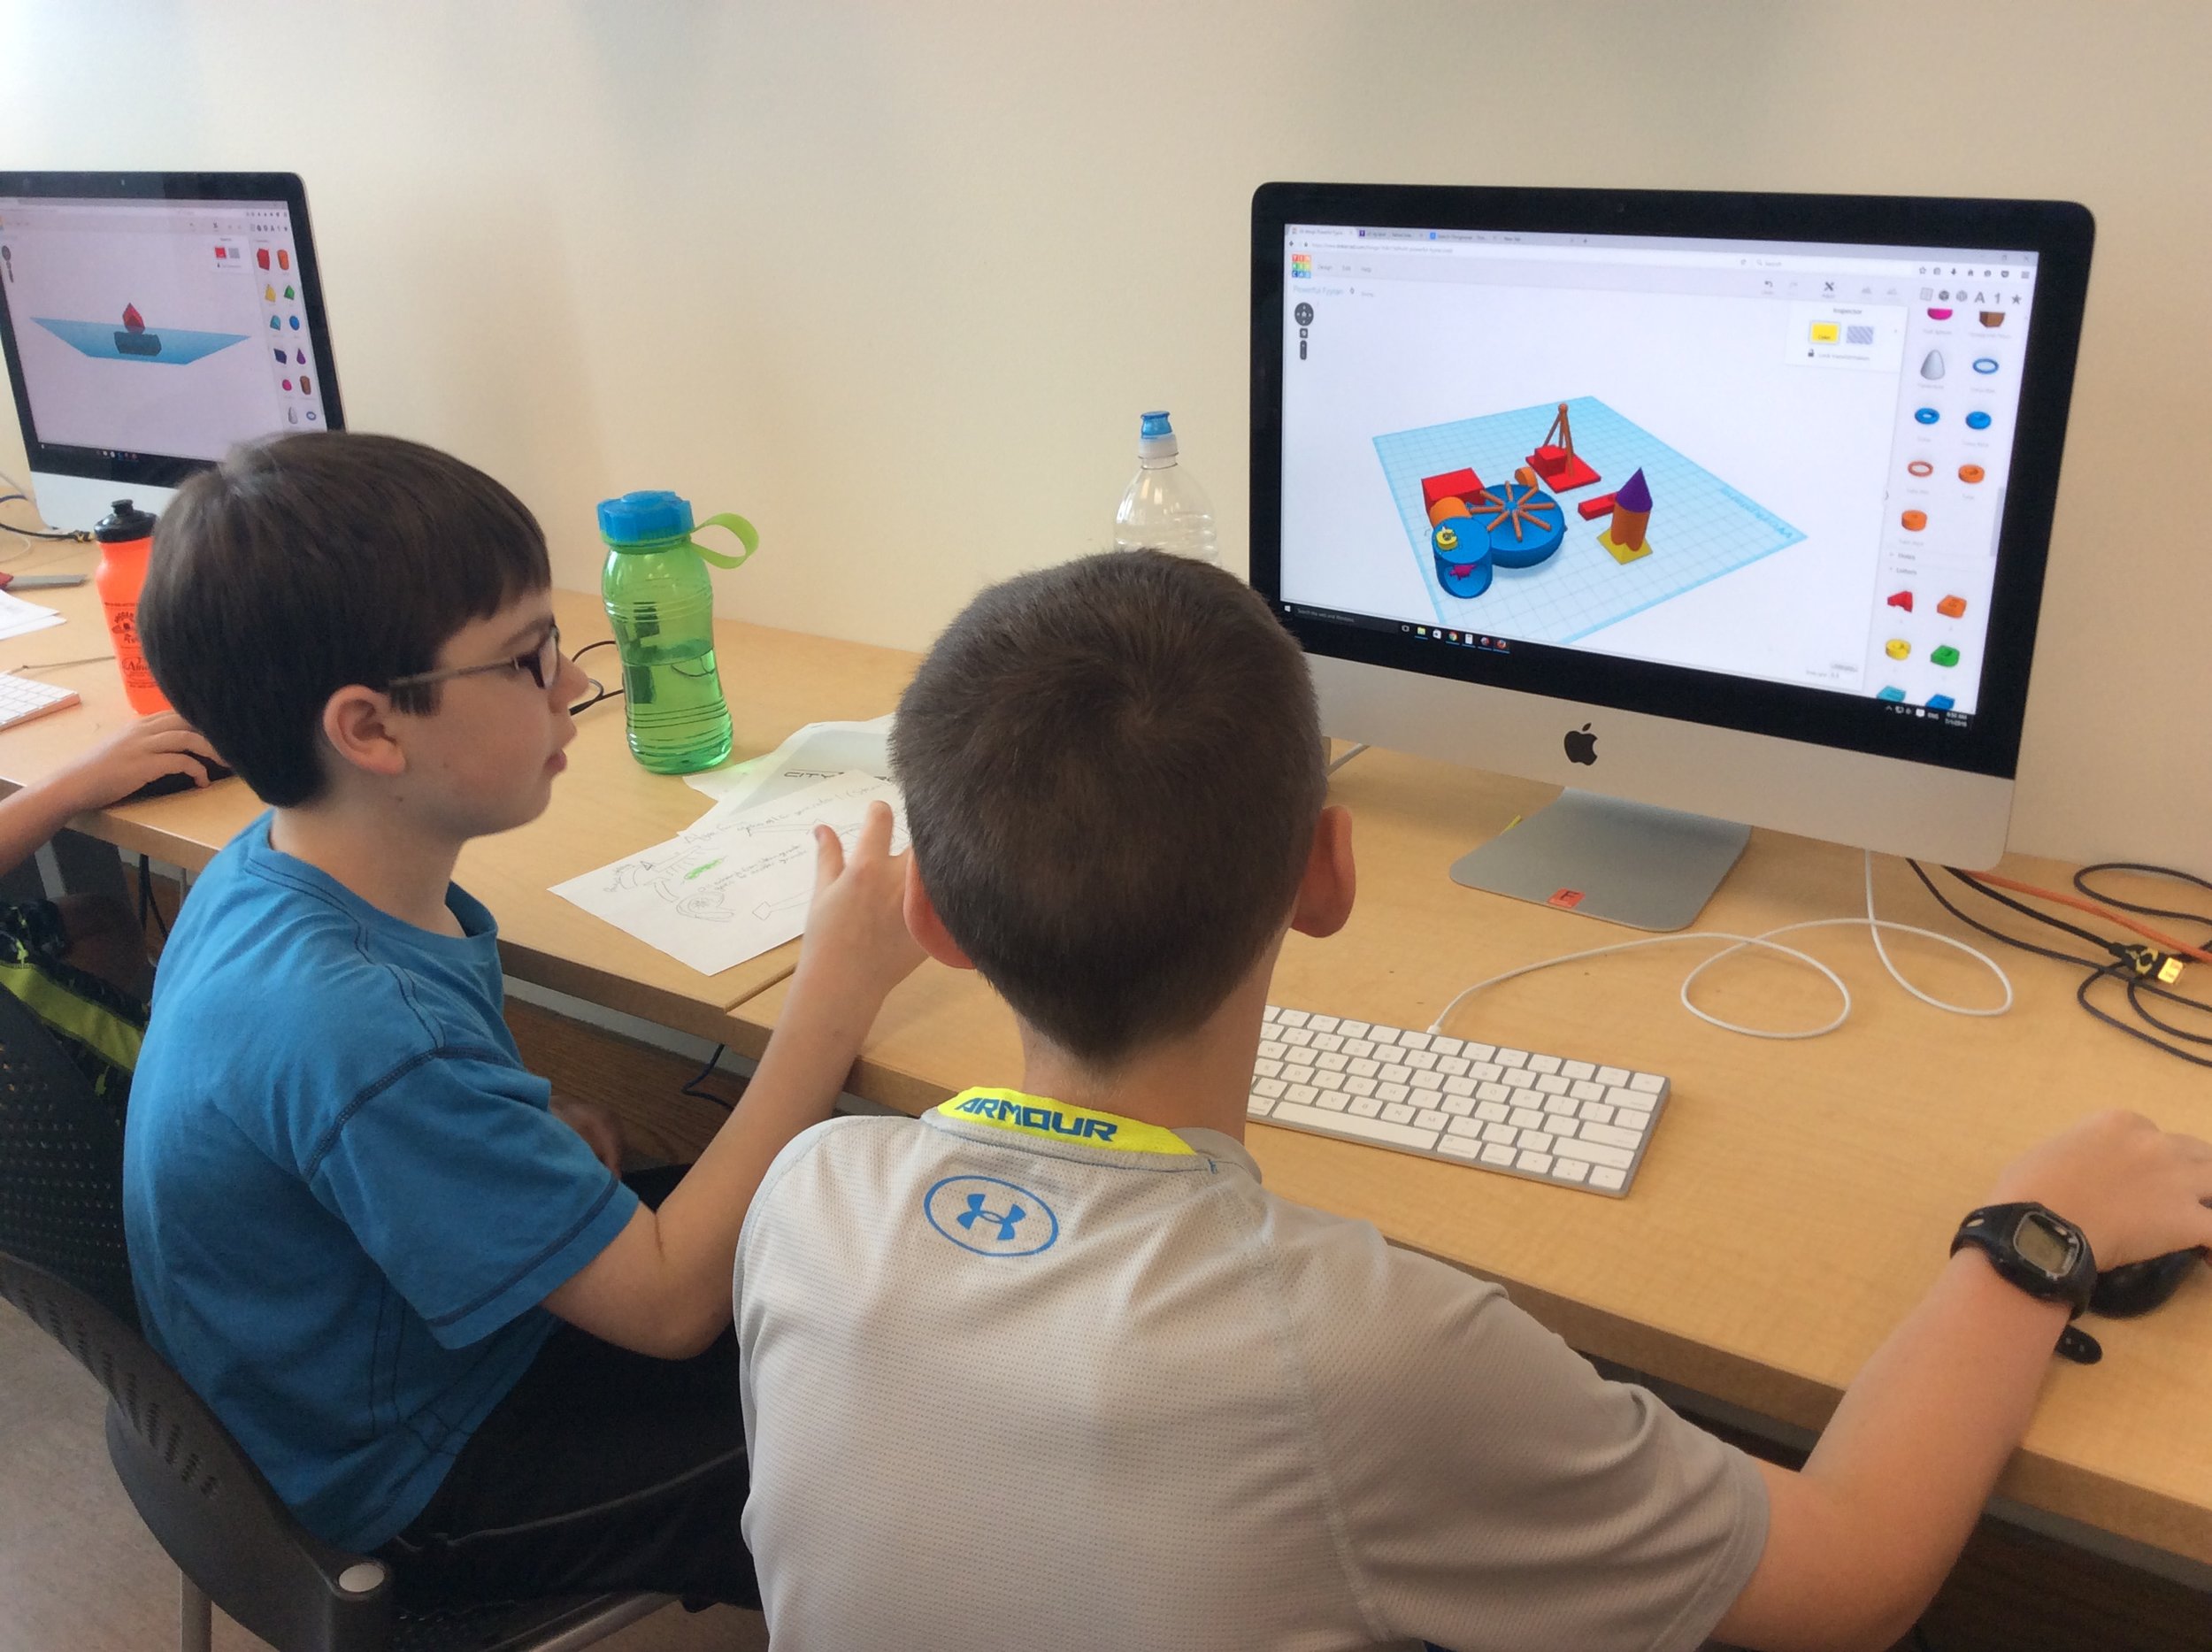
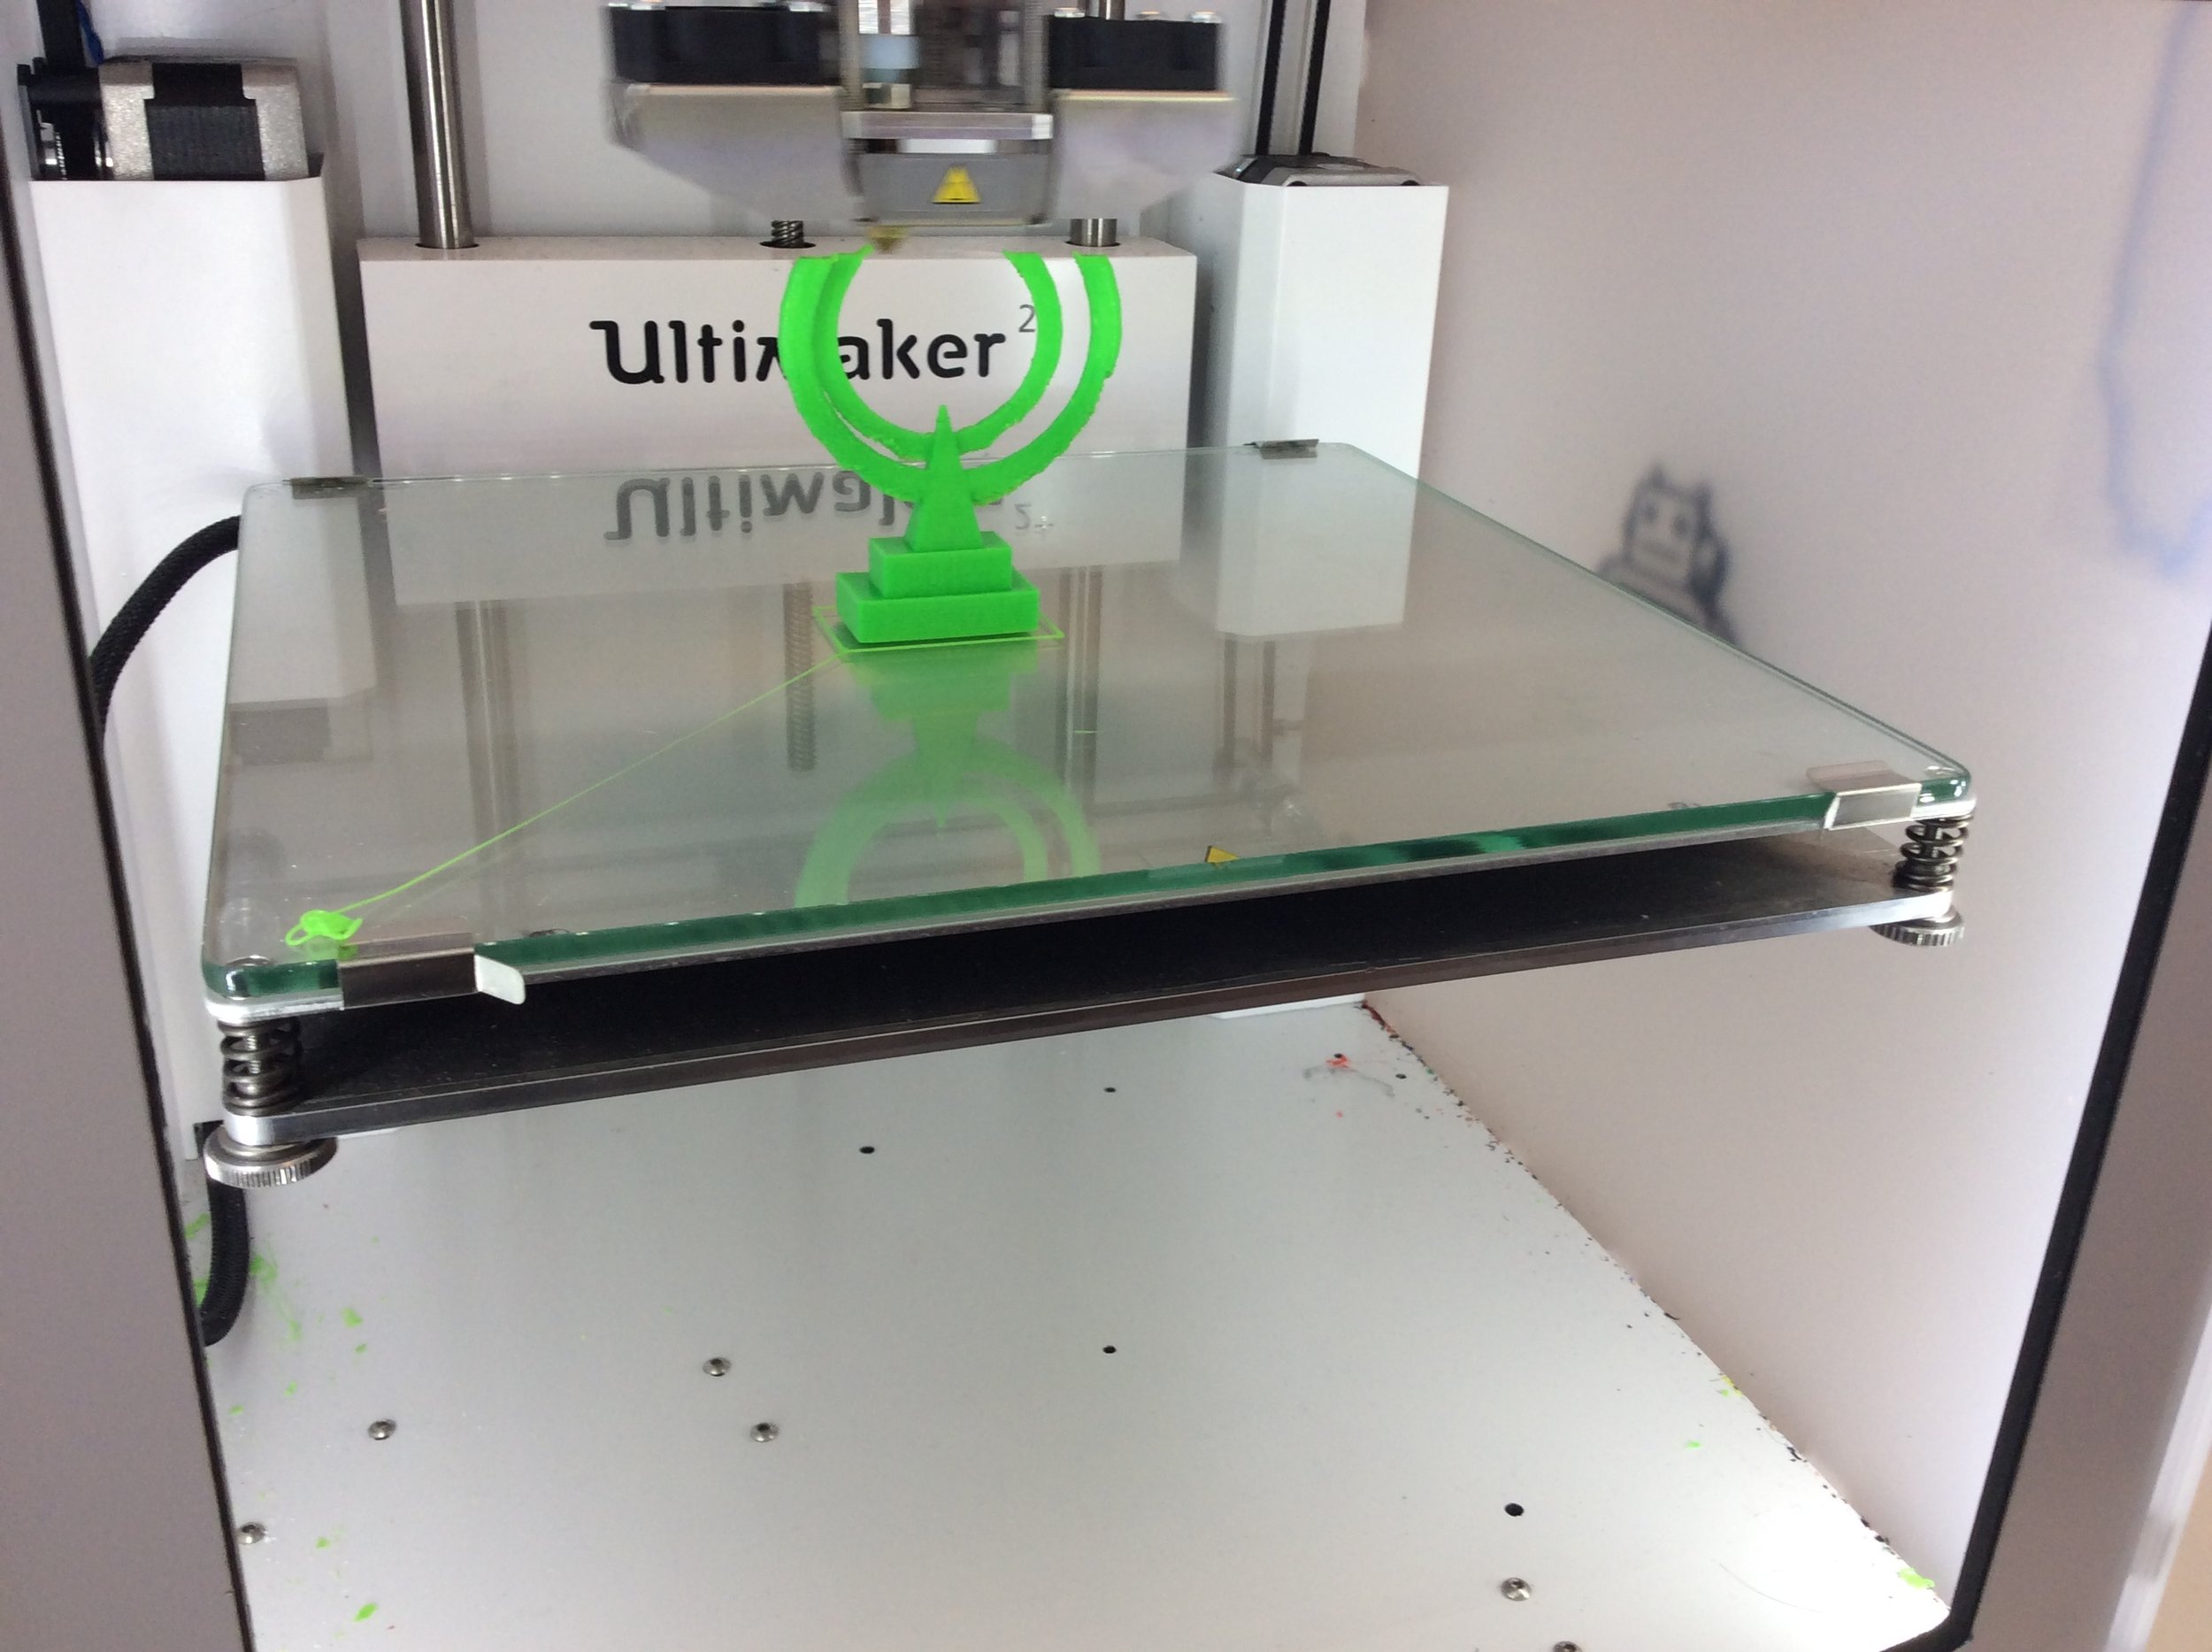
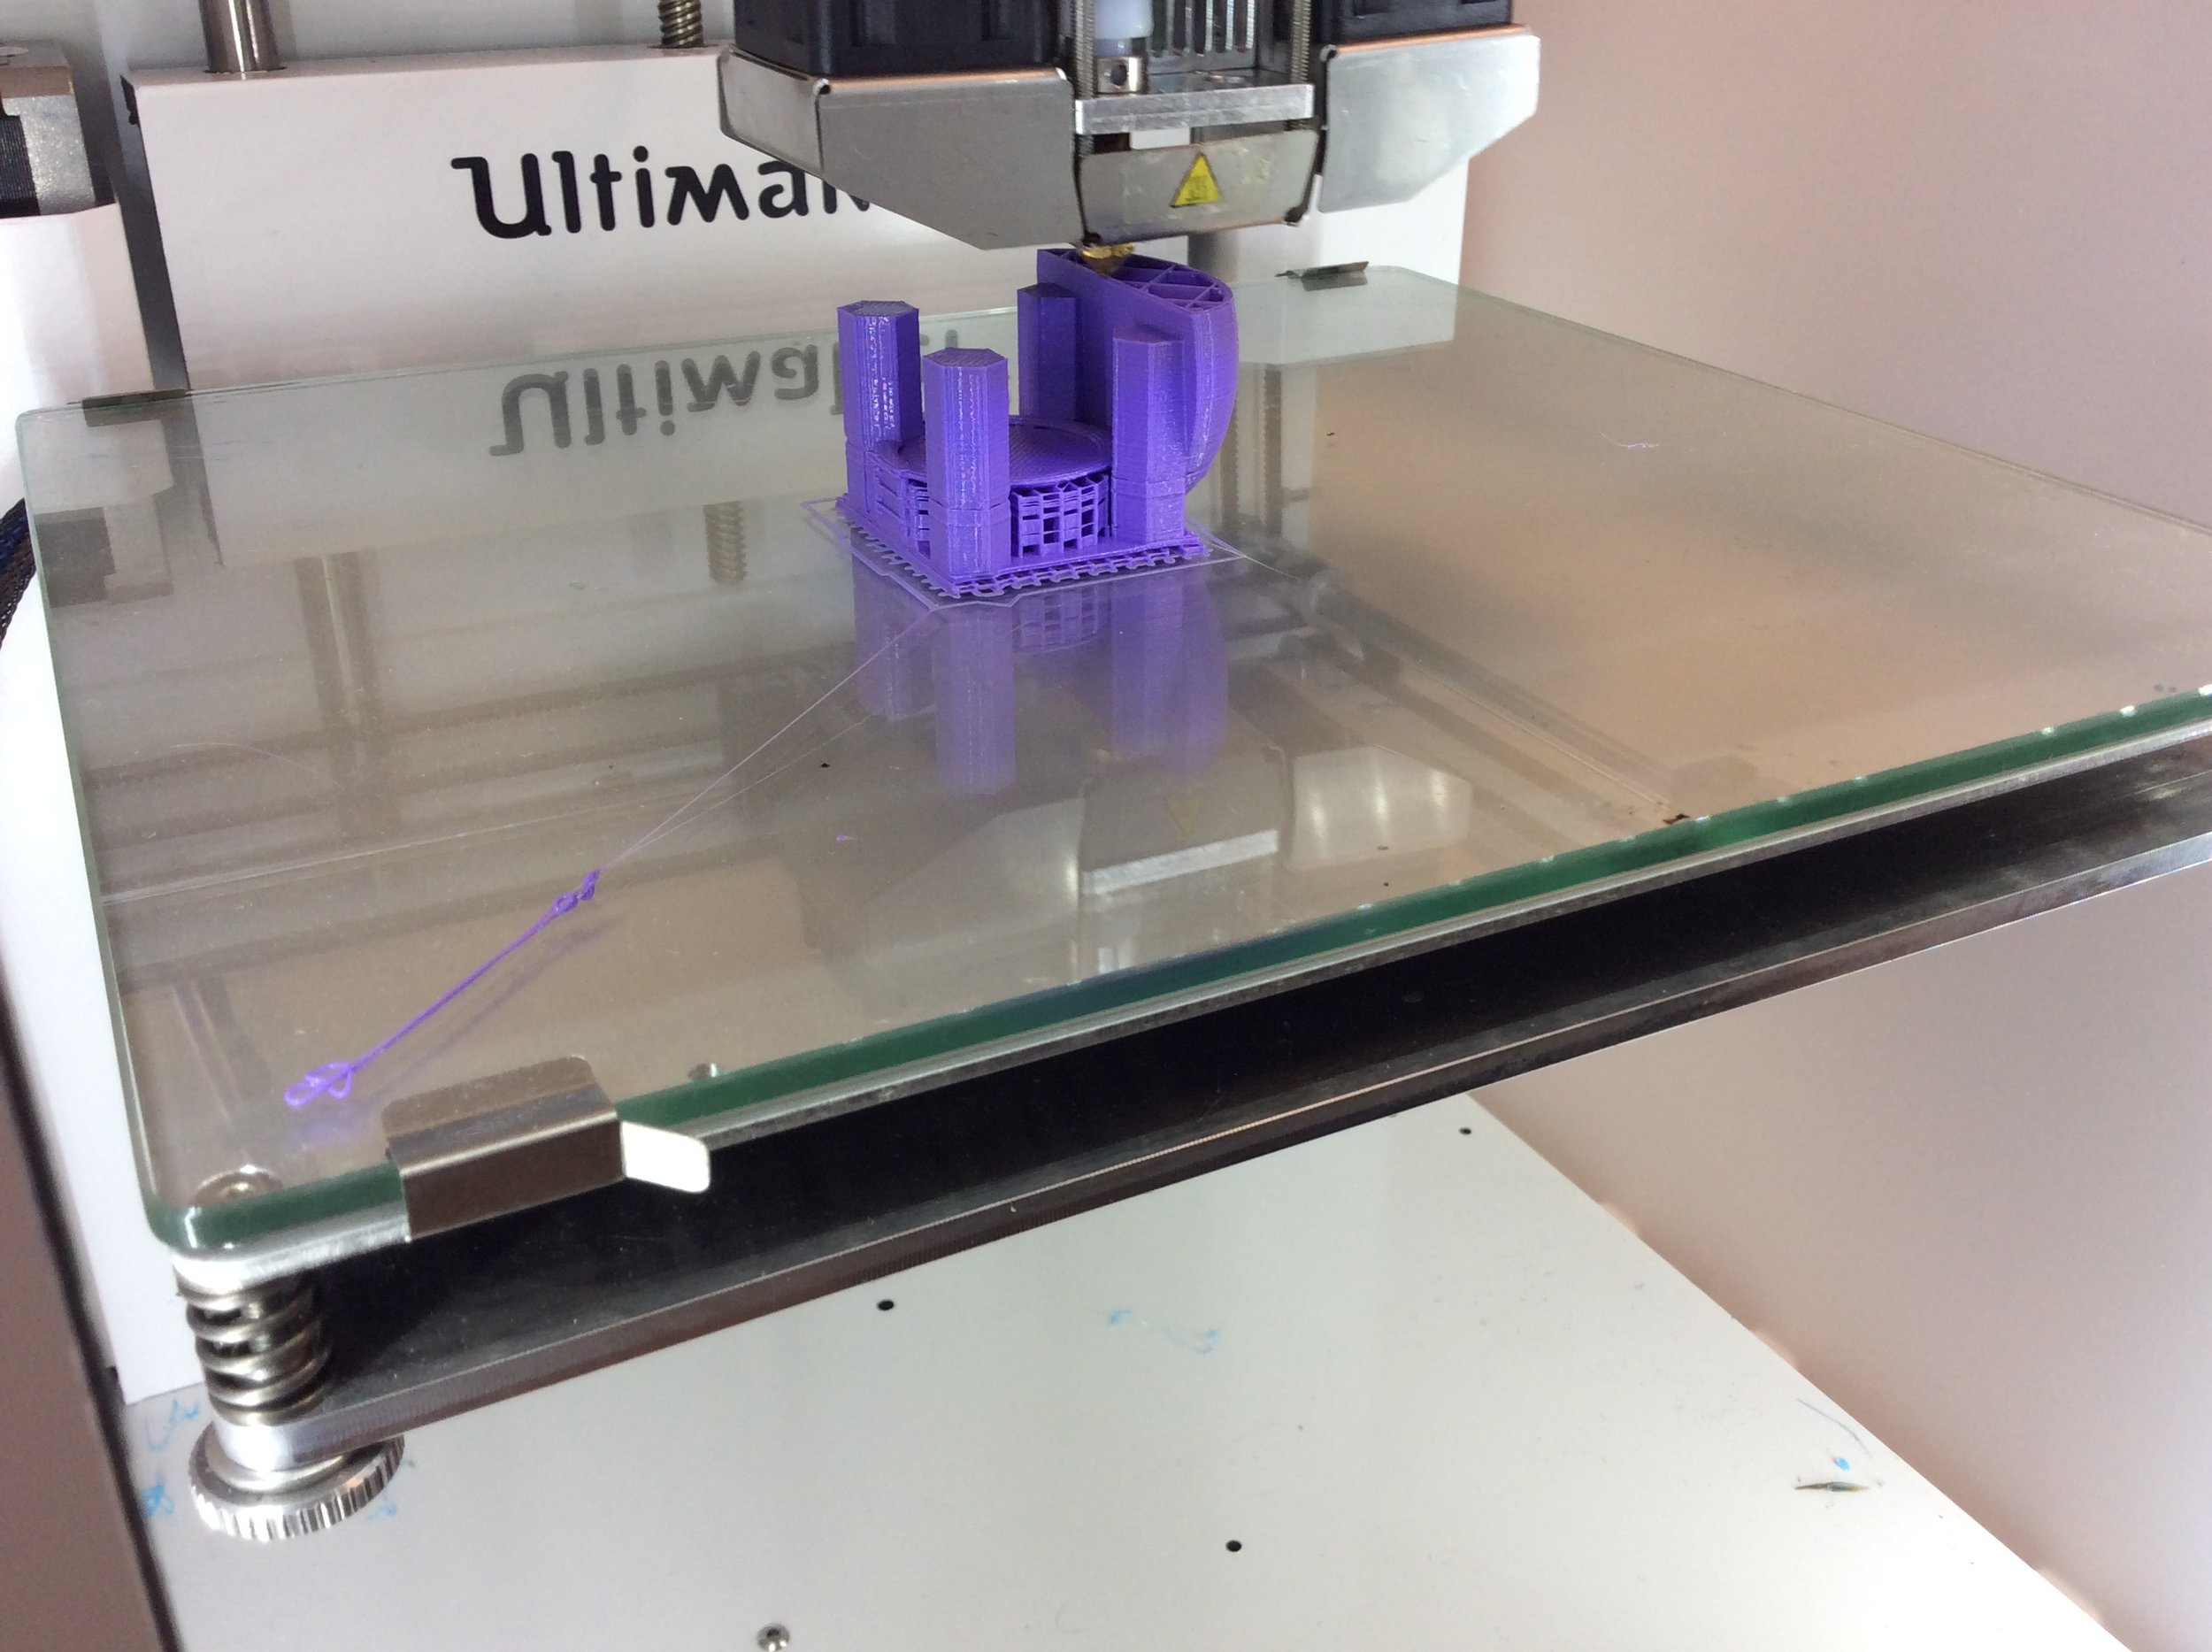
The final step allowed the students to use a simple 3D modeling software called Tinkercad to create 3D models of their inventions. They could then print their designs using one of the many 3D printers in the lab.

image6image7

At the end of the workshop each group presented their creations to the staff and their parents, explaining the problem, a bit about their design process, and finally the solution. Upon their departure the students were rewarded with a certificate of completion from the Illinois Makerlab,  in recognition of their newfound skills in designing with 3D modeling and printing.


IMG_8

Ideas to products in 24 hours - #imaginationU summer Camp

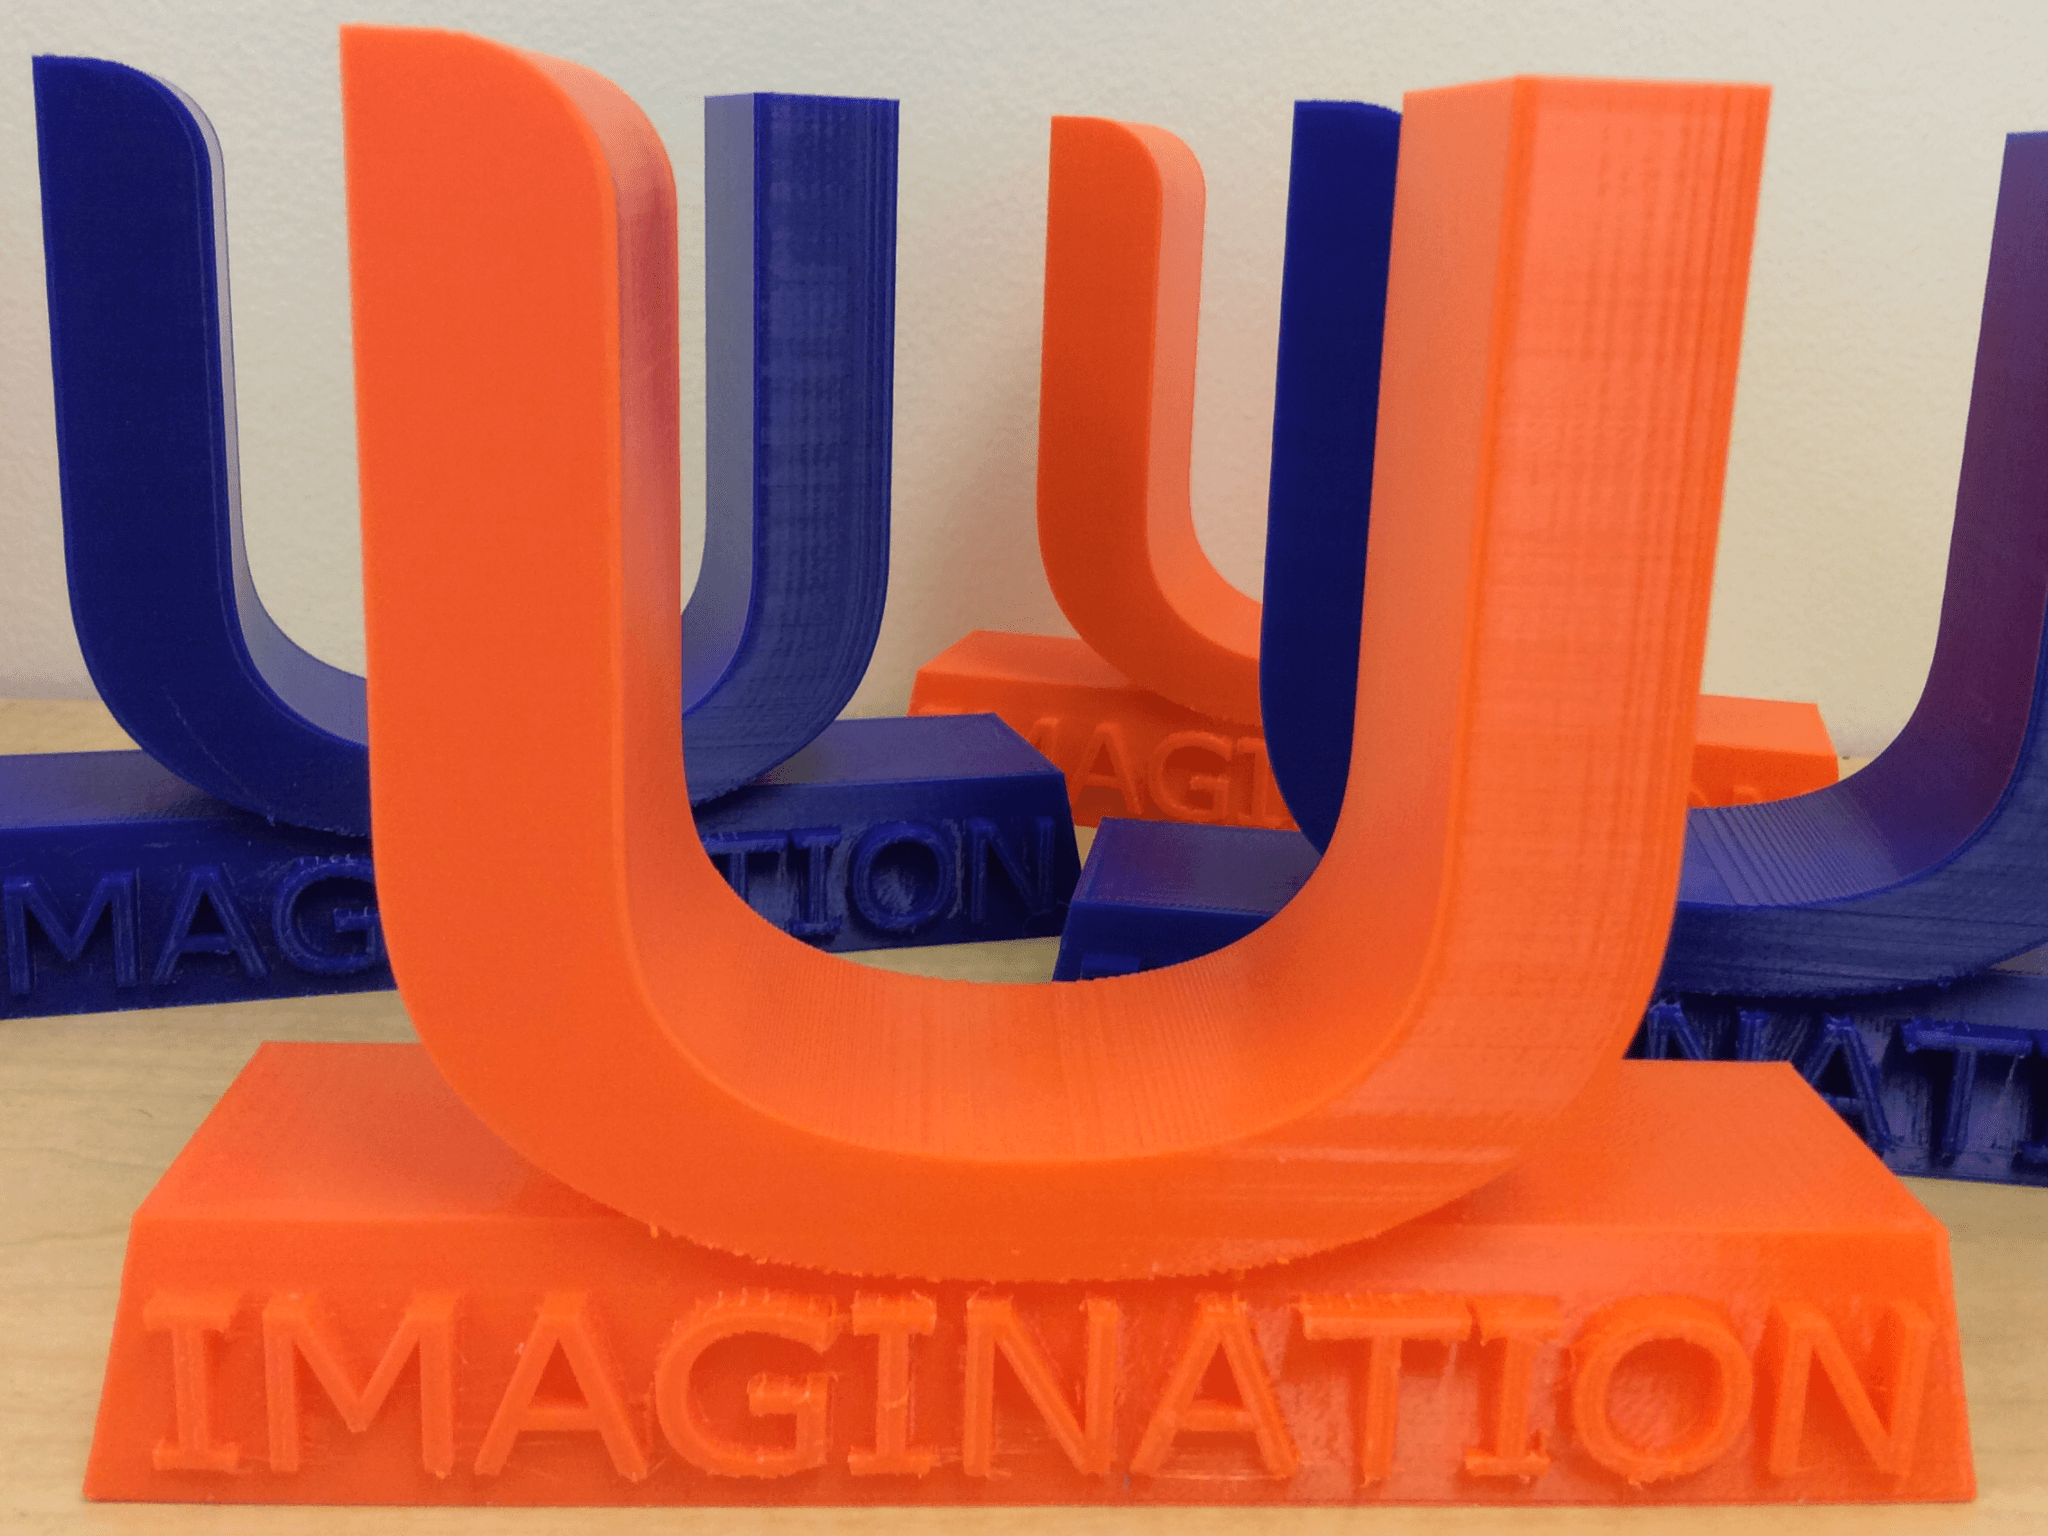
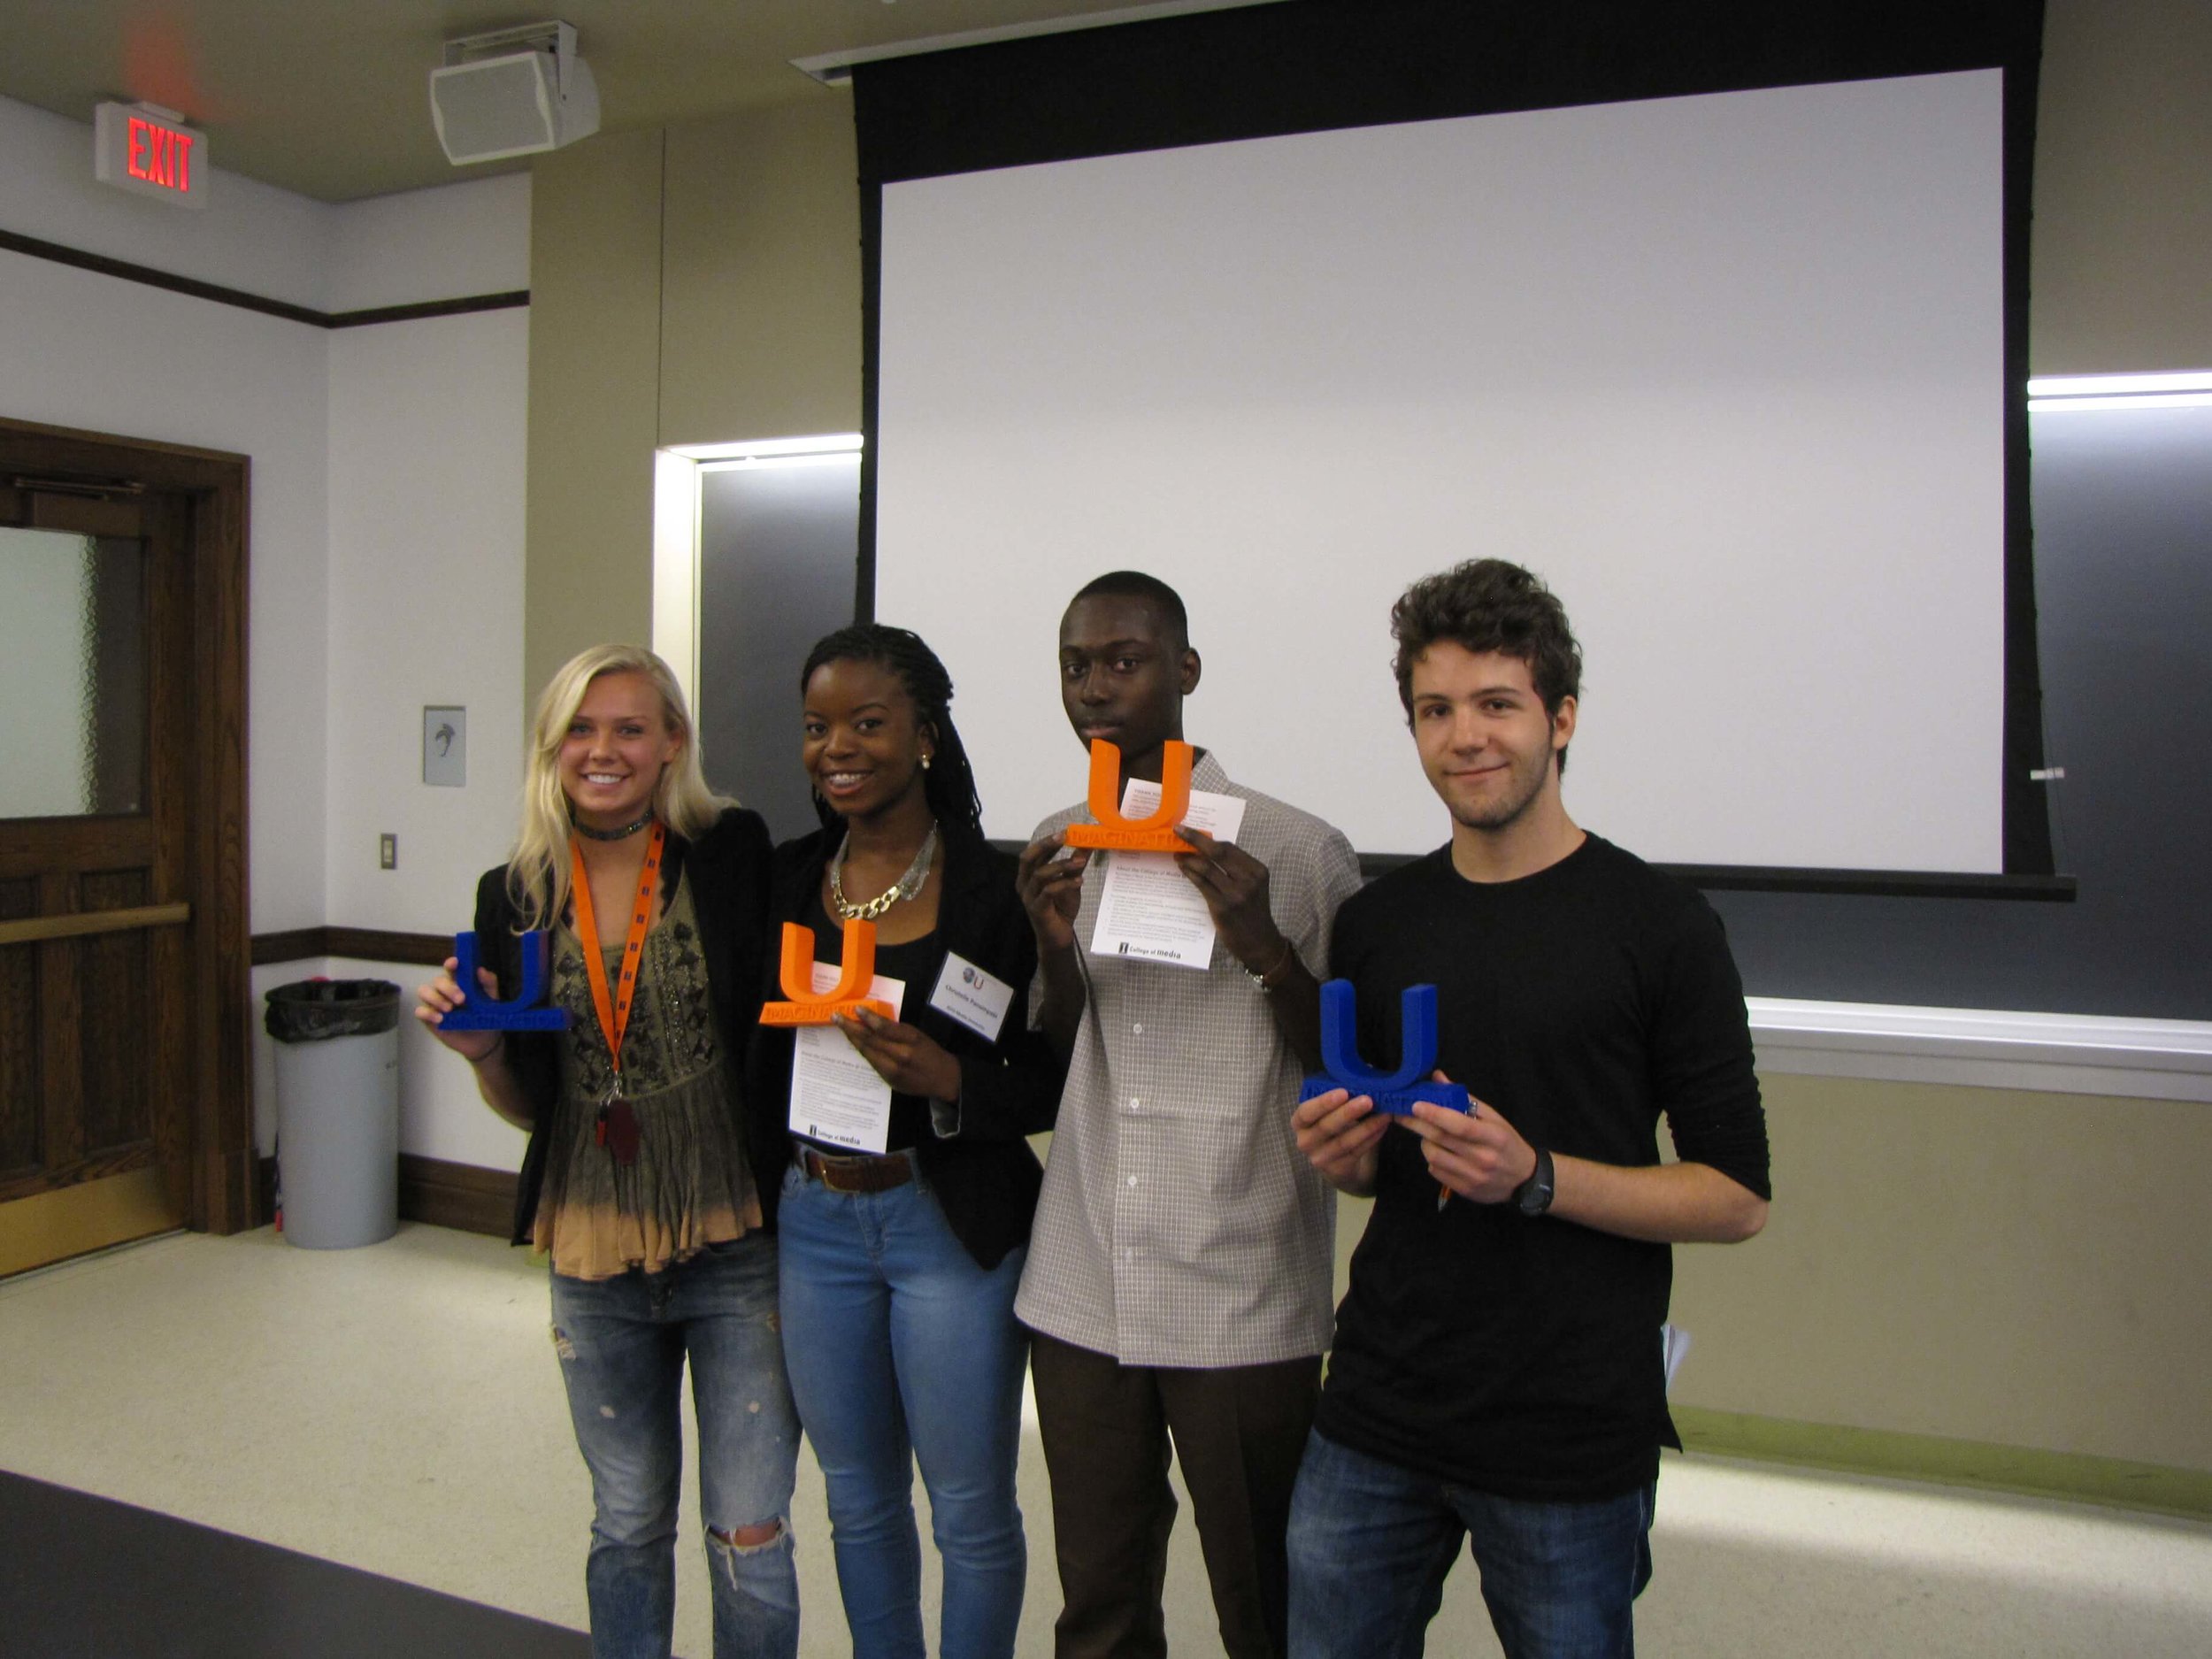
We had the pleasure of hosting high school students attending the ImaginationU Summer Camp organized by the College of Media. They visited the MakerLab to learn about 3d printing, and how physical things are becoming digital, and then back to physical.


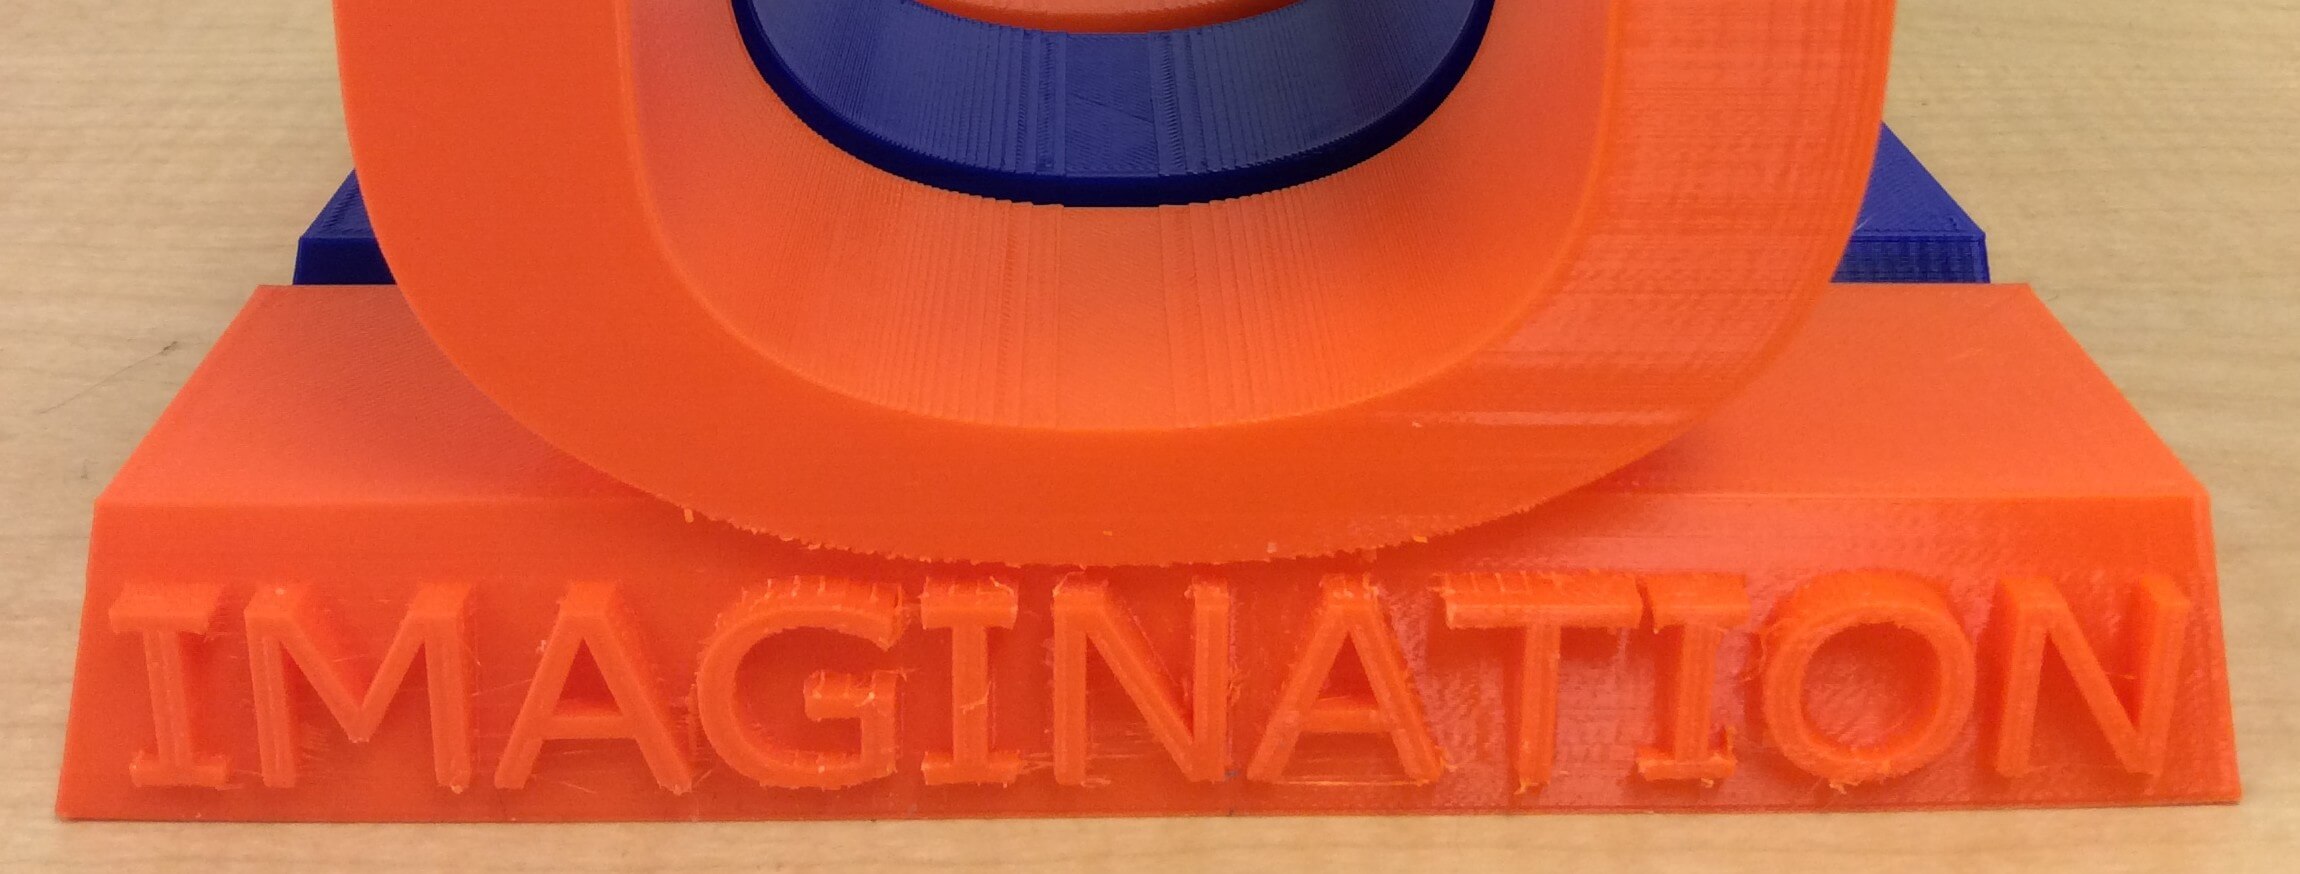
While chaperoning the students at the lab, Kyle Potthast, the program specialist had an idea to create a souvenir to give as a gift to the top performing teams at the end of the camp. He needed this for the final presentations, about 36 hours after his visit to the lab. He discussed the idea with our New Guru, Scott, and he had custom, souvenirs printed within 24 hours. https://youtu.be/ToFToSFDryA


If you need ideas converted to products, come by the lab for workshops, design help, or turn key design to print services.

Enabling the Future, one #3dprinted hand at a time

enable.jpg

A selection of the hands available on e-NABLING the Future's website

Guest Post by Nora and Sam, students in the first Digital Making class at the MakerLab.

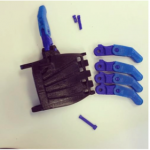
This semester Nora and I worked with Enabling the Future on designing and printing 3D prosthetics. Nora found the company and Vishal helped with getting in touch with the e-NABLE team at SXSW. From there we had our first assignment. In order to be certified by e-NABLE to make prosthetic devices for real people, we had to first print and assemble a prototype hand. The designs are premade so they just need to be printed. In some cases, the hands or fingers need to be resized to fit the end user. Our first hand was called the Raptor Reloaded, printed in black and blue filament. Printing the materials was quite easy compared to assembling the hand. The instructions were available online with detailed pictures and descriptions. The assembling process taught us a lot about how best to make the hand and what were some obstacles that we faced. For example, a lot of the parts needed to be filed down so that it would fit easily together. We also worked with the tension in the fingers so the hand would move properly and learned how to tie some pretty complicated sailor knots that the site suggested we use for the hand.
 

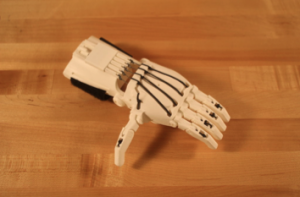
After the first hand was sent in, we decided to print another Raptor Reloaded to be used as a sample in the Maker Lab for future students that are interested in the project. The process was very similar to the first one except we didn’t have all of the assembling materials needed for the hand such as the strings, screws, and Velcro. Enabling the Future sells packages that cost around $25 for materials for the Raptor Reloaded. Instead of buying another package, we improvised with some of our own materials. Feel free to check out the hand in the Maker Lab during open hours!
Screen Shot 2015-05-11 at 7.19.20 PM

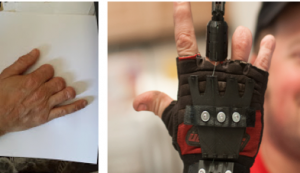
Towards the end of the semester, the e-NABLE team got back to us about a real recipient, his name is Bruce and he is a 53 year old male from North Carolina. He is missing three of his fingers on the right hand, so instead of making a prosthetic hand we were tasked with making replacement fingers. Some sizing needed to be done in the fingers, but other than that the prints were ready. The instructions for the Owen Replacement Finger were also available online; however, they were not as detailed as the Raptor hand. We also had to improvise on getting the necessary materials such as a glove, needle and thread, and elastic, which were not available in a pre-made kit for this type of hand.
Screen Shot 2015-05-11 at 7.19.34 PM

The MakerLab will keep working with the e-Nable organization, and enable students to create an impact and learn digital fabrication at the same time.

Sharing our learning from the Making Things Course

Aric Rindflesich, the Executive Director of the MakerLab, was invited to present about the innovative approaches to student learning at the Teaching with Technology Brown Bag Series sponsored by CITL and CITES . The session attracted educators and learning professionals from across campus, interested in learning about the interdisciplinary, team based and student led approach to learning by Making. The Making Things course is being offered the second time, and we look forward to some innovative solutions to every day problems from teams in this course. Find out more about what the students did last year and follow their updates from this year at the Making Things class webpage.

A video of the session is available below (it may take a moment to load)