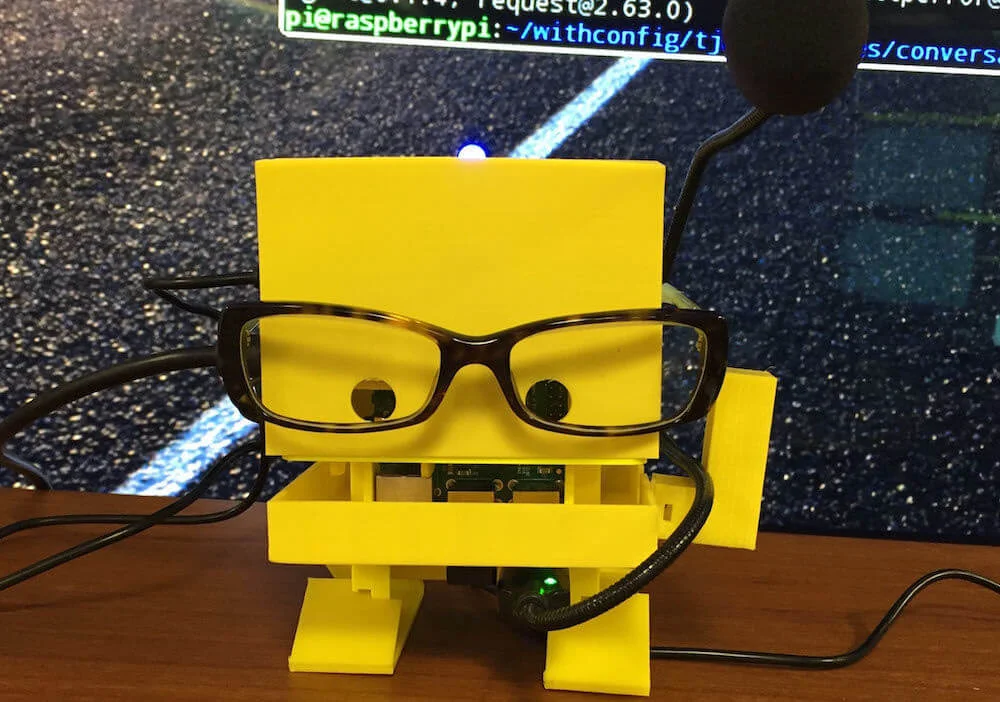
Exploring the Fab Lab- Digital Making 2017

Guest Post: ChaseThis collection of posts refers to the Digital Making Class offered here at Illinois. Each week students are required to write down what they have learned through the week. Below is a summary for week 6 written by Chase.


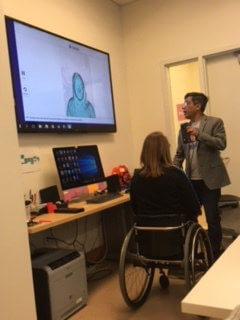
This week we engaged in the second phase of a continuous three-part series meant to offer exposure to the myriad of activities offered at the Champaign-Urbana Community Fab Lab. The Fab Lab is a leading-edge open and collaborative work-space for design, creation, and printing through the use of computer-driven technologies, such as 3D printing, lasering, inkscape, and soldering. Since the making space offers such a vast array of opportunities to its various users, the class was divided into three separate groups during our first session, with each group rotating between the three main functions of the lab: laser cutting, soldering, and coding.

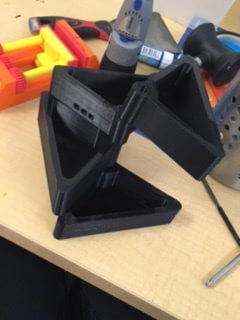
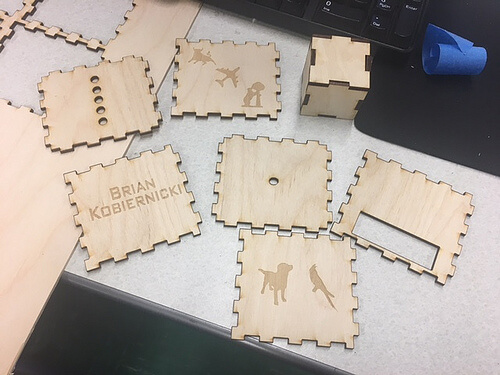
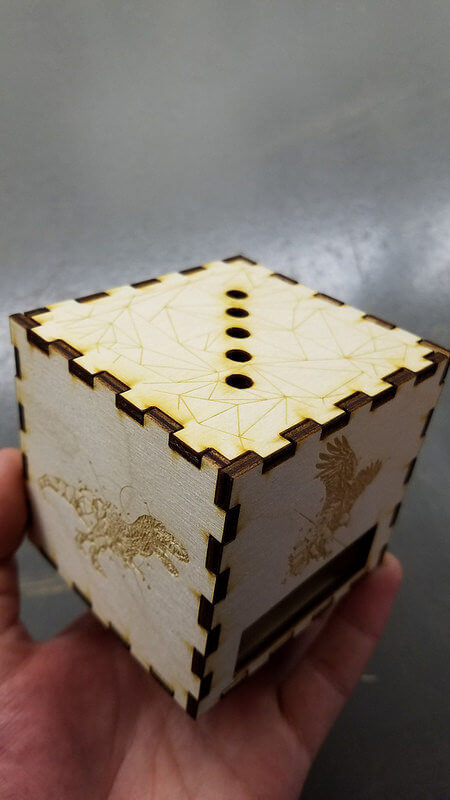
The first station was laser cutting. The objective of this part was to assemble the wood cube that would house the photo dependent LED light resistor. The software used to create the designs on the sides of the cubes was Inkscape, a completely free, open-source platform that appears to be user-friendly yet still able to make complex designs. The laser uses subractive manufacturing to etch the designs into the wood which created the  images, while also making the actual cuts to create the box.

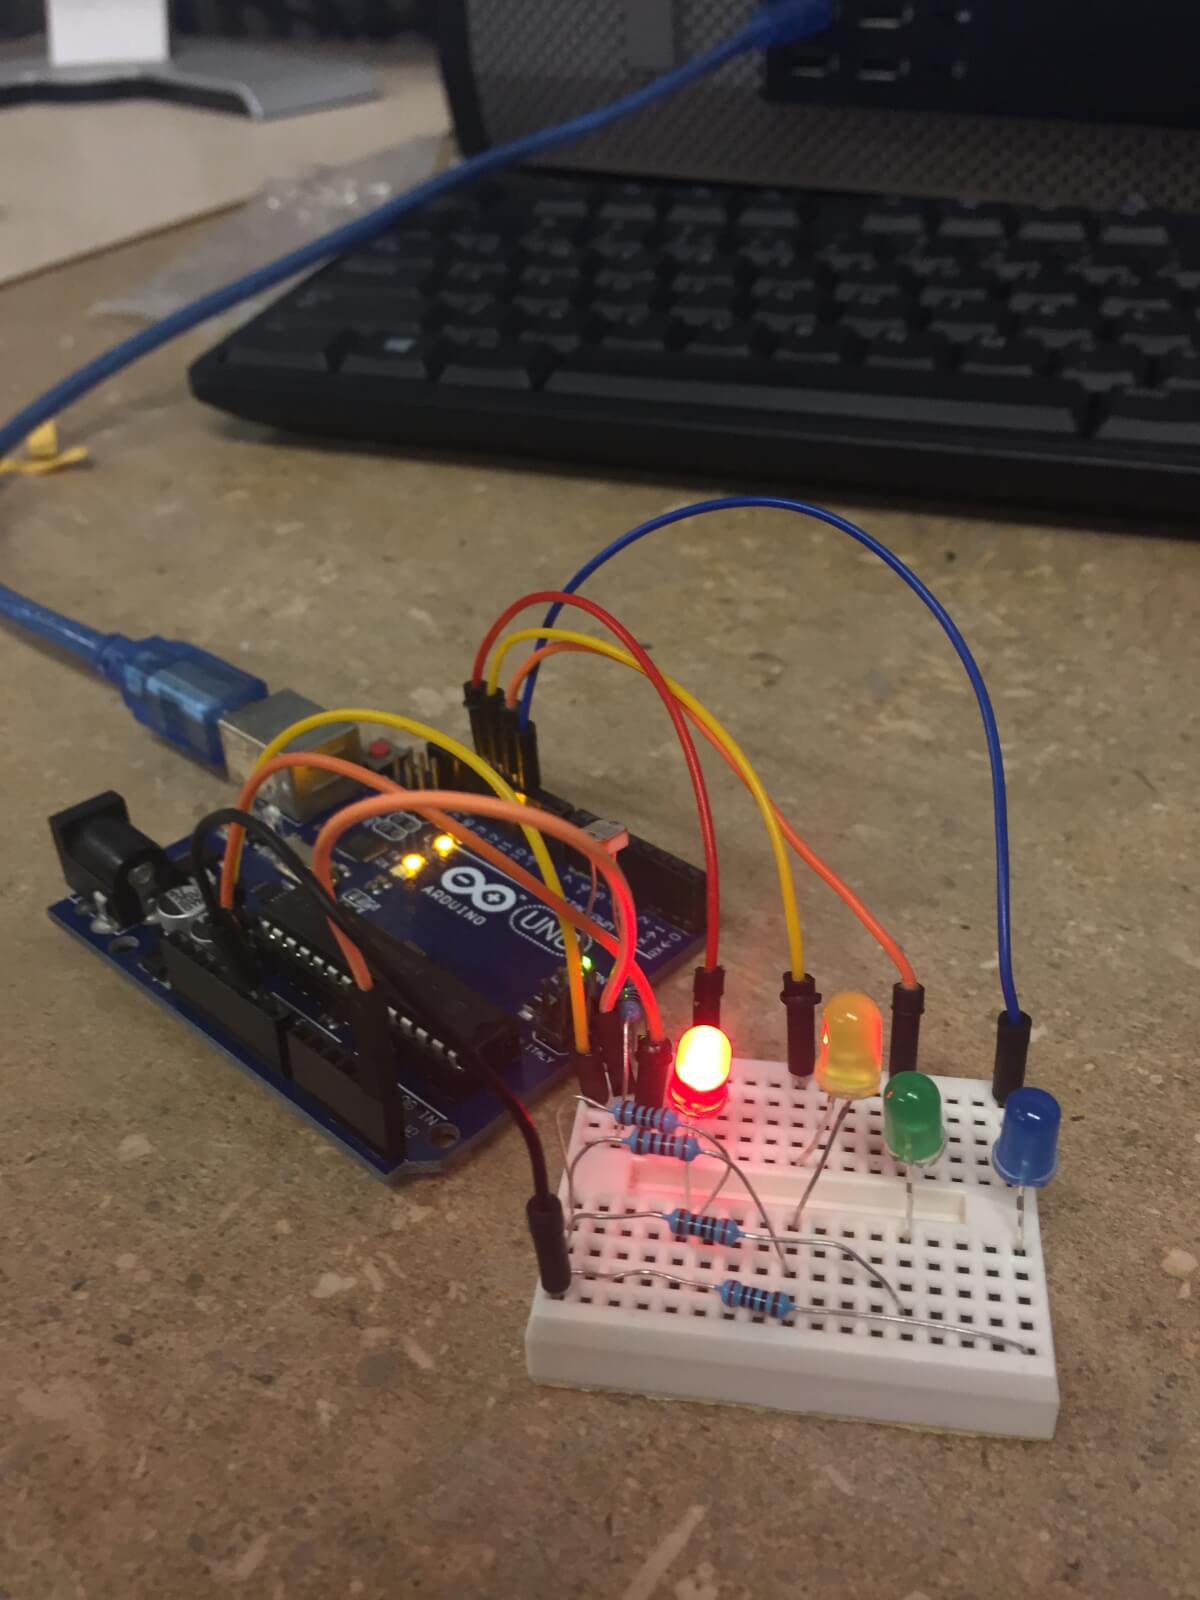
The second station was soldering. Soldering allows for more accurate and uncluttered connections between various electronic parts, such as wires, resistors, and other components. An additional benefit of soldering is the ability to maintain the original shape of the soldered metals, considering that the solder has a much lower melting point than the adjoining metal. Since the fusing occurs at much lower temperatures, the metals that are being connected do not warp in shape or size, nor do they melt. Lastly, soldering allows for the joining of multiple wires using a single focal point. This can allow electricity to be conducted, as all the wires have been bonded together.

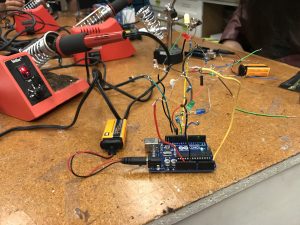
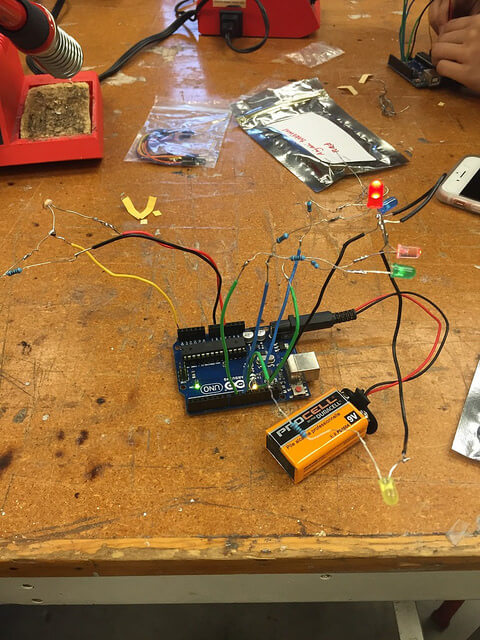
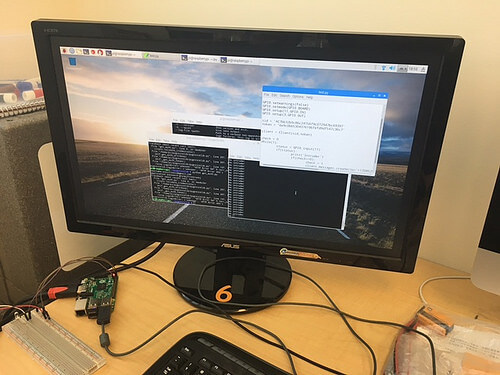
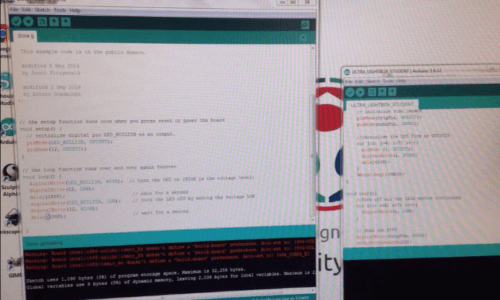
The third portion involved using Arduino’s open sourced software. Arduino’s simple platform allows for makers with only basic coding experience to still utilize the immense functionality of the technology. The object that was being encoded today was a photo resistor (light dependent resistor) with LEDs. By connecting the LED lights to the light resistor and being guided through some of the basics of the Arduino code, the LED lights extinguished in the presence of light and flashed during times where there was no light (when it was covered by a hand, for example).


Are you an undergraduate at Illinois and need a class for Spring 2018? Take Digital Making! Apply now by emailing your resume to vishal@illinois.edu, with a short note explaining your interest in the course and any skills/passions in making that you bring to the course. Application will be open until November 15th. And don’t forget to stay tuned to MakerLab updates by liking us on Facebook, or following us on Twitter or Instagram.

Scanning and Prototyping-Digital Making 2017

Guest Post: John BurkeThis collection of posts refers to the Digital Making Class offered here at Illinois. Each week students are required to write down what they have learned through the week. Below is a summary for week 10 written by John Burke.

This was an awesome week in the Makerlab, as we had the privilege of getting a tutorial in 3D scanning by a former student of this class, Arielle Rausin. For those of you who aren’t familiar with 3D scanning, it is essentially technology that takes a picture of an object, and then scans it with lasers. It then records how the laser reflects off the object, and uses that data to create a file that could be used by a 3D printer to create that object. One type of software used by 3D scanners is called Meshmixer, and is created by Autodesk. This is the kind of software used by Arielle when she came in to 3D print wheelchair racing gloves.

The best part of the lesson came when we had the chance to 3D print ourselves. While Arielle made things look easy, it was much harder for us beginners to get a good scan. There were many obstacles that we did not see coming that prevented us from getting good scans at first. For example, two guys in our group had very dark hair, so we had to hold up a phone flashlight by their heads in order to get good results from the scanner. This is just one example of how this class has taught us how to think outside the box and fix problems in sometimes unorthodox ways.

Once everyone had a chance to scan themselves, we were able to break off into groups and continue working on our semester projects. It was really cool to see how much progress all the teams have made over the past couple weeks, and there have been some awesome ideas for projects so far. I’ve put a couple examples down below so you can see what people have been working on. The picture on the far left is a security monitor that can send text messages to your phone. The middle picture is of a prototype for the top of our aquaponics system. There will be plants growing inside of these containers that receive water from the fish tank below. The plants will receive nutrients from the fish waste and in turn will filter the water and keep the aquarium clean, its a really cool self-sustaining system! The picture on the right is a camera the can connect to a computer so that the viewer can see the images on the monitor.

Overall, we learned about not only how to use 3D scanners, but also various reasons why 3D scanners come in handy. On top of that, we learned how to solve problems on the fly. For instance, thinking of a way to fix the fact that the scanner wasn’t picking up black hair showed how this class has influenced us to solve problems creatively. Also, all of the groups gained much needed prototyping experience that will hopefully help us for years to come. After all, no matter what field you go into problem solving is a huge asset and an effective method to solving problems is starting with a basic solution and then improving on it until you come up with something that works perfectly. This is the idea behind prototyping and I know the skills I have learned in this class will help all of us, no matter what we do in life after college.


Are you an undergraduate at Illinois and need a class for Spring 2018? Take Digital Making! Apply now by emailing your resume to vishal@illinois.edu, with a short note explaining your interest in the course and any skills/passions in making that you bring to the course. Application will be open until November 15th. And don’t forget to stay tuned to MakerLab updates by liking us on Facebook, or following us on Twitter or Instagram.

Looking at the Future of 3D Printing

What's new in 3D printing? Boeing has just announced its intent to 3D print structural titanium parts for its 787 Dreamliner. Miam Factory, a Belgium chocolate shop, 3D print's their chocolate structures. Adidas has just created the first ever 3D printed shoe line. Scientists have discovered new ways of making 3D printers faster. And the MakerLab has now opened its summer camp registration!

While participants may not be printing with metal or chocolate, they will be learning a variety of 3D printing skills from Fusion 360 to OpenScan to Cura to Minecraft! Participants will work closely with gurus and other campers to design, think and print their projects! This is a great way for kids to learn 3D printing in an active and engaging environment. Camps are filling up fast, so sign up now! Each camp averages 3 hours a day for one week*.

*Be sure to check out our summer page for exact dates and details.

*All news and articles taken from: https://3dprinting.com/news/

Get updated with all the latest 3D printing news by visiting https://3dprinting.com/news/. Let your interests be known on which camps you would like this summer by filling out the New 2017 Summer Programs Form! And stay tuned for MakerLab updates by liking us on Facebook, or following us on Twitter or Instagram.

Prototyping and Design-Digital Making 2017

Guest Post by: Carter CarrollThis collection of posts refers to the Digital Making Class offered here at Illinois. Each week students are required to write down what they have learned through the week. Below is a summary for week 9 written by Carter Carroll.


With our class moving along with our team projects, week 9 was predominantly focused on moving forward with designing and creating prototypes of our products. Throughout the semester we have obtained a wide variety of learning experiences such as how to use 3D printing software such as TinkerCad/Fusion 360, how to program arduinos processing chips, and using the build capabilities at the campus Fab Lab. Having had weeks to begin to learn how use these tools allowed teams to think of ways to create and improve their product design.

In class, teams sketched out their first prototype designs of their product. After knowing what functionality we needed out of our products, we than made a materials list of all the components that would be necessary to obtain to make the product work. Each teams product covers a different area of 3D printing. Some products need arduinos, sensors, and have to be programmed through breadboards, while others could simply be 3D printed objects to solve a certain need. Each team is now in the works to create their first fully functioning version of the products. The class is very excited to start to create tangible versions of our prototypes through collaboration with 3D printers, the Fab Lab, and many other campus resources.

Overall, this week had a significant theme of the importance of the design of the product to fulfill a need. As one of the TED talks we listened to in class stated, “Design is best as an iterative process, the earlier you invite feedback, the more chances you have to revise and improve” (David Kelley Ideo). The design and creation of the prototype is the first step of many on the path to creating a successful product that end users will value. For many teams, creating the first prototype was challenging in not knowing exactly what the product looks like or in some cases even works. Ultimately, as Mr. David Kelley of Ideo highlights, the prototype is not meant to be perfect. In fact, the prototype is simply the first step in allowing our products more chances to be improved through feedback, trial and error. Week 9 was significant for teams to begin development on creating, designing, and moving forward with creating a useful product that fulfills a need. It will be exciting to see how the prototypes are developed, and refined in this last month of the semester!


Are you an undergraduate at Illinois and need a class for Spring 2018? Take Digital Making! Apply now by emailing your resume to vishal@illinois.edu, with a short note explaining your interest in the course and any skills/passions in making that you bring to the course. Application will be open until November 15th. And don't forget to stay tuned to MakerLab updates by liking us on Facebook, or following us on Twitter or Instagram.

Spring Break is a Great Time to Order Online

We may be closed over spring break, but that doesn't mean that the 3D printing stops! You can still order prints through our order online system with 3D hubs . With 3d hubs, ordering a print takes just 4 easy steps: 1.) Sign up for a 3D hubs account with your .edu account to get 25% off.

2.) Upload your STL file.

3.) Set any specifications needed.

4.) Chose the MakerLab as your hub.

It's that simple! In 4 steps you could have ordered an amazing print and the best part... You can do it all from home! We can print anything from a propeller to a battery holder. We have even printed a child's skull! Need some inspiration on what to print? Look and see what other people have ordered through 3D hubs!

Have a great spring break! Stay tuned for MakerLab updates by liking us on Facebook, or following us on Twitter or Instagram. Want to be featured in a blog post? If you have an interesting story that you would like to tell about making at the lab, share it with us by emailing UIMakerLab@Illinois.edu!

Meet The Maker- Shivani Patel

People come into the lab to print all sorts of amazing things. And every print has its own story. In Shivani Patel's case, that story involved an octopus and some bowls. Shivani came into the MakerLab for an assignment in her Informatics 490: Makerspace class. For her assignment, Shivani decided to create a unique table piece where the octopus would hold a small bowl on each of its hands, and you would be able to place objects in those bowls. She designed this whole model using Tinkercad! This was only the second time she had 3D printed anything but she loves the experience as she learns something new each time she prints an item. Like Shivani, every person who comes into the lab has a story. The question is: What will your story be?

Check out our other stories! Want to be featured in a blog post? If you have an interesting story that you would like to tell about making at the lab, share it with us by emailing UIMakerLab@Illinois.edu! Don't forget to like us on Facebook, or follow us on Twitter or Instagram!